You can take dazzling pictures at night, but you’ll often need to compensate for low light conditions. To achieve the best night photography pictures, you’ll need to know how to manipulate the exposure triangle through your ISO, shutter speed, and aperture camera settings. Here are a few key night photography tips to guide you:
7 Expert Tips to Help You Excel at Night Photography
- Use a Tripod
- Shoot RAW
- Choose a Low ISO When Possible
- Take Practice Shots
- Select Aperture Priority Mode for Still Subjects
- Experiment with Various Shutter Speeds
- Try Out Bulb Mode
Although taking artistic night pictures can seem intimidating at first, you can master photography techniques with practice. Once you’ve gained confidence with the basics, you’ll be able to explore so many directions—from shooting city scapes to night stars in the sky.
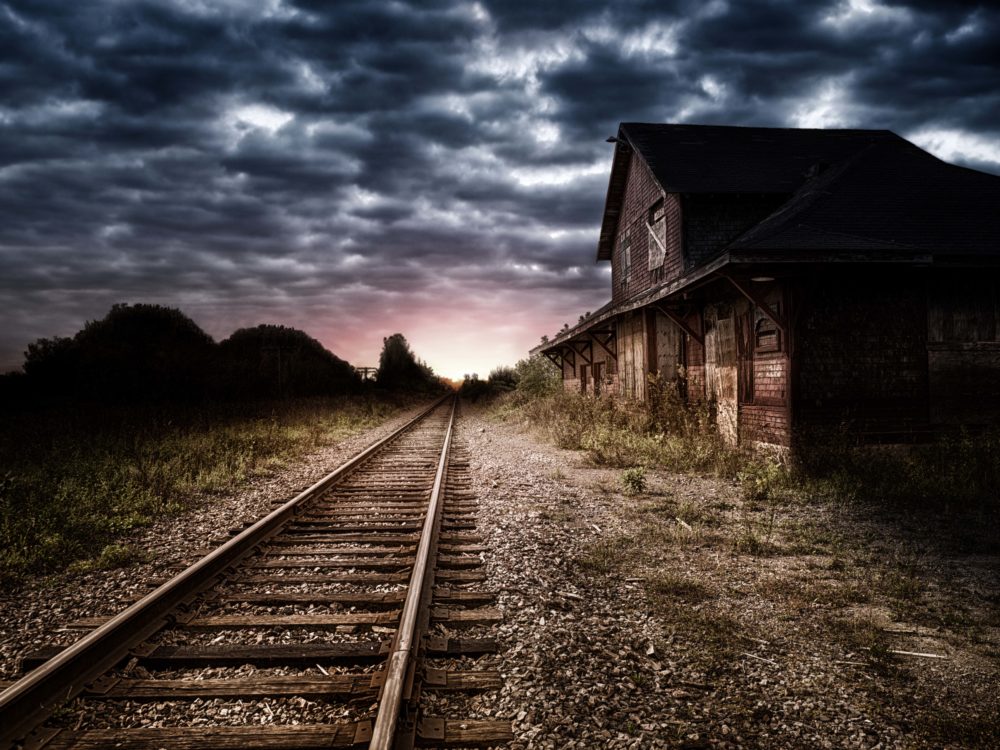
You may find a building or scene picturesque by day—and capture it bathed in a soft glow during the golden hour at dusk. But stay outside until after the sun sets, and you’ll observe that it will take on new qualities at night. Different colors or lighting effects will be apparent, and you can learn to portray them in night time photography.
With some practice, you can learn how to use longer exposures to capture more detail when pursuing low light photography at night. Head downtown to photograph cityscapes at night or head into the woods to try your hand at capturing wildlife images.
You’ll need to understand essential beginner photography concepts. Then you can apply these ideas to learn how to shoot night photography.
Just follow these seven proven tips for night photography, and you’ll be on a course for success.
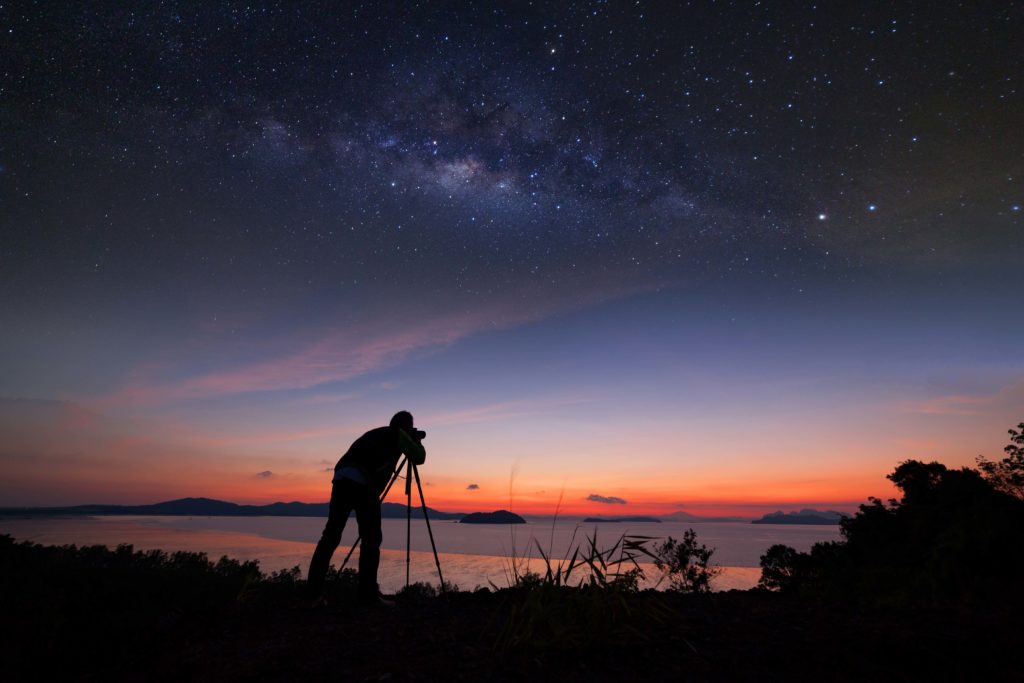
1. Use a Tripod
Many experienced night photographers believe that a sturdy tripod is a must for shooting at night. Why is that the case? When photographing at night, you’ll need to compensate for dim light conditions. This typically means using slow shutter speeds to produce a long exposure. If you increase exposure time, you keep the shutter open longer. This can lead to camera shake when shooting handheld.
A sturdy tripod can keep your camera steady at all times. When shopping for a tripod, aluminum and carbon fiber are good materials to choose, since they are durable and light for easy carry. You can also consider using a mini tripod. This will let you shoot on the ground or from different angles to get unique night photos.
Just how long will your exposure time be when shooting at night? It varies based on your subject. Often, photographers use shutter speeds between 1/30 and 30 seconds. But those who pursue night star photography may use exposure times up to 10 minutes. Photographers who shoot dark landscapes may extend exposure time to several minutes as well. In those very long exposure scenarios, a sturdy tripod is an absolute essential.
2. Shoot RAW
Even with a high-caliber camera and one of the best lenses for night photography, you may need to edit your photos after you take them. In fact, images shot at night are especially vulnerable to noise or issues with exposure or white balance.
If you shoot in JPEG format, you limit your ability to correct these types of problems with editing software. That’s why many night photography experts recommend shooting in RAW.
What’s the difference between JPEG and RAW? A JPEG is a compressed file format. It takes up less space on your camera memory card because the camera makes certain automatic adjustments.
By contrast, RAW files are not compressed and take up much more space. But RAW files keep all the data captured by your image sensor—and give you full control over edits. You can fix any issues or even add effects to your night images during post-production.
3. Choose a Low ISO When Possible
Many new photographers wonder what night photography settings they should use on their camera. As a general rule, you should increase your ISO when you shoot low light photography. However, this can introduce unwanted noise—or grainy and blotchy patches—in your photos.
Before you start shooting, it’s a good idea to take a few test shots at different ISO settings. This will let you know how high you can set your ISO before you start seeing noise in your night photography images.
First, try taking a shot at your camera’s lowest ISO setting, then increase by one stop each time. You’ll likely start with 100, then move to 200, 400, 800, or even 1600. If you start to see grains or blotchy patches, you’ve likely hit the max ISO you can use. Remember if you shoot RAW, you’ll have the opportunity to make some post-production edits—and may be able to reduce noise.
Also, today’s advanced cameras may allow you to take photos at high ISO camera levels without having to worry about noise. Even so, you may not want to shoot at the highest possible ISOs on your camera. You can use wider apertures and slower shutter speeds with a lower to mid-level ISO. While a low ISO of 100 may not work, you can often achieve good results at ISO settings of 400, 800, or up to 1,600.
4. Take Practice Shots
With night photography, you will often need to be willing to experiment with camera settings to achieve the correct exposure. Be prepared to make manual adjustments and take several images in succession to achieve good night photos.
One way to achieve the look you want is by selecting aperture or shutter priority on your camera. For aperture priority, you adjust the aperture setting and allow the camera to select relevant shutter speeds. Shutter priority works in the opposite way. For each adjustment, take note of the aperture and shutter speeds—and know which combination of settings gives you the exposure you want.
5. Select Aperture Priority Mode for Still Subjects
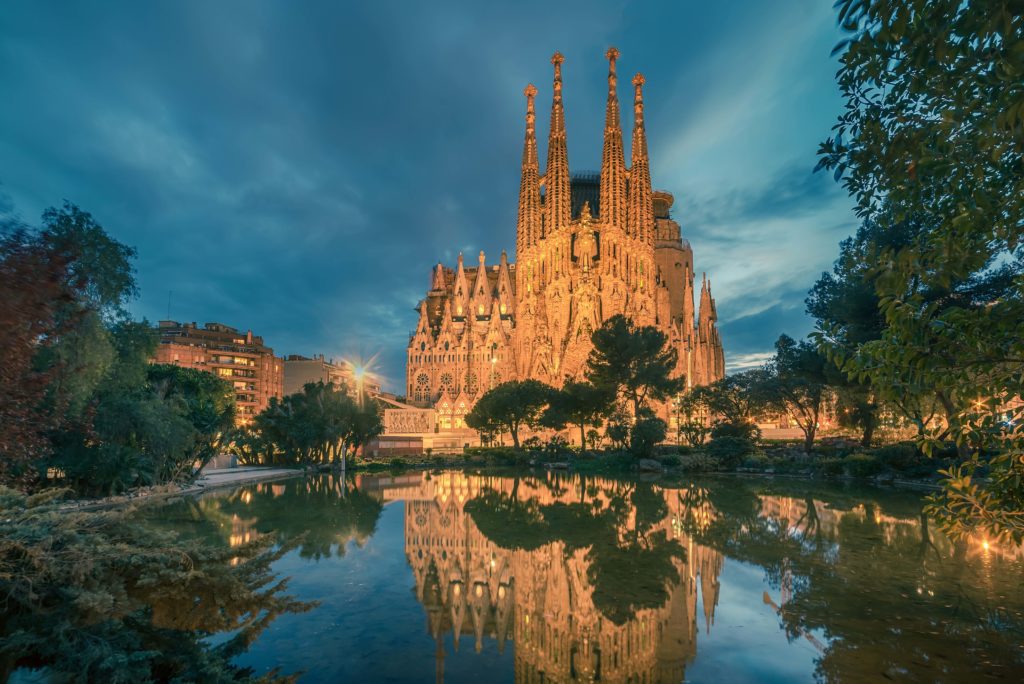
If you are still learning how to use the manual mode on your camera, you can experiment with aperture priority for your night photography. This approach can produce consistent results as long as you do not have any objects in motion in your photos. It’s ideal for situations where your subjects are still—such as night skyline photography or night landscape photography. You can also test it out for night portrait photography.
To use this night photography setting, simply select aperture priority and choose a wide aperture. The camera will then pick a complimentary shutter speed.
The only downside over this approach is that you do not have control over how objects in motion appear. If you’re shooting night street photography, for example, you won’t know if moving cars will be in focus or appear blurry.
6. Experiment with Various Shutter Speeds
If you want to achieve creative or dreamy effects with your night photography, you can test out different shutter speeds. To do this, shift into shutter priority mode. This lets you control the shutter speed, while the camera controls aperture.
In shutter priority mode, you can achieve gorgeous light trails or dreamy effects that give an urban scene the appearance of a futuristic cityscape. For light trails, choose a shutter speed between 1/30 and 30 seconds. Keep in mind that you’ll achieve longer trails from your light sources at lower speeds.
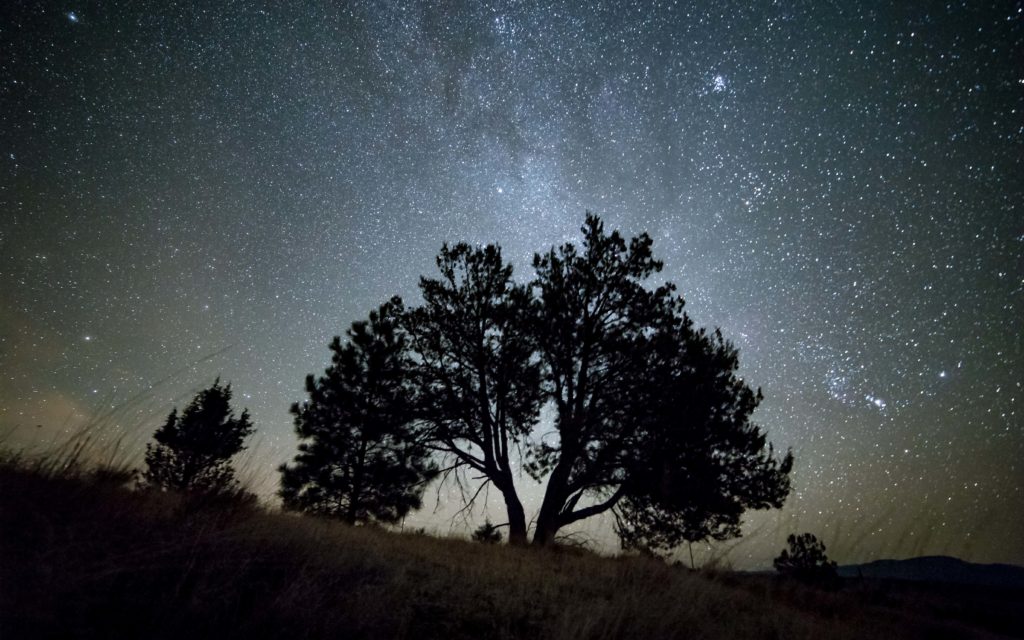
You can also use shutter priority for star photography. Typical night sky photography settings range from 10 to 30 seconds. With a longer exposure time, you may start to capture light trails from stars as they move through the sky. You can use these night sky photography tips the next time you want to shoot starry night photography or night landscape photography.
7. Try Out Bulb Mode
Another camera setting to help you achieve fantastic night photography effects is bulb mode. In essence, bulb mode lets you keep your shutter open for as long as you press the shutter button. While most cameras shutter speed max out at 30 seconds, bulb mode extends your shutter speed much longer.
To shoot in build mode, you’ll need to be completely comfortable with manual mode. This is because bulb mode overrides any manual functions on your camera. In bulb mode, you’ll be holding the shutter release button for more than 30 seconds. If you plan to extend exposure time for more than a few minutes, select a wider aperture setting. You can also use the lowest ISO possible on your camera if your exposures are extremely long.
As with other types of night photography, experiment with different settings to achieve the looks you want for each shot. One unique night photography approach to test out in bulb mode is light painting. With this technique, you use light sources such as a flashlight to draw or scribble in the air and capture the effects via
Step into the Exciting World of Night Photography
You may feel confident that you can take excellent images during the day—but you should embrace the unlimited potential of night photography. At night, new colors, moods, and lighting effects are possible. A little learning and experimentation can make you ready to step into this new world that awakens after dark.
Start by learning the fundamentals, such as understanding the exposure triangle. Night photography classes may also be a good option. Or you could read through a night photography guide that you find online. You could also find a city skylines tutorial or other resource focused on one of your areas of unique interest. Soon, you’ll need to put your theoretical knowledge into practice. Just step outside with your camera and a sturdy tripod at night and start taking photos.
While you’ll need to know some night photography basics, experimenting with different settings is key. Try to keep your ISO low if you can. Experiment in aperture and shutter priority mode—and try out bulb mode too. Be prepared to take lots of test shots. You may find that you need to take dozens of practice shots to gain one keeper. That’s not unusual in night photography. Plus, if you shoot RAW, you’ll have the flexibility to fix an almost-perfect photo during post-production.
Start brainstorming and see how many night photography ideas you can generate. Decide which pursuits spark your interest. There are countless avenues to explore.
Are you an intrepid outdoor lover who finds excitement in the concept of night forest photography? Or does the idea of high-energy city night photography thrill you more? Once you gain expertise with shooting a night scene, you can try out new avenues like event photography or night wedding photography.
Photography at night presents some unique challenges even for the most experienced photographers. Don’t let those challenges dissuade you from trying out night photography. An image shot at night can be unlike any other you might take during the day. It can be starling or mysterious, calm or full of life. The only way to explore your full potential as a photographer is by taking the leap and experimenting with nighttime photography.