Hunting is a favorite pastime for many people who love adventure and the outdoors. If you want your hunting memories to last, you should take photos of the hunt. Follow these tips to capture the best hunting pictures:
6 Tips for Taking the Best Hunting Picture
- Take Advantage of the Best Outdoor Lighting Conditions
- Tell a Visual Story with Your Hunting Pictures
- Set the Scene for Trophy Photos
- Keep Your Subject in Focus
- Try Unique Angles
- Perfect Your Photos with Editing Software
Humans have always been fascinated with documenting our hunting experiences. In the distant past, artists captured images of hunts on rock walls. Today, we use cameras to capture and share digital images. When you take hunting pictures, you are part of a tradition that dates back to some of our earliest ancestors.
Whether you hunt year-round or during certain seasons, you can document every hunting trip with photos. Although you can take basic images with your cell phone, a quality camera will produce much better results. Be sure to carry your camera with you at all times and be ready to capture intriguing actions and scenes.
As you take more hunting pictures, you’ll learn new techniques and develop your own style. By gaining familiarity with high-quality editing software, you can make your hunting photos truly outstanding. Imagine the joy you’ll feel reliving and sharing your hunting memories and achievements through your photos.
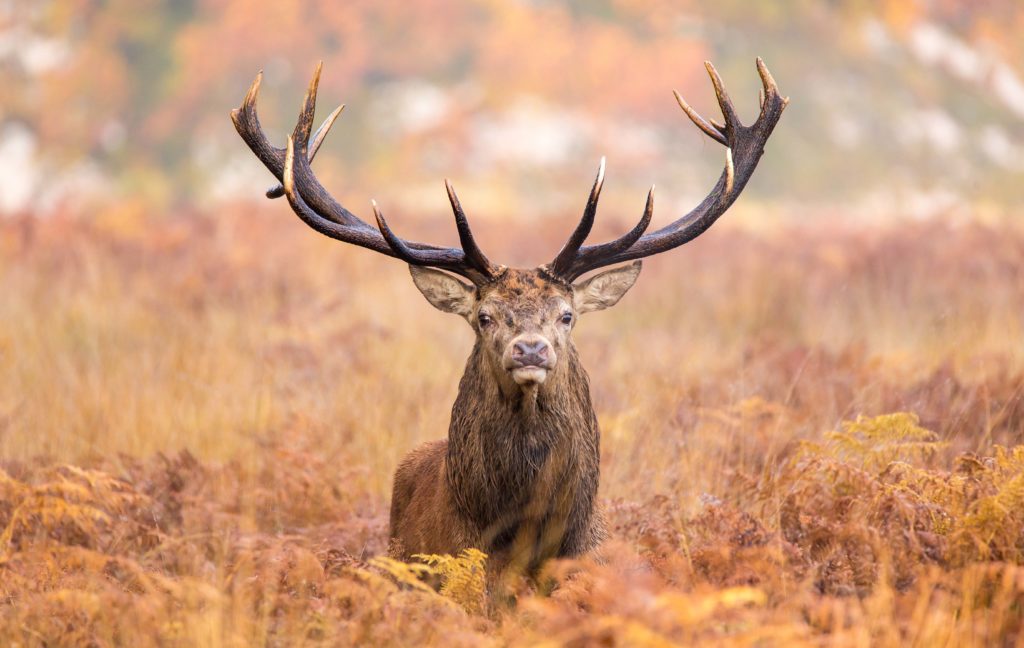
1. Take Advantage of the Best Outdoor Lighting Conditions
Many experienced photographers love taking advantage of the natural light of the outdoors—but you should know that certain conditions work better than others. One optimal time to take photos is during the times of day that photographers call the “golden hour.” That is the first hour after sunrise in the morning and the last hour of dusk before sunset. During those times, the sun is low in the sky and casts a natural soft glow of light. If you get the chance to shoot during the golden hour, take as many shots as you can since the light will change quickly.
During daylight hours, try to avoid shooting when the sun is high in the sky. Instead, try to take photographs during cloudy times or use trees to help diffuse and soften light.
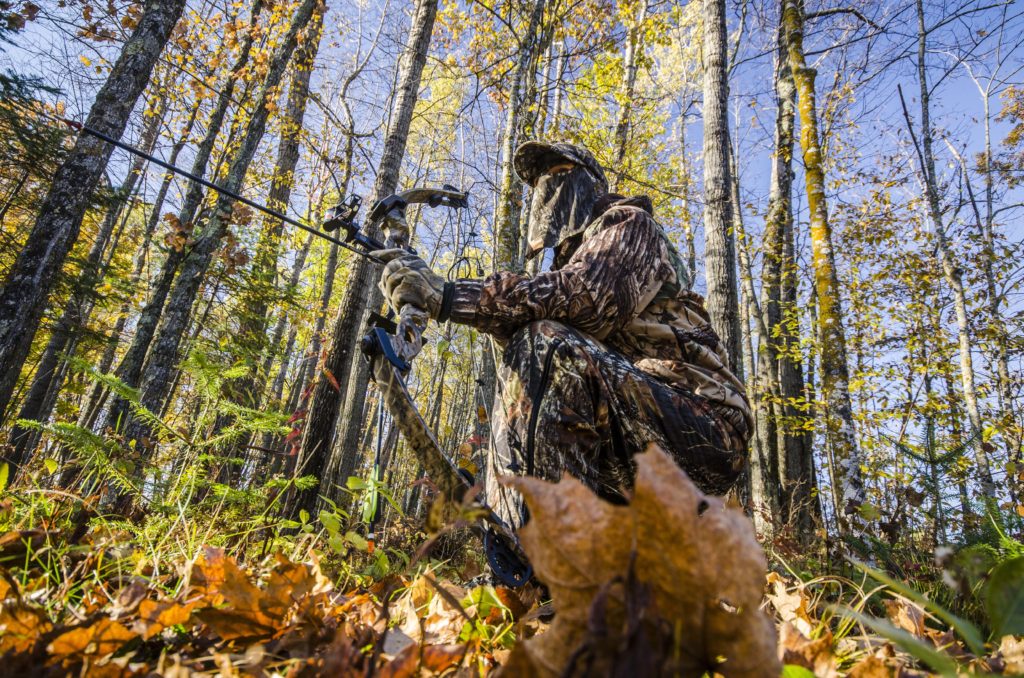
Also, if you’re shooting in dark conditions—such as wooded areas—you can opt to use a flash, even during the day. You may not want to point your flash directly at your subject, whether it’s an animal or a person. An unexpected burst of light can be startling and can also create unwanted lighting effects in your image. If possible, direct your flash to the side or overhead to bounce the light.
It can take a while to understand lighting for photography. Even professional photographers are always still learning. Don’t worry about perfection in every photo. You can fix many lighting issues during post-production with photo editing software.

2. Tell a Visual Story with Your Hunting Pictures
While trophy hunting pictures will always be popular, you can expand your horizons. Consider telling a complete visual story that helps others understand your passion for hunting.
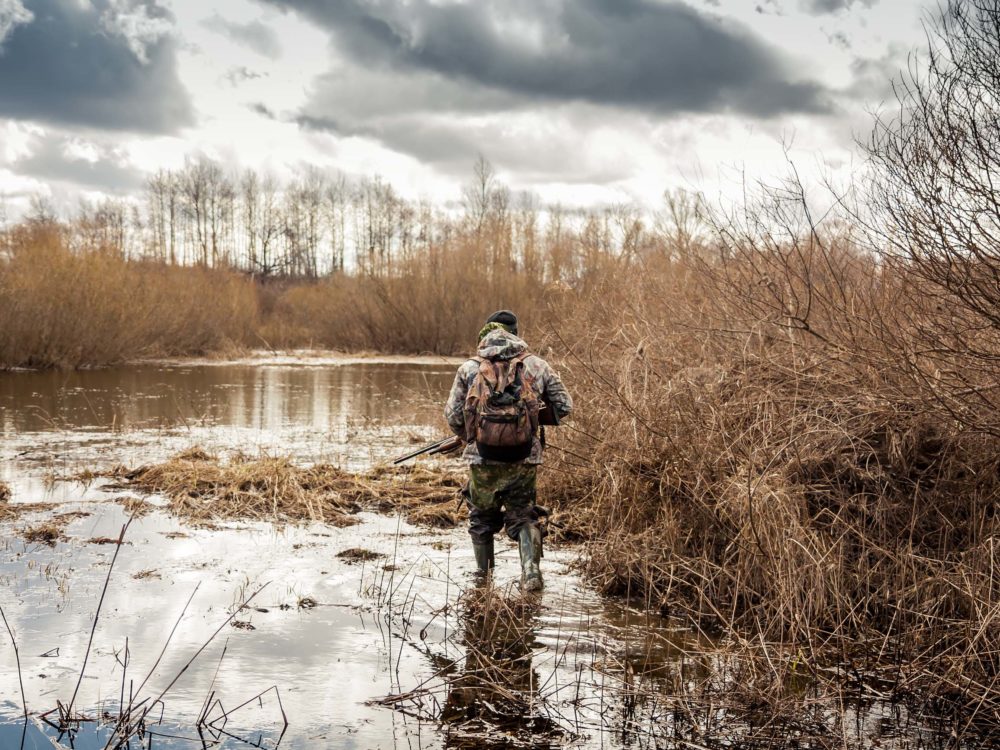
For example, if you’ve traveled to a destination hunt, take some hunting lodge pictures to help provide context on the locale. Or take some photos that convey the excitement of the opening day of a new hunting season. Shoot portraits of key people you meet along the way–from the waitress at your favorite diner to the game official. If you have the good fortune of taking an African hunting trip, you can document the unique nuances of big game hunting—from the landscape to gear to local guides.
Your hunting pictures should reflect who you are and why you love hunting. Maybe you can take funny hunting pictures to convey your sense of humor. Or perhaps you focus on a specific hunting pursuit and want to share it through your fox hunting pictures or pheasant hunting pictures.
There are so many cool hunting pictures you can take. Shoot images as you’re driving to your hunting destination. Capture images of your gear—from the heirloom knife that belonged to your grandfather to your prized gun to your newest tech toy. Get a shot of your map, compass, binoculars, and well-worn hiking boots. And hunting camp pictures and pictures of any hunting dogs are a must.
If you’re prepared and have a good camera, you can capture a broad range of hunting scene pictures. After some refinement and editing, you’ll be able to share a complete photo gallery of your trip with friends and colleagues on social media. You’ll help others understand the unique joys of experience with your hunting pictures.
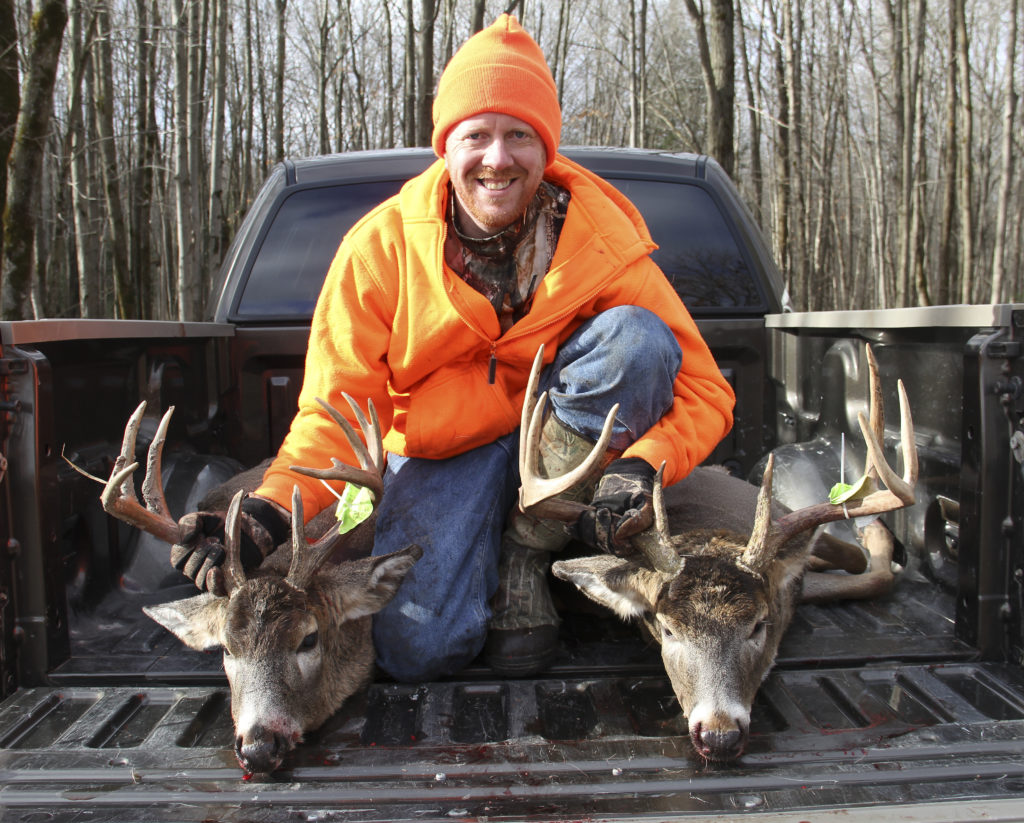
3. Set the Scene for Trophy Photos
When you are ready to shoot trophy photos, you can take several steps to make these hunting images the best they can be. While it can be tempting to want to share your success right away, it’s better to take your time. Remember you’ll be keeping these photos as long-term mementos of your love for hunting. It’s more important to have an exceptional shot that you’ll treasure for years instead of a quick post to social media.
First, take the time to get cleaned up. Pack some cleansing wipes and a comb. It may even be wise to bring along an extra set of clothing and change before posing for hunting pictures.
If your kill has fallen in a less-than-ideal spot, consider moving it. If you think you’ll have a difficult time doing this on your own, enlist some help from fellow hunters. Take care to position dead animals in a space that has good lighting and a nice background.
When shooting photos, it’s often best to position the hunter in a kneeling or crouching position. Photograph the hunter from eye level—not from overhead. When you are above the hunter and animal, this can create an awkward angle. Also, for deer pictures, shooting from overhead can make the buck’s antlers look smaller than they are. Keep this in mind when shooting pictures of deer after a hunt.
Many experienced photographers find that horizontal hunting pictures work best for a big game shot. Those style of images let you capture the animal’s entire body. For deer pictures, it’s usually best to hold the animal by its neck, rather than by its antlers. And remember not to sit on an animal when taking a photo, as some people view this as a sign of disrespect for the animal.
Often, you’ll want to avoid portraying a bullet hole in hunting images—especially ones you want to share on social media. You don’t need to edit out every spot of blood, but cleaning up the animal before you take your hunting images is a smart idea.
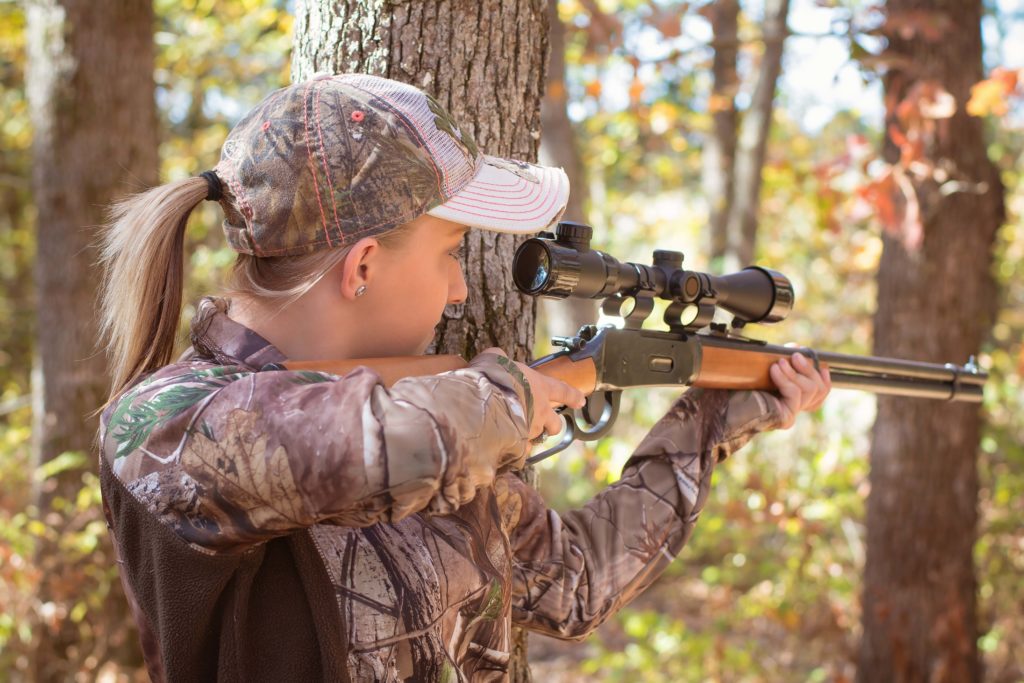
4. Keep Your Subject in Focus
When taking hunting photos, make the subject of your photos very clear. At times, this may require you to get close to your subject instead of taking a wide shot. If you focus on a single element, you’ll capture it more clearly.
You can also achieve this effect by using a wide aperture on your camera. This allows you to keep your subject in sharp focus while blurring out the background. In photography, this is called a shallow depth of field.
5. Try Unique Angles
Most inexperienced photographers tend to put their subject in the center of every photo. As you gain skill, however, you’ll want to try some unique approaches to your hunting pictures. This is especially valuable if you are aiming to tell a visual story with your photos.
If you’re shooting a lot of photos during a hunting outing, you’re likely to get more good shots by experimenting. Try different angles, experiment with camera settings, and frame your photos in different ways. You’ll end up with some photos that don’t work—but you’ll also end up with some happy surprises.
Plus, as you try out new ideas and techniques, you’ll learn more about what works in hunting pictures—and what doesn’t. This will help you keep improving and become a better photographer in the years ahead.
6. Perfect Your Photos with Editing Software
If you want to take your hunting pictures to the next level, you should learn about quality photo editing tools. The good news is you don’t need to be a photo editing pro to achieve exceptional results. Instead, you can use a high-caliber tool—like Adobe Lightroom or Photoshop—easy-to-use presets and overlays to fine-tune your images.
Whether you take duck hunting pictures, turkey hunting pictures, or moose hunting pictures, you can apply Lightroom presets with just a few clicks. Presets include specific adjustments to key photographic elements—such as brightness, contrast, and colors. It’s easy to experiment with different presets and achieve different looks—from adding lush colors to your hunting cabin pictures or using moody tones to create vintage hunting pictures.
Be sure to select presets designed by professional designers and photographers so that you know they’re the highest quality available. You can find presets custom-designed for outdoor photos—and even presets tailored for hunting photos. Keep an eye out for these valuable resources!
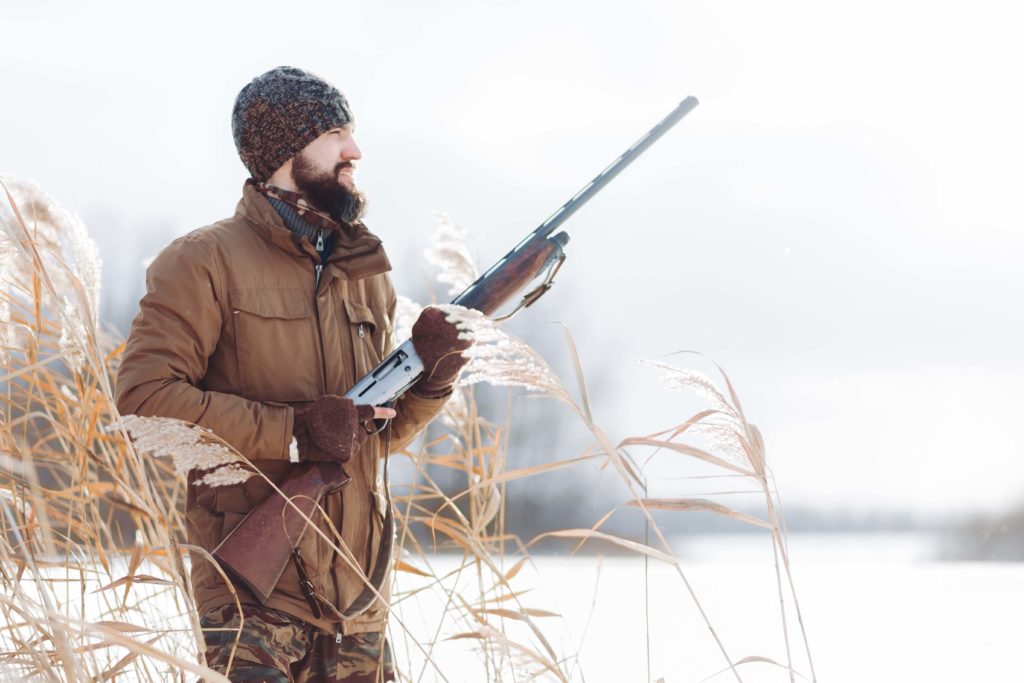
Another quick-and-easy way to upgrade your photos is by using Photoshop overlays. An overlay is an image that adds an effect to your base photo. For example, you can find an overlay that offers a sun flare to bring energy and excitement to your image. Or for Alaska hunting pictures, you can try a snow overlay that conveys the spirit of the frozen and rugged terrain.
Take Extraordinary Hunting Pictures and Capture Special Memories
Many people eagerly await the start of hunting season every year. You can keep special memories vivid all year long by learning to take exceptional hunting pictures.
Since you’ll be taking pictures outdoors, you’ll need to learn about the unique nuances of outdoor lighting. Whether you want to take deer hunting pictures or dove hunting pictures, you’ll find dawn and dusk offer some of the best lighting conditions. During the day, avoid harsh overhead sunlight and seek out clouds and shade when possible.
Although trophy photos are highly valued by hunters, you may find that some of your best hunting pictures capture candid moments. Consider shots of the scenery or your gear. Hunting knife pictures of a treasured heirloom can often convey more meaning than another picture of a deer that is similar to ones you’ve taken before. Still, be sure to know good technique and posing so that you can take quality deer images or pictures of other trophy animals for fellow hunters.
It’s always a great idea to take lots of photographs while hunting—and don’t be afraid to experiment. Try crouching down to take a photo of your hunting companions trekking through the woods. Or climb above your camp and take an overhead shot.
If you’re shot has great composition but doesn’t quite hit the mark on color or exposure don’t fret. You can use editing software to perfect every image. You can rely on Lightroom presets or Photoshop overlays to make editing effortless.
The time is now to move into a new direction with your hunting pictures. You can learn to take every style of photo and grow as your interests evolve.