The old saying “a picture is worth a thousand words” is very true for prospective home buyers. Every photo of a home tells a story and helps buyers picture themselves living there. To make the most of your real estate photography, follow these helpful tips:
6 Tips for Improving Your Real Estate Photography
- Follow a Standard Shot List
- Make Sure the Property is Clean and Clutter-Free
- Choose the Right Lighting
- Use a Tripod
- Invest in a Wide-Angle Lens
- Edit Your Real Estate Photos in Lightroom
While some real estate agents rely on professional photographers, others take pictures themselves. Homeowners can also take photos to share with their realtor to assist with marketing their property. Learning how to shoot real estate photography can be a huge benefit to many people. High-quality photos can attract more attention, draw in potential buyers, and help a home sell quickly.
Make Your Real Estate Photos Stand Out
An online search is the first step for many potential homebuyers. Homes with great photos engage more viewers and encourage more people to visit in person. By contrast, bad real estate photos can drive away potential buyers—even if the property is amazing.
Having real estate photography skills is important for anyone who takes photos of homes for sale, whether you are a real estate agent, professional photographer, or homeowner.
1. Follow a Standard Shot List
Real estate photography specialists start with a standard shot list to streamline every photo shoot. Even though every home is different, you will typically want specific shots of each property.
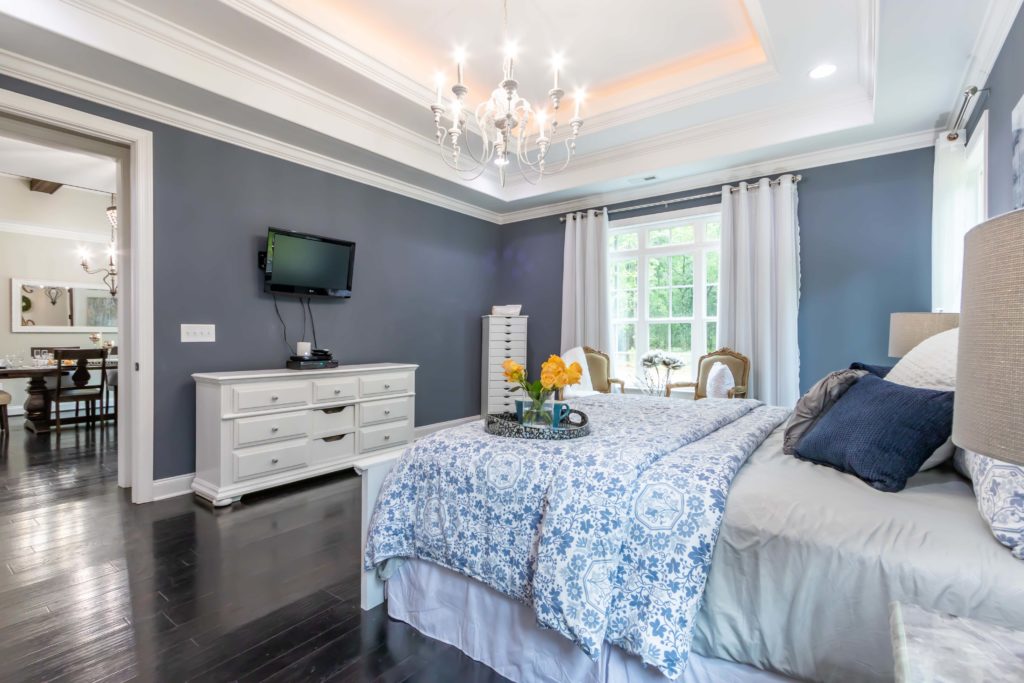
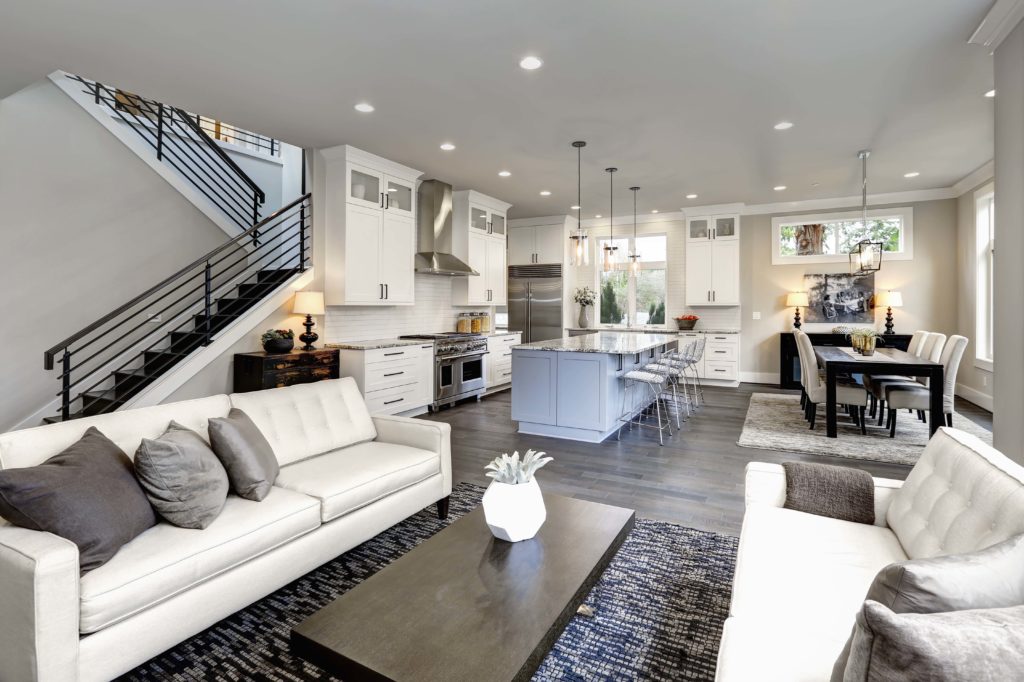
Plan for two wide shots of the living room, each bedroom, and the kitchen. You should also take one photo of each bathroom—take more if the room contains particularly interesting details or features. Include one photo of other rooms as well, including the laundry room, pantry, and garage.
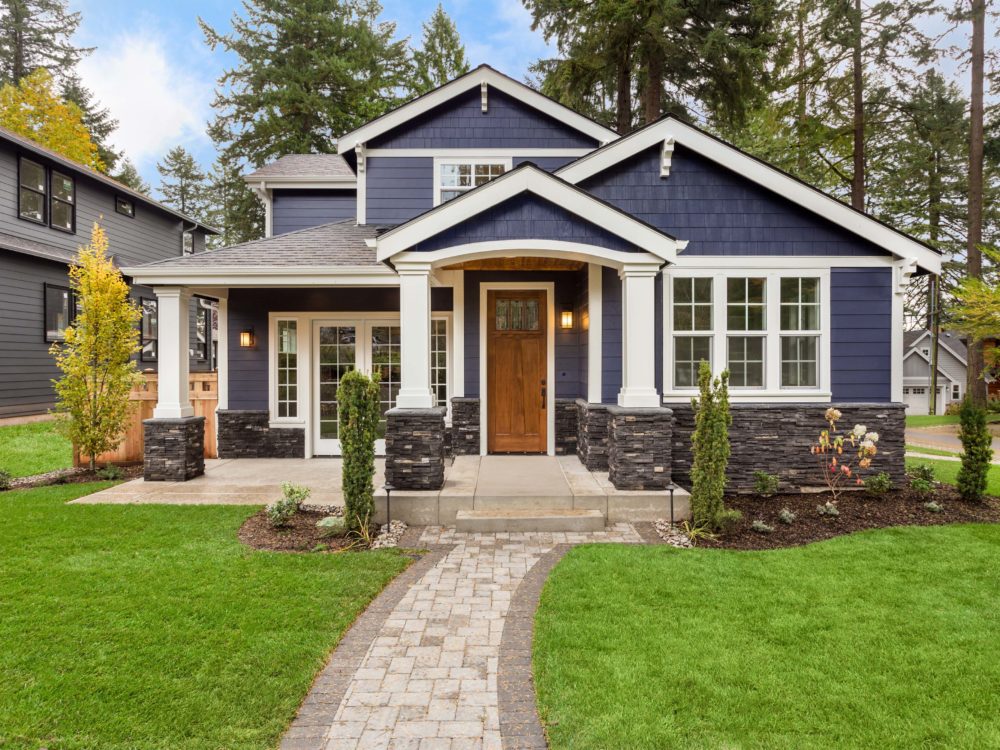
Outside the home, you will typically take up to five photos in both the front and back yards. Make sure any photos facing the home help depict it’s “curb appeal.” If the outdoor space or home’s exterior includes interesting features—such as a deck, pool, or outbuildings—you may want to shoot additional images.
Use these basic shots as your real estate photography checklist. This will help you cover all the areas potential homebuyers want to see. You can prepare your real estate photography shot list before you go on site to help ensure you’re ready to start shooting as soon as you arrive.

2. Make Sure the Property is Tidy and Clutter-Free
Once you arrive at the property, spend a few moments walking around. Get some ideas for interesting photos and note any compelling features. Also, work with the homeowner to make any adjustments that can boost the home’s appeal.
Ideally, the home should be professionally cleaned before the day of the photo shoot. Still, you may have to spend some time helping the homeowner remove clutter that can be visually distracting in your real estate photos.
Aim to clear off surface areas, including coffee tables, desktops, and countertops. Scale back decorative items. One or two decorations per photo may work well. You may also suggest removing any broken or out-of-date furniture. Since you likely won’t be shooting photos of closet interiors, you can hide certain items in closets and cupboards until the photo session concludes. Presenting a clean, tidy space is one of the most important tips for real estate photographers.

3. Choose the Right Lighting
You may be taking a few photos outside using natural light—but most of your real estate photos will be indoors. Bring some extra lighting equipment along to achieve the look you desire for your interior real estate photography.
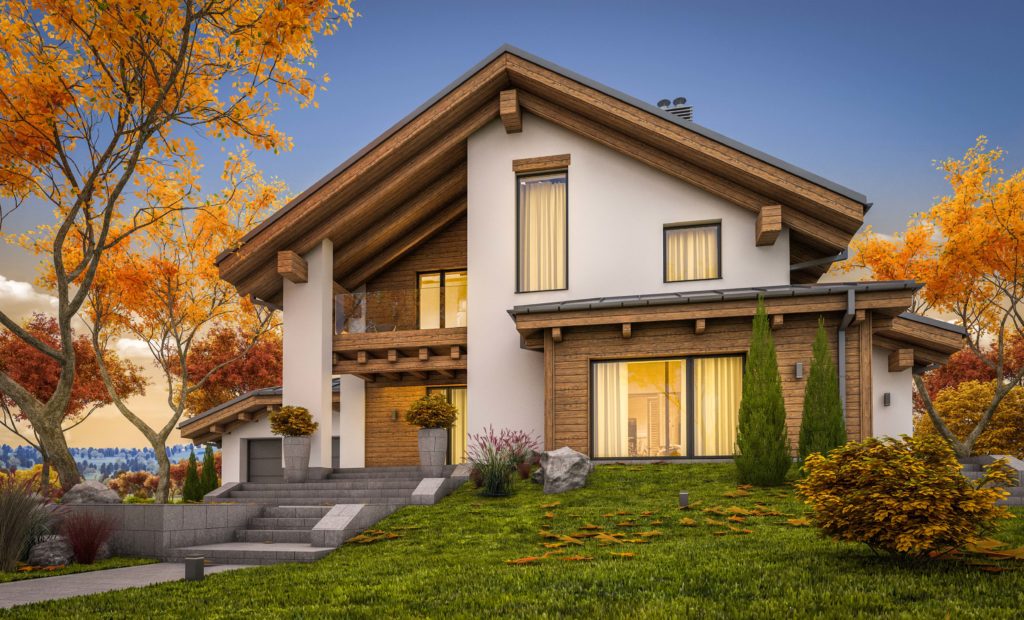
For the best images of a home’s exterior, you need to schedule your photo shoot at the right time. You want the sun to shine directly on the home’s front to capture all its special details. Often, this image is used as the cover photo in real estate listings, which makes it one of the most important photos you’ll take. Learn which direction the house faces before the real estate photography shoot to capture the best possible exterior pictures.
As you are walking through the interior space, consider the lighting in each room. If you leave lights on in the home, the space can feel more welcoming. But this also creates varying light temperatures that you must address during editing. Alternatively, you can leave lights off and potentially cut back on some real estate photo editing time. While this creates even light temperatures, it could make a home seem cold and unwelcoming. Whichever approach you choose, be consistent so that the home has a unified feel.
Natural light can be the best solution, when possible—but avoid shooting into bright windows. Don’t be afraid to adjust curtains and blinds to get the lighting effects that you want.
For interior shots, you may need to use a flash. If using the flash on your camera, avoid pointing it directly at the space. Instead, bounce the light off walls to diffuse it and create a softer look. You can also use an off-camera flash with a bounce umbrella to diffuse light in interior photography.
If you aren’t able to achieve ideal lighting conditions, don’t worry. You can adjust and perfect your photos using Lightroom presets.
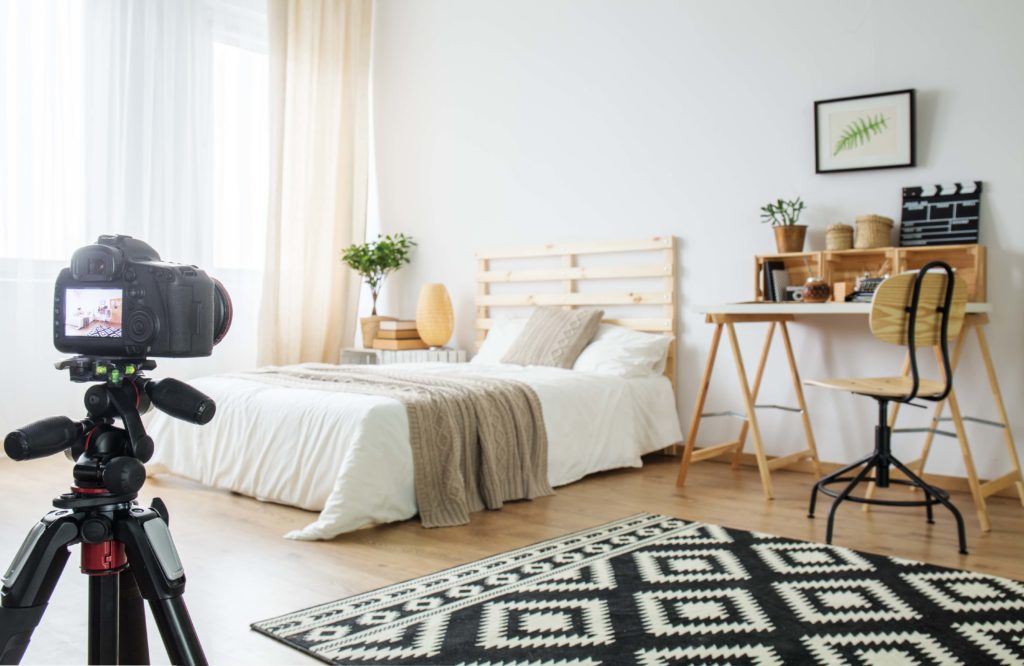
4. Use a Tripod
A tripod is essential for professional real estate photography. With a tripod, you can secure and stabilize your camera—and avoid the risk of movement and distortion that can ruin an otherwise perfect real estate photo. You may still be able to salvage photos taken without a tripod, but this can often require significant photo editing and take extra post-processing time.
Make sure to select a sturdy tripod that can hold your camera steady, even if you need to manually adjust your camera settings. In small spaces, you may want to set your tripod up in a doorway and stand behind it to capture pictures of the entire room. Larger rooms may offer you more shooting locations and camera angles—so you will have more options for placing your tripod.
5. Invest in a Wide-Angle Lens
Many people have questions about the best lens for real estate photography. Most photographers agree that a wide-angle lens is important for every real estate photo shoot.
Why is a wide-angle lens so important? It lets you capture more of each room with a single shot, and makes small spaces appear bigger. However, you must take care not to shoot too wide. If you do, you can end up with a photo with a dominant foreground and a background that fades into the distance.
Look for wide-angle lenses with a focal length of 10-20 mm or 12-24 mm. If you have a full-frame camera, a focal length of 16-35 mm works well. Also, use a lens hood to avoid any lens flare.
Investing in a quality wide-angle lens is a smart move if you want to pursue professional real estate photography. There is a wide range of options at every price point. Expect to budget between $500 to $1,600 for this essential piece of equipment.
6. Edit Your Real Estate Photos in Lightroom
In many cases, a real estate agent or a homeowner will want the photos available as soon as possible. Using quality Lightroom presets can speed up your post-processing editing and make your turnaround time much faster.
Choose Lightroom presets specifically designed for real estate photography. To ensure every photo looks its best, use presets created by professional photographers and Lightroom experts. Top-tier presets for real estate photography aim to create a warm and welcoming vibe with bright hues.
Select preset collections with several options for fine-tuning both exterior and interior photos. With a range of options, you’ll be able to pick the presets that showcase the best aspects of your real estate property. Also, choose presets that you can edit and customize so you can make adjustments that highlight your best photography work.
Using the right photo editing tools can elevate the quality of your real estate photos and help you grow your real estate photography business.
Quality Real Estate Photos Can Help Close More Deals
Photography for real estate plays an important role in the sale of every home. With the right photos, real estate agents and homeowners can tell a story of the home for sale. Potential buyers can view these images online and imagine themselves and their families living and relaxing in the home.
Whether you are a real estate agent or a photographer, learning more about real estate photography can give your business an edge over the competition. By following a few smart tips, you can take great photos that make the floor plans in your real estate listings come to life. Create a standard photography shot list that you can use as a guideline for every real estate photo session.
When you first arrive for a new photo shoot, spend some time walking through the property and making observations. Work with the homeowner to remove any visual clutter. Look for interesting details and angles that will make your real estate photos more appealing.
Assess the lighting and determine whether you will keep lights on or off throughout the home. While an experienced real estate photographer may prefer to work with natural light, be prepared with flash options to lighten up dim spaces. You’ll also need a tripod and wide-angle lens to make the most of your photo session. After the shoot, use Lightroom presets and Photoshop actions to add a professional touch to the final images.
While many professional photographers get their start in residential real estate photography, there are many potential directions to pursue. Real estate drone photography is a fast-growing field—and especially valuable to a high-end client who wants overhead shots of an expansive property. After gaining some experience, you can easily branch out into commercial real estate photography or architectural photography. You can always start with a basic real estate photography tutorial to learn key skills and then continue to grow and specialize your services.
The real estate industry is always active and relies on professional photography to sell properties. By following our expert photography tips, you can offer real estate photography services and add new revenue streams to your business. With the right equipment, training, and practice, real estate photography is an excellent way to launch a promising career.