Flash photography can seem like a mystery to new photographers—for good reason. Many people experience harsh light or red eye before they learn how to use the flash effectively. Learning flash photography basics can vault your photography skills to the next level. Just follow these expert tips to set yourself on a course for success:
5 Tips for Effectively Using Flash Photography
- Bounce the Light off a Wall or Surface
- Diffuse the Flash
- Use Through-The-Lens Technology
- Learn About Multiple Flash Techniques
- Try Colored Flash Gels
Many cameras come with built-in flashes. You can also buy external flashes and supplemental lighting equipment for additional effects. When used correctly, a flash can illuminate a dark scene to help you capture a perfect image. But an unexpected flash of light can distract your subjects and spoil a great shot. Knowing when and how to use flash photography is a critical skill to learn as you explore the world of photography.
When to Use Flash Photography
When you first buy a high-quality camera, it can be tempting to avoid the flash altogether. This can be a reasonable decision at first when you’re learning the nuances of shutter speed, exposure time, and other essential photography concepts.
It’s also important to learn about important flash-related concepts, such as the inverse square law and flash sync speed. The latter is the fastest shutter speed you can use with your on-camera flash. If you try to use a high shutter speed that is higher than your flash sync speed, you’ll end up with unsightly dark patches in your photos.
You’ll soon learn that there are specific circumstances when flashes are valuable. Here are a few of those scenarios.
Indoor Flash Photography
You’ll find that flash photography can be very helpful for enhancing ambient light when taking photos indoors. To achieve a good effect, you’ll need to learn to bounce light off of a ceiling or wall. Try not to position the flash at the same angle as the lens. This can provide a dull, flattened look that diminishes your image quality.
Outdoor Flash Photography
It may surprise you to learn that photographers use flash photography outdoors during the day—but they definitely do! One of the most common scenarios is when photographers are shooting towards the sun. This creates a lovely scene but can cause the subject to appear as a silhouette. One of the best ways to fix this is to augment the ambient lighting by using the flash as a second light source. This can help fill in spaces where the image is underexposed and reveal details in your subject.
With practice, you can also learn how to use a flash with a fast shutter speed outdoors. Using a high sync speed can let you use the wide apertures you need along with your flash to achieve lovely shallow depth of field with an out-of-focus background.
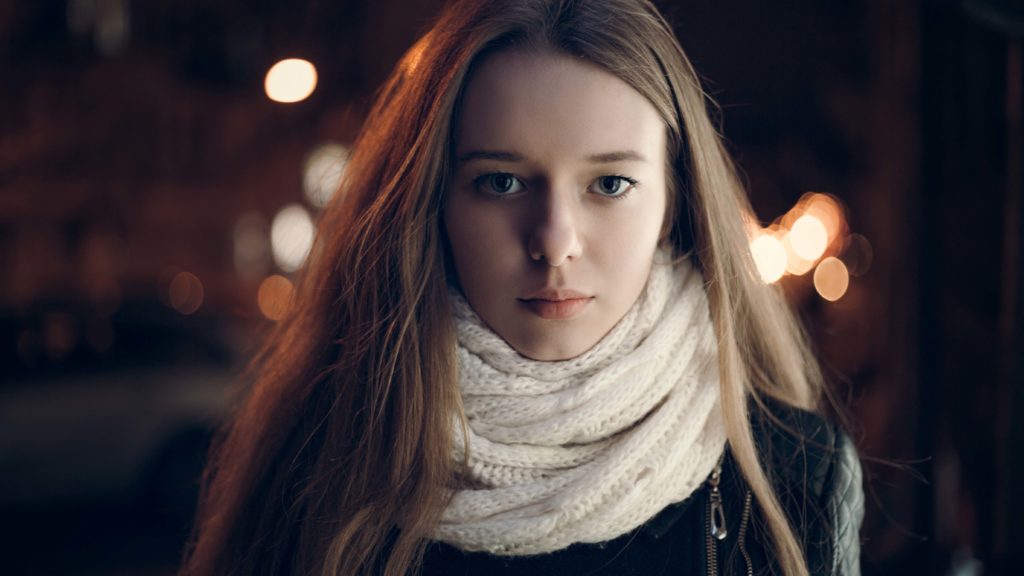
Night Flash Photography
Taking pictures in the dark presents some unique challenges for photographers. For example, when taking portraits at night, many photographers opt for slow shutter speeds to compensate for the low-light environment. But if there is any movement at all, the resulting images can be quite blurry.
A flash can help—but it presents new challenges. By using a flash at night, you can gain a clear image of your subject, but your background fades into blackness. A good solution is to combine long exposure with slower shutter speed and flash photography. This technique can work especially well with an external flash.5
After you learn why and when to use a flash, you can start learning flash photography techniques. Some are fairly straightforward and use only your camera flash. Others take more advanced skill and require additional equipment.
Also, if you don’t get the flash effects you want for a photo, you can always use Lightroom presets to enhance your image. Don’t feel intimidated about exploring flash photography.
Remember to give yourself plenty of opportunities to practice each technique. Mastering flash photography requires time and patience. Professional photographers will tell you that there is always more to learn to master the power of flash photography.
1. Bounce the Light
One of the first things you’ll explore in any flash photography course or flash photography tutorial is the concept of bouncing the light. In essence, this means that you’ll avoid pointing your flash directly at the subject of your photograph.
Why is a direct flash such an issue in photography? There are two main reasons:
Hard Lighting
Simply put, direct flash tends to create shadows with hard edges, which is considered “hard light.” Generally, photographers consider this very unattractive and instead seek to create soft light, especially in portrait photography. In a photography studio, they’ll often use umbrellas, softboxes, or other light modifiers to produce a softer light.
Flat Lighting
While flat lighting can illuminate a scene, it tends to make everything look two dimensional. There is
What can you do to avoid direct flash? Fire your flash head towards another surface, such as a neutral wall or ceiling to bounce the light. This technique helps you create a larger light source and soften the light before it hits your subject. You can achieve this by pointing your flash at an angle instead of straight ahead.
If your camera doesn’t offer this type of flash control, you may have to invest in an external flash, such as a speedlight or other electronic flash unit. In fact, you can even buy a speedlight with a built-in sensor that automatically determines the best spot to bounce the light from the ceiling!
As you experiment with bouncing light, you’ll learn the best flash photography practices. For example, one technique you can try is to angle the flash head toward the side of your subject to create a shadow that slims the subject’s face. Over time, you’ll learn new ways to bounce your light to create beautiful and unique flash pictures. Keep these ideas in mind for when you start styling your own photo shoots.
2. Diffuse the Flash
When learning flash photography, you’ll find out how to diffuse your photography flash. In fact, bouncing the light is one technique to diffuse light.
What is diffusing light? The best way to understand it is to make some observations. First, head outside on a sunny day and look at your shadow. You’ll notice that it is very dark with sharp edges. This is caused by the power of the bright light of the sun.
However, go out on a cloudy day and take note of how different your shadow looks. You’ll see that it appears gray instead of black and has softer, fuzzier edges. Why is this happening? The sunlight is filtered by the clouds. Instead of shining on you directly, the sun is diverted into different directions through the bottom of the clouds. Essentially, the clouds are diffusing and softening the light.
Professional photographers aim to replicate this cloud effect in their photography studios. They shoot through light modifiers, such as softboxes and umbrellas, to soften and diffuse the bright artificial light from a flash. This way, they can use advanced flash photography equipment without having to worry about harsh lighting conditions.
How can you learn about diffusing light without access to a photography studio? You can buy diffusers, small softboxes that affix to your camera, or covers for your flash. All of these items increase the size of the flash area and produce a softer light. You can also take a DIY approach and tape layers of tracing paper over your flash.
3. Use Through-the-Lens Technology
Take advantage of your camera’s built-in through-the-lens (TTL) light metering technology. In TTL mode, the camera assesses current illumination and shooting conditions to determine how much flash power is necessary to illuminate the scene. This helps ensure that you have the perfect amount of light for every scenario.
With a TTL flash approach, the intensity of light entering the camera determines the flash output. You can press the shutter release button halfway to activate TTL mode. In less than a second, your camera will determine the intensity of light entering through the lens and calculate the correct flash output. This technique is also called TTL flash metering or flash meter photography.
Using the TTL mode setting can be a great place to start when you are learning flash photography. With the right flash settings, you can still bounce light while using TTL for a soft, diffused effect. Even after you gain experience with flash in photography, TTL can still be useful. For example, event photographers frequently rely on TTL to get photos that are exposed correctly during changing lighting conditions. This helps avoid having to assess each situation and make manual adjustments—and prevents a photographer from missing a key shot.

4. Learn About Multiple Flash Techniques
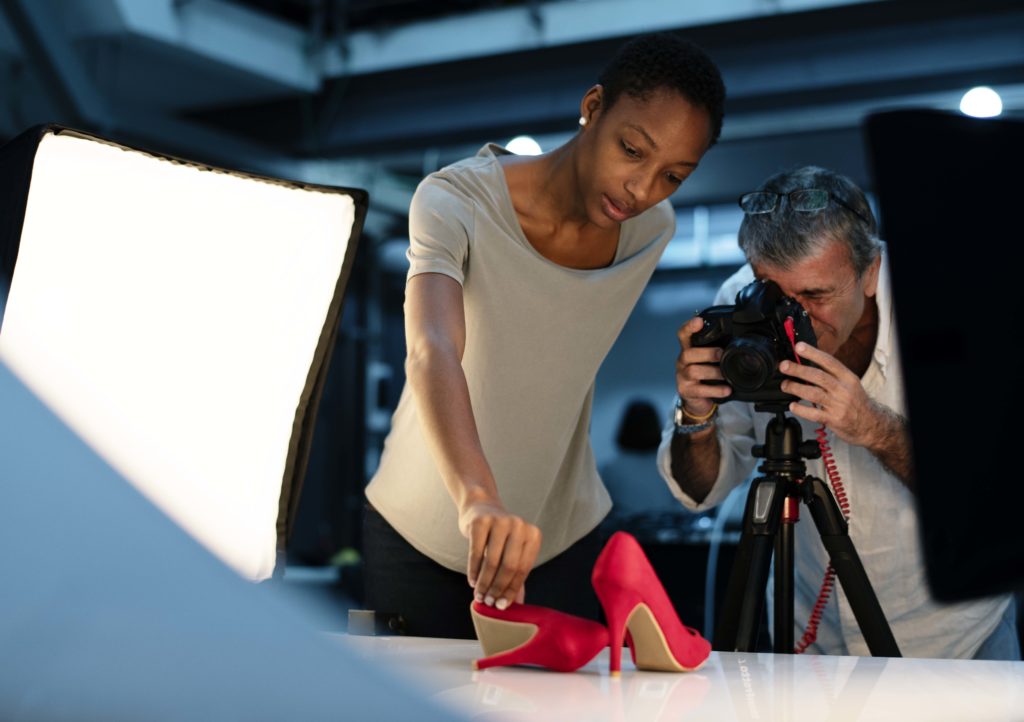
Advanced photographers who work in a studio learn how to master off-camera flash photography. They use multiple flashes to create highlights and shadows to create more depth and three-dimensional effects.
In a studio environment, the most common type of lighting is called a strobe or studio strobe. These strobes have fast recycle speeds, which means they can shoot at high speed if a photographer needs to capture a series of images in quick succession.
A traditional photography studio light technique is the three-point lighting setup. To replicate this approach, you need a key light beside your camera that faces your subject, along with a fill light on the other side of your camera. Behind your subject, you’ll need a backlight that faces your fill light. You can also use just one fill light or backlight for a two-point setup. Often, you can buy flash photography kits that include the studio lights and bulbs you need for these configurations.
In addition, you’ll need a wireless transmitter to synchronize all these flashes with your camera. As you can imagine, working with multiple flash photography lights can get complicated, but it’s an important skill to learn.

5. Try Colored Flash Gels
If you’re interested in colored flash photography, try flash gels for fun flash photography effects. You can attach these to your flash to produce tinted light. If you’re interested in any kind of creative or fantasy flash photography, colored gels should be on your list to try. You’re sure to uncover some new flash photography ideas.
Also, you can also use flash gels to mirror the ambient light of your room and help the light in your flash photos look more natural. You may notice that room lights have different color temperatures—and often these do not match the color temperatures of your flash. When this mismatch happens, it becomes evident that you used a flash in your photos. To avoid this, try setting the white balance of your camera to auto and using a color filter or gel over the lens.

Mastering Flash Photography Can Help You Grow
It’s not unusual for new photographers to feel intimidated about pursuing flash photography at first. But after you start learning, you’ll find that there is more to flash photography than firing a bright burst of light at your subject. You’ll discover that sometimes the added bright light a flash offers is the only way to capture the perfect shot in low-light conditions.
There are many flash photography techniques to master. You can start with the basics and set your sights on learning fill flash photography down the road. Alternatively, you can use the built-in TTL flash feature to automate flash output when you’re first starting out. That will help you ensure you expose photos correctly while you are focusing on learning other foundation photography concepts.
With practice, you’ll learn how to adapt to various photography situations. For example, the best flash for real estate photography approach is very different from wedding flash photography. And if you take portraits, you’ll start to learn about the nuances of makeup for flash photography.
At first, all you really need to begin exploring DSLR flash photography is a camera. It’s also a good idea to familiarize yourself with the best photo editing apps for photographers so you can perfect every image. Practice bouncing and diffusing light, and experiment with colored flash gels. In time, you may choose to invest in photography flash equipment—including specialized lighting with a light stand or light modifiers. You can even buy flash bulbs like the ones used on older film cameras.
Learning flash photography gives you so much new territory to explore. The best advice any photographer can give you is to jump in, get started, and never stop experimenting.