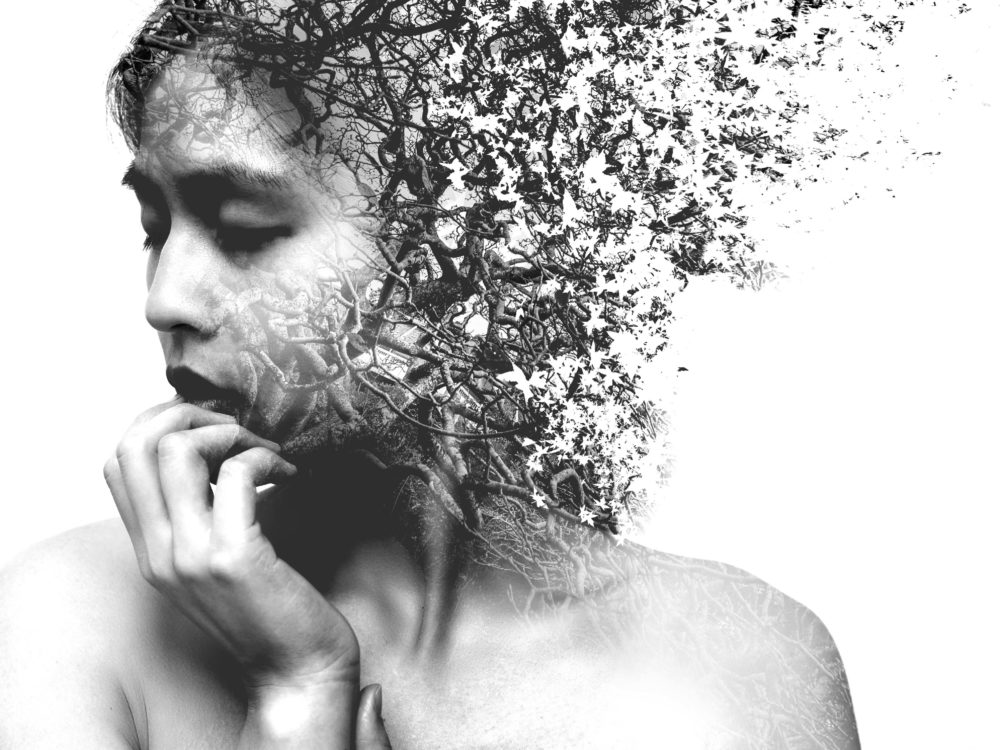
What is double exposure photography? Simply put, double exposure photography involves fusing together two images to create a single artistic image. Many photographers want to master this unique technique to include in their portfolio.
5 Easy Steps to Achieve Double Exposure Photography
- Envision the Photo You Want to Create
- Shoot the Base Image
- Capture the Layer Image
- Merge Your Images Together Using Photo Editing Apps or Software
- Use Lightroom Presets to Enhance Your Double Exposure Photography
After you’ve gotten comfortable with blending two images, you can experiment with combining multiple images. Multiple exposure photography opens up so many new possibilities to explore. It’s worth investing the time to learn more about exposure photography techniques
Since the advent of photography in the mid-1800s, double exposure photography has been a popular art form. At first, photographers often fused two images of people in different poses into a single frame. This technique created unique double exposure portraits that made an individual appear to have an identical twin. During this era, photographers created double exposure images by exposing the film multiple times without advancing to the next frame.
The emergence of digital camera technology has made multiple exposure photography accessible to photographers of every skill level. In fact, DSLR cameras typically include an in-camera multiple exposure function. However, many photographers pursue double exposure in Photoshop and other photo editing apps or software to gain even more creative control over their exposure photos.
Step 1: Envision the Photo You Want to Create
The first critical step in double exposure digital photography is conceptualizing the end result. Ask yourself what double exposure photography theme or message you want to convey with your photo. Since you only need two images, it’s worth taking the time for some upfront planning.
One popular approach is to blend a portrait photo with a landscape or abstract image then adding interesting textures. With this approach, you can evoke strong emotions and make viewers pause to contemplate your message.
After you’ve formulated your idea, you can begin thinking about the visual composition of the image. Will the final photo have an image of flowers superimposed over a portrait? Will your subject be male or female—and will the subject be in profile or facing forward? Although you can adjust color and texture in Photoshop or another digital photography editing app, the best exposure photography always starts with quality photos.
Step 2: Shoot the Base Image
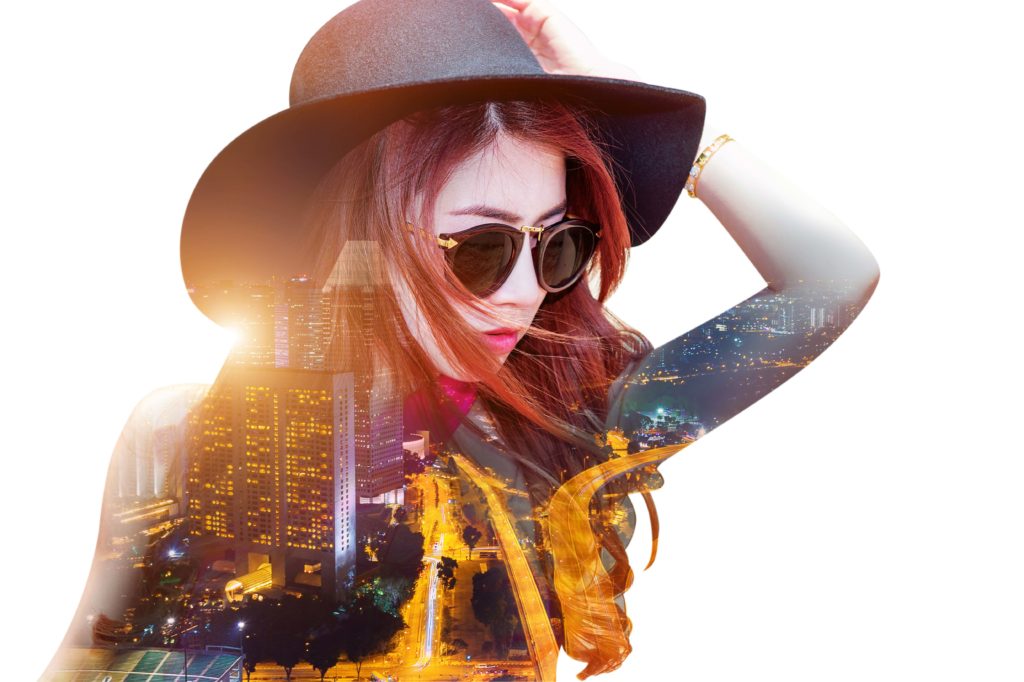
Your base image can be anything—but it should have a very clear main subject. Often, the best base photos have strong outlines. Consider people and pet portraits, still objects, and body parts for base images. Always keep your vision in mind and let that take the lead.
When shooting your base image, try to keep your subject completely inside your frame. You should easily see the outline of the subject. It’s also a good idea to have a neutral or simple background to make the editing process easier.
Step 3: Capture the Layer Image
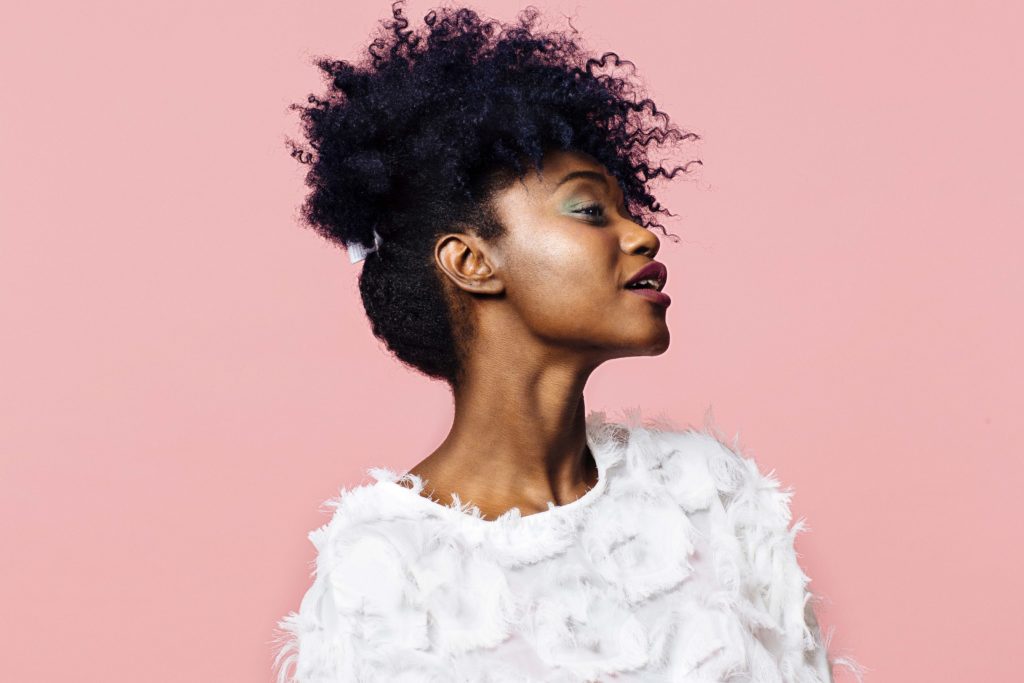
Like your base image, your layer photo can be anything—as long as it conforms to your vision. A popular double exposure photography trend today is to use landscapes or urban landscapes as the layer image. You may want to experiment with shots of a grassy meadow, a forest, the sunset over a lake, or a busy city street.
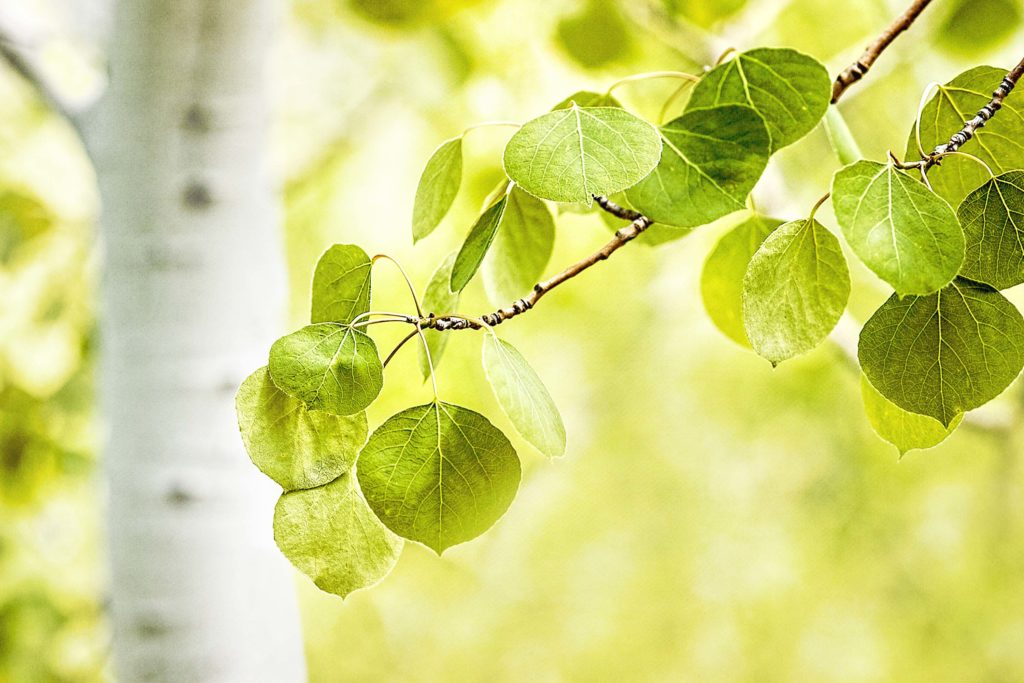
Layer images often feature intricate details. Tangles of branches and delicate leaves and petals can work well if you’re experimenting with a natural theme.
It’s important to expose your layer image evenly. Be sure you have enough light so that your photo is not too dark. Always take several shots from different angles and perspectives. That will give you more options during editing. You’ll never know what two images will look best when blended together into a fantastic double exposure photo!
Step 4: Merge Your Images Together Using Photo Editing Apps or Software
Fortunately, today’s photographers have a choice of many photo editing apps and software packages to create double exposure photography. You can start by experimenting with simple editing apps—then try your hand at using more robust tools.
Adobe Photoshop is an ever-popular choice that offers you great creative control over your exposure photos. To further enhance the visual appeal of your double exposure photo, you can rely on high-quality Lightroom presets designed by expert photographers.
Apps for Quick-and-Easy Double Exposure Photography
When you’re first learning about double exposure photography technique, low-cost, easy-to-use apps are an excellent choice. There are tools available for both iOS and Android devices. They can help you better understand exposure photography before you invest in more expensive software options.
To learn photography exposure basics, you can experiment with these popular apps:
- Blend Me – With this double exposure photography app, Android users can experiment with different techniques to create unique images. In fact, this app lets you combine up to four images, making it a true multiple exposure photography app.
- Enlight – This powerful iPhone app features a blending tool that helps you create double exposure photography with ease. After you’ve created your exposure photos, you can add effects or adjust your photo to boost its visual appeal.
- Image Blender – A popular iPhone double exposure photography app, Image Blender produces high-quality exposure images with ease. With a few taps on your smartphone screen, you can add and change elements, adjust intensity, and add textures to create beautiful double exposure photography.
- Photo Blender – This easy-to-use app lets you merge two images to create a double exposure photo right from your smartphone. You can also overlay quotes that are built into the app and share directly to social media.
These apps are great tools to gain familiarity with foundational double exposure photography technique. But serious photographers will want to rely on Photoshop for their double exposure photographs.
Here is a tutorial on how to do double exposure photography in Photoshop.
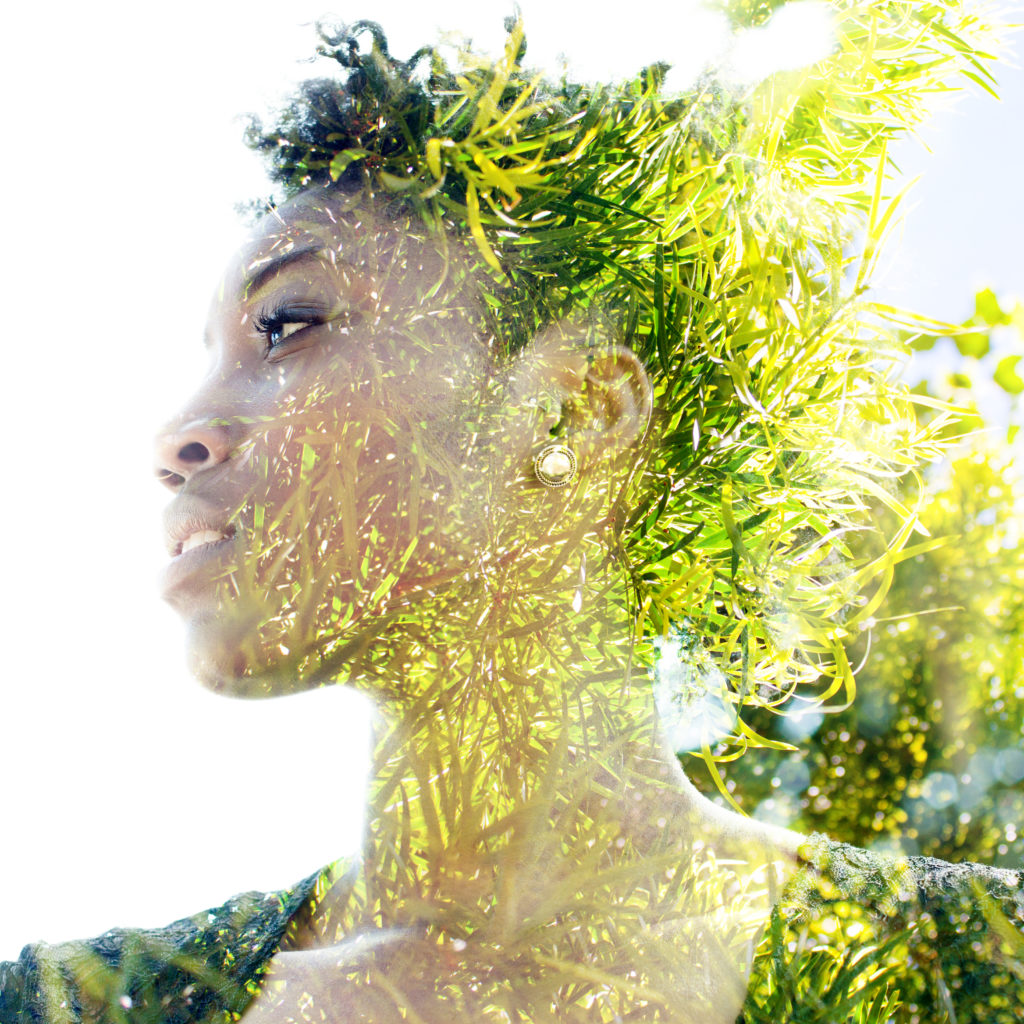
Photoshop Double Exposure Photography Tutorial
Learning how to blend two photos in Photoshop takes some practice but is within your reach. Just follow our double exposure Photoshop tutorial and you’ll see great results in no time.
First, open your base and layer images in Photoshop. If needed, touch them up using the Healing Tools and adjust the brightness and contrast to optimize your image for blending.
Next, you need to eliminate the background from your image. This will be easy to do if your image features a clean background. Simply use the Magic Wand Tool or Quick Selection Tool to select what you wish to eliminate. You can go to Select –> Invert to change the selection to the main image—the part you want to keep.
To capture small details, you can use the Refine Edge Tool while using the selection tool. Click on the Smart Radius Box and increase the edge definition value to at least 1.5.
Now move to the output section and select New Layer with Layer Mask. This allows you to create a new image with your selection without making any changes to your original photo. Next, select Add a Mask followed by Create New Layer. Move the new layer you created under your cut out image and fill it with white or another neutral background color.
You are now ready to drag your layer image over your base image. Select the layer image and press Ctrl on your keyboard and click on the Layer Clipping Mask button on the base image. This lets you see the silhouette of the base image on the layer image. You can unlink the mask and move the layer image to place the desired portion within the outline of the base image.
Photoshop features several layer blending options that you can explore. One of the most popular for double exposure photography is the Screen layer. If the built-in layer blending options don’t produce the results you want, you can copy the base image and drag it onto the layer image. Select Lighten as the base photo’s blending mode. This allows you to make additional adjustments and erase sections of the base photo.
You can also create multiple exposure photographs with Photoshop. In time, you can learn to create one-of-a-kind multi-exposure photography that amazes viewers and helps you stand out as a talented photography expert.
Step 5: Use Lightroom Presets to Enhance Your Double Exposure Photography
The right Adobe Lightroom preset can take any double exposure photo from good to exceptional in minutes. You can choose from various Lightroom preset collections. Each one can offer a distinct mood or feel for your image—and help you convey your double exposure photography theme:
- Outdoor Lightroom Presets Collection – Specifically designed to enhance photos of nature and the outdoors, this collection offers a variety of tones and colors.
- Sunsets Lightroom Presets Collection – If you want to make the colors in your sunrise or sunset photos pop, this is the collection for you.
- Orange and Teal Presets Collection – To brighten any photo or convey a warm and nostalgic vibe, try this collection of presets that adds blue and orange tones to your exposure photos.
These are just a few of the many Lightroom preset collections that can enhance the double exposure photography color of every photo. Test out several so that you can be ready with your favorite go-to presets whenever double exposure inspiration strikes!
Become a Pro at Double Exposure Photography
Today, double exposure photography is everywhere—from advertising and social media to high-end art galleries. If you want to explore a photography technique with a rich history and vibrant present, double exposure photography is an excellent idea.
If you want to follow in the footsteps of pioneers and modern exposure photography artists, you can pursue double exposure film photography. This can be a difficult skill to master, however. Double exposure digital photography is much more accessible and can help you grow and learn quickly.
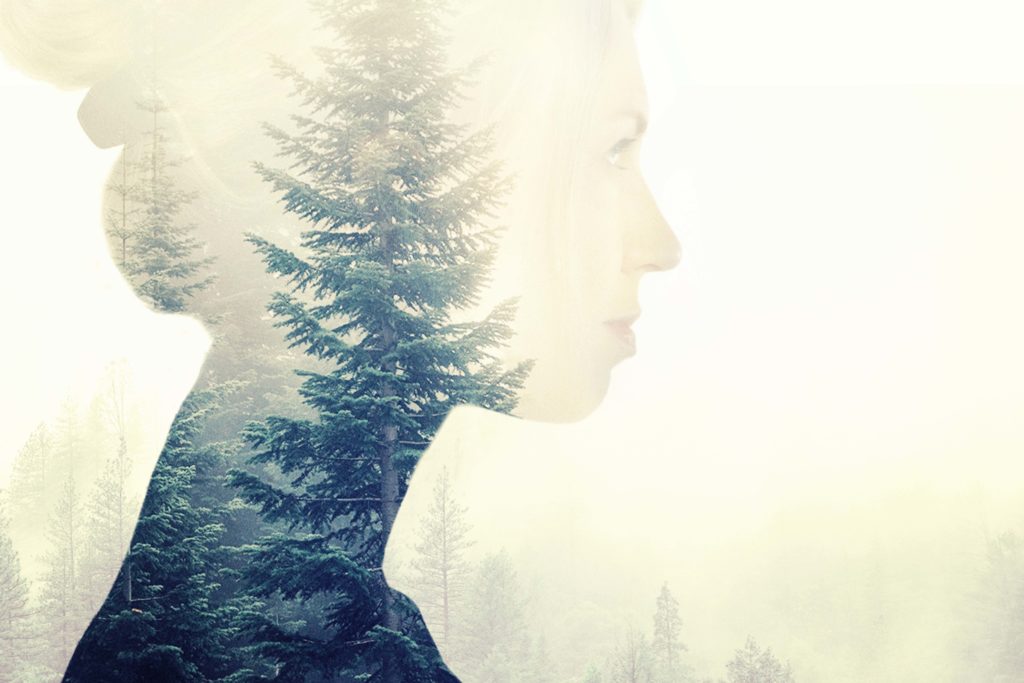
You can break your double exposure photography process into five steps. First, take the time to consider the message or theme of your image and decide on its composition. Next, you can shoot your base photo—which should be a clearly-defined subject with a distinct outline on a clean background. Then you are ready to capture your layer image, which can be detailed and intricate.
At first, you can use apps for blending your base and layer images into a double exposure photo. For more creative control, you’ll want to rely on Photoshop to merge your images. Once that step is complete, you can use Lightroom presets to enhance your photo. You can find professional Lightroom presets for every photography style—from vivid and whimsical to moody and rustic.
The artistic possibilities with double exposure photography are endless. You can ultimately specialize in anything—from double exposure wedding photography to double exposure to double exposure portrait photography, and much more. If you want to stretch your talents even further, you can move into creating multiple exposure images that are truly unique works of art.
When you’re ready to experiment, just follow our proven double exposure photography tips. Double exposure photography success is within your reach—so start your journey today!
