Editing photos on iPhone can be easy and fun. And with the right tools and guidance you can make your iPhone photo edits look as good as professional photo edits done on a desktop. Oh, and editing photos on iPhone means you can edit your photos anywhere, anytime!
Attention Android users: For a detailed walkthrough of the best camera apps and best photo editing apps on Android head over to our Comprehensive Guide on the Best Photo Editing Apps on Android!
We’re going to review the best Camera Apps and best Photo Editing Apps for iPhone and Top Strategies you should adopt to achieve the Best looking Photos on your iPhone.
We’ll cover the following:
- Editing Your Photos on iPhone is Awesome in 2019
- Have the Right iPhone – The power to Edit Raw Photos on your iPhone
- Practice! Take Lots of Pictures – [The Best Camera is the one in your Pocket]
- Make Sure you Shoot in RAW – [You can do this on an iPhone]
- Get the Right iPhone App for editing your Photos
- Take full Advantage of iOS features – [Manage Photo Assets The Smart Way]
- Share your Shots, Get Feedback, and Go Shoot More Pics!
- Achieve Next-Level Edits with Mobile Presets
(feel free to jump to any section that you feel is most applicable, but we recommend reading through all the sections ensure you don’t miss anything)
 Editing Your Photos on iPhone is Awesome in 2019
I’m sure we’ve all seen a million photos in our lifetimes, and I’m willing to bet that the majority of those photos were viewed on a mobile device – you’re likely reading this article from a mobile device right now!
Viewing photos on a mobile device isn’t new, neither is taking photos. Way back when flip-phones were the ‘in-thing’ you could take pictures with your mobile phone – but flip-phone photos weren’t impressive by any stretch of the imagination.
What is new is the ability to edit your photos on your phone – not just auto-enhance editing. I’m talking professional level photo editing right there in the palm of your hand!
The Power to Edit RAW Photos on your iPhone
You might be wondering how it is possible to achieve professional level photo editing with something small enough to fit into your pocket. Well, with the recent advancements in mobile chip technology, you can do far more with you iPhone than you think.
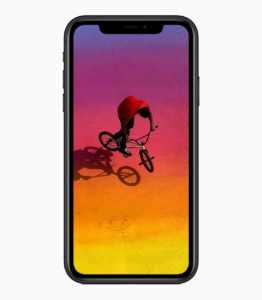
The latest iPhone XS Max is equipped with an Apple-designed chip called the A12 Bionic. That sounds ominous enough, but The specs in this chip will blow your mind! From Apple’s product pages we learn quite a bit about the capabilities, specially that the A12 chip in the iPhone is equipped with a Neural Engine that is specifically designed to process images. Neural Engine is fancy way to say the chip is smart, whip smart and whip fast!
The A12 chip has 6 CPU cores, 4 GPU Cores, and 8 Neural Engine Cores. Translation: your iPhone is very likely to be more powerful than a laptop that is a few years old – or a recent one you wanted to save money on by purchasing a low-end model.
Conclusion, your iPhone is almost over-equipped to handle the most demanding photo editing tasks you throw at it.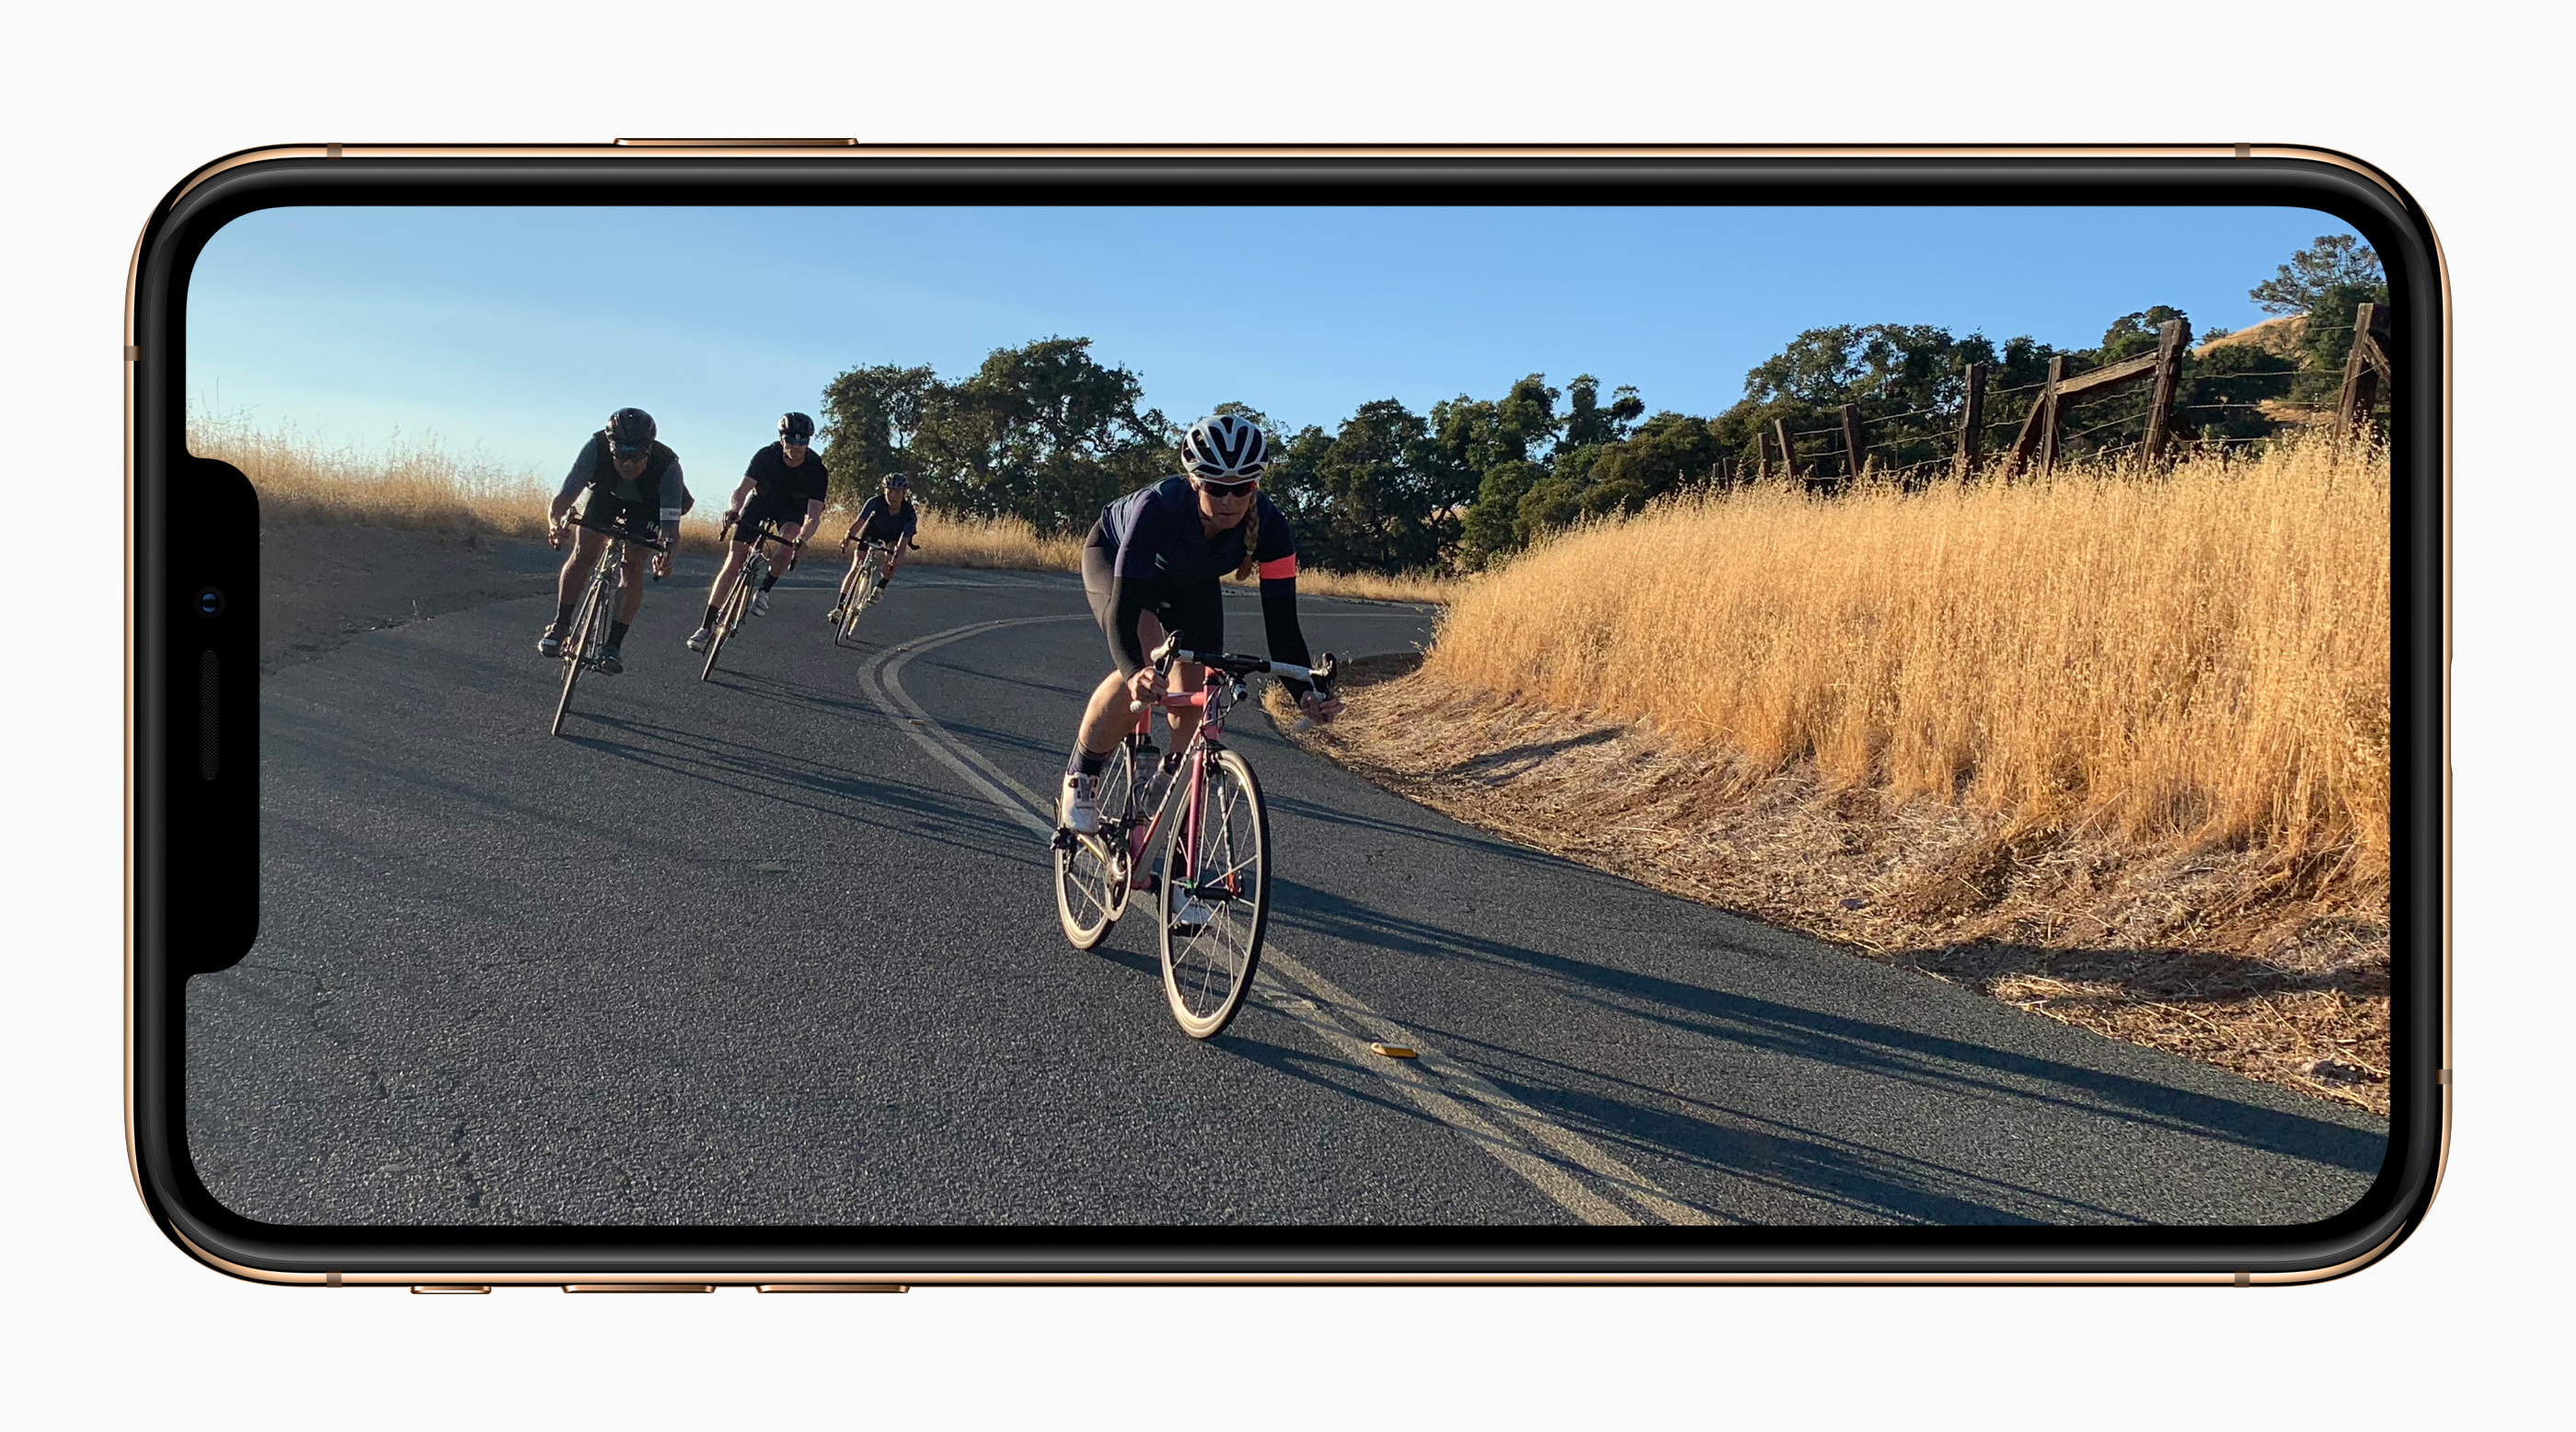
Now, if you are serious about photo editing, and taking your craft to the next level is important to you, having equipment that just works can make a huge difference.
The latest models of iPhone are incredibly powerful and are definitely up to the task of editing RAW photo formats.
I’ll walk you through some of your options for the best photography apps, both photo editor apps and camera apps.
Practice! Take Lots of Pictures – [The Best Camera is the one in your Pocket]
It has been said several times the Best Camera is the one you have with you! That is because even the greatest photo opportunities are worth nothing if you don’t have a camera with you in the moment! Professional photographers, or people who aspire to be professional photographers, see the world through their viewfinder – even if they don’t have their camera in-hand.
Fortunately, there is rarely a time when modern man doesn’t have a camera with him. We carry these phones around in our pockets, we use them to browse the internet, listen to music, communicate with people, and yes take photos – LOTS of photos!
Framing the subject, balancing the lighting, focusing properly, and intuitively knowing the right time to snap a photo is something that comes with practice
Digital cameras used to dominate in pictures taken per year. Way back in 2010, digital cameras accounted for 121 million photos taken each year. 6 years later that number had dropped to below 13 million while the total number of photos taken (with any camera) has exploding! 90% of photos taken today are taken with a Smartphone. And these photos aren’t bad at all! In fact, photos taken with a smartphone are often indistinguishable from a photo taken with a DSLR!
![]()
So, you aren’t alone in your mobile photography! Just about everyone is taking pictures. There can be a dramatic difference between the quality of photos you take with your iPhone when compared to someone else who didn’t employ basic photograpy principles.
So, practice with intent. keep learning your craft, and TAKE LOTS OF PHOTOS!
For tips on basic photography principles – for beginners and professionals who want to brush up their skills, visit the guide section of photonify.com.
Make Sure you Shoot in RAW – [You can do this on a iPhone, No DSLR Required
The discussion on RAW vs non-RAW is often an illusive enigma that can confuse people. So, let me give it to you straight so you don’t get confused in the detail that will follow.
RAW is a format type, or a digital file type. Just like you can have a PDF document that contains words and images, you can also have a WORD document that contains words and images. The difference comes down to what can be edited in the file after it has been created.
PDF documents can only be edited by overlaying additional components on top. Whereas a WORD document can be edited at a deeper layer, including the changing of words and images entirely.
So, think of RAW format as a way to capture pictures in a way that allows you make bigger changes your photos later on. The more information about the photo you took that you bring to your photo editing software, the more magic you can achieve with it. (This PDF to WORD analogy breaks when considering file size. A RAW photo can be 30 MB or more where a regular JPEG of the same resolution can be around 5MB. )
The other benefit of shooting with a RAW photo format is that you can often correct mistakes or counteract certain conditions that might have caused your photo to be slightly off. This includes parts of the photos that might be too dark, too bright, or have an inaccurate white-balance due to strange lighting.
Sometimes these altering conditions can give your photos a unique look and feel and you decide you want to keep them. But, if you shoot in RAW formate, you can have the best of both worlds and change your mind later – if you want to correct the photo.
I know you’ve been wondering – we’ll cover this more in the section below – where is the RAW setting in my iPhone? Is it in the Settings App??
Well, no, it isn’t.
Here are the settings that Apple exposes to users in the settings App:
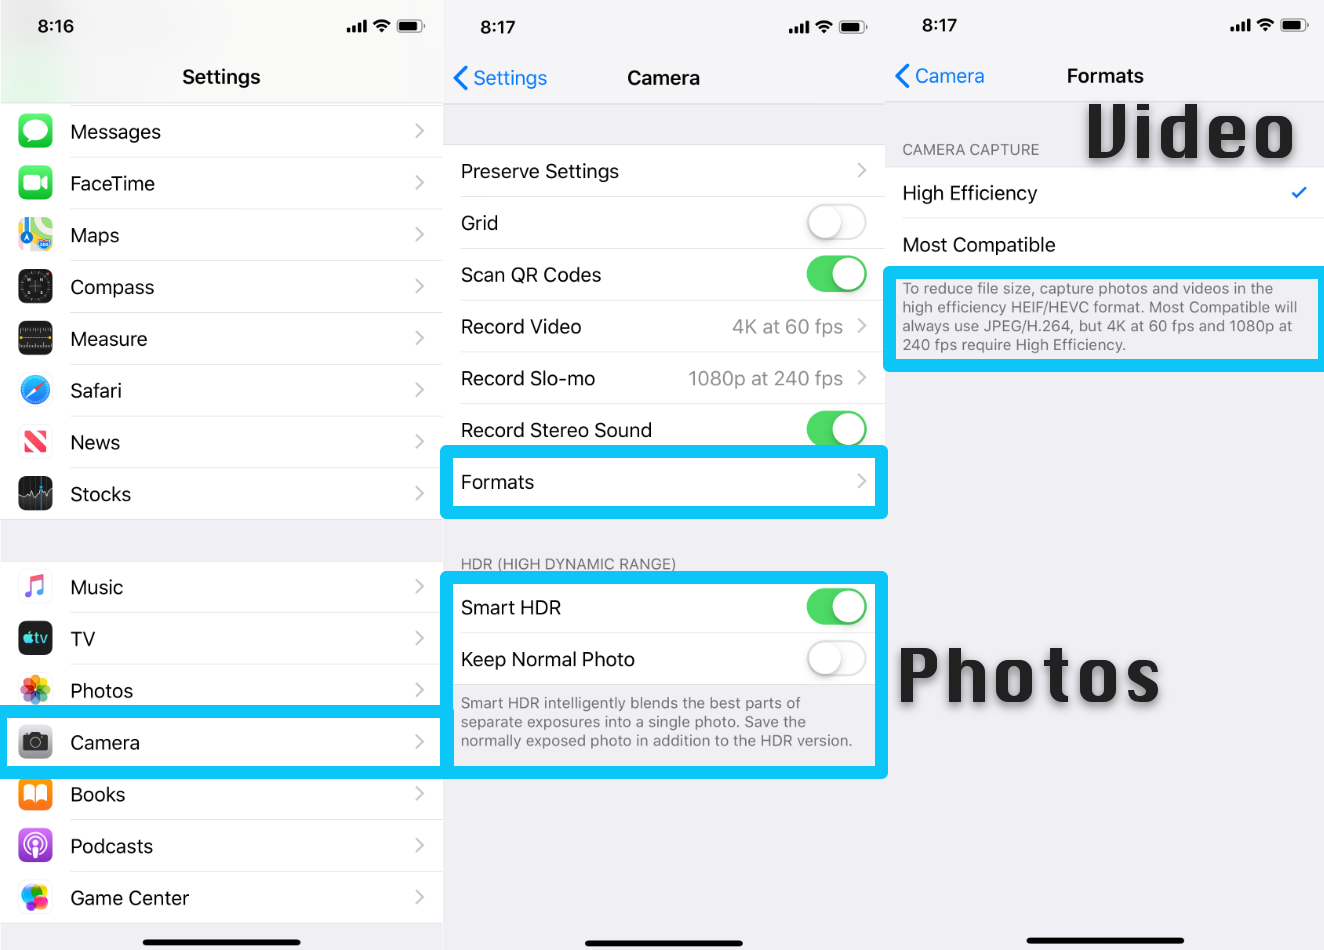
For Photos, you are able to have Smart HDR On or Off. You also have the ability to keep a “Normal” photo that doesn’t have HDR applied to it. HDR (High Dynamic Range) is a really great feature that was implemented in iPhone years ago, though it is implemented differently from the way a professional camera achieves HDR.
iPhone will take a series of pictures at different exposure levels to ensure it captures the highlights and shadows and then it will automagically create a composite image based on the photos taken. This allows you to see details in the darker parts of a photo and also see detail in the brighter parts of the photo without getting the blown-out effect.
HDR is great, but it’s not the same thing as RAW. And just because the setting for RAW isn’t inside of the system settings on the iPhone, doesn’t mean you can’t shoot in RAW format with the iPhone camera.
In fact, Apple explicitly enables 3rd Party App makers to not only edit RAW photo formats on the iPhone they also enable 3rd Party App makers to capture and store RAW image files with the iPhone camera!
Lightroom is an example of a 3rd Party Photo app on iPhone that not only edits RAW photos, but also exposes the settings to take RAW Photos to you and me!
Lightroom uses the DNG photo format to capture photos with the Lightroom camera. DNG (Digital Negative) is a patented, open, lossless raw image format that was created by Adobe and give to the photography world in December of 2017 (Thank you Adobe!).
Apple covered RAW photos in a recent App Store PHOTO 101 post:
“RAW images require a little more work to edit, and they take up more space. But as a result you get much more sensor data to work with, which results in more control over factors like dynamic range, colors, and noise.”
What the Heck Is a RAW Image?: It’s a way to make super-high-quality photos via editing.
Here are a few other Camera Apps that also let you shoot in RAW format:
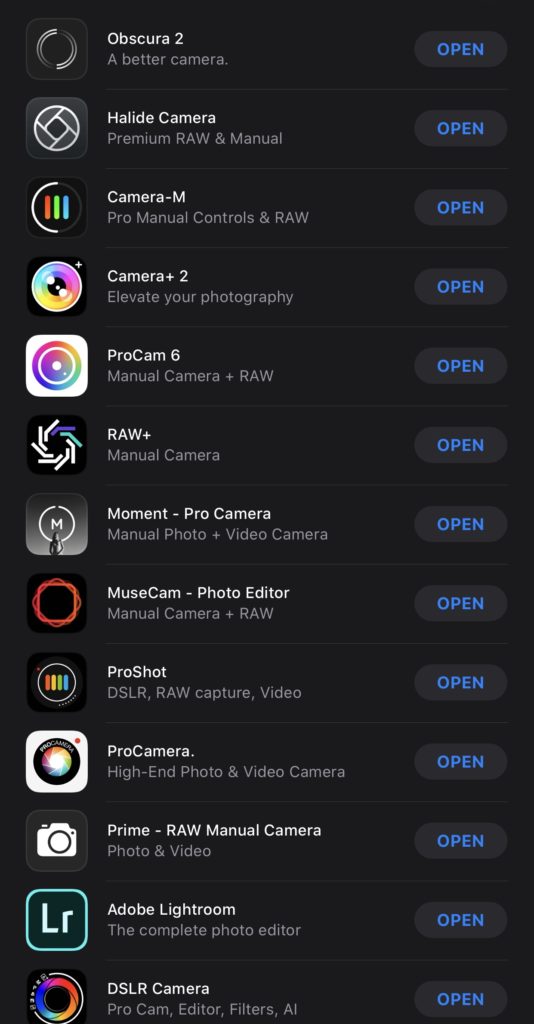
- Obscura 2
- Halide Camera
- Camera-M
- Camera+ 2
- ProCam 6 Raw+
- Moment – Pro Camera
- MuseCam – Photo Editor
- ProShot
- ProCamera
- Prime – RAW Manual Camera
- Adobe Lightroom
- DSLR Camera
Get the Right iPhone App for Editing your Photos
With all the unbelievable advancements that we’ve seen in mobile phone technology lately, it’s been a photographers playground when it comes to picking a photo editing tool that they can carry with them in their pocket! Editing photos on the go has always been great – but until recently we have been limited in the type of edting that we could achieve. This was both a hardware and software issue – mobile phones weren’t powerful enough and App makers hadn’t put in the time to make compelling titles.
Well, that time is past and we have entered a time where editing you photos on your iPhone can be just as good, if not better, than taking your photos back to your desk for some pro-level treatment!
The pro-level photo editing apps on the iPhone often share features, and the ultimate decision on which one works best for your workflow is often a matter of taste.
We’ll provide an overview of what’s out there, but we recommend you give them a try to see what your favorite is.
Here is a sampling of some of the most popular photo editing Apps available for the iPhone:
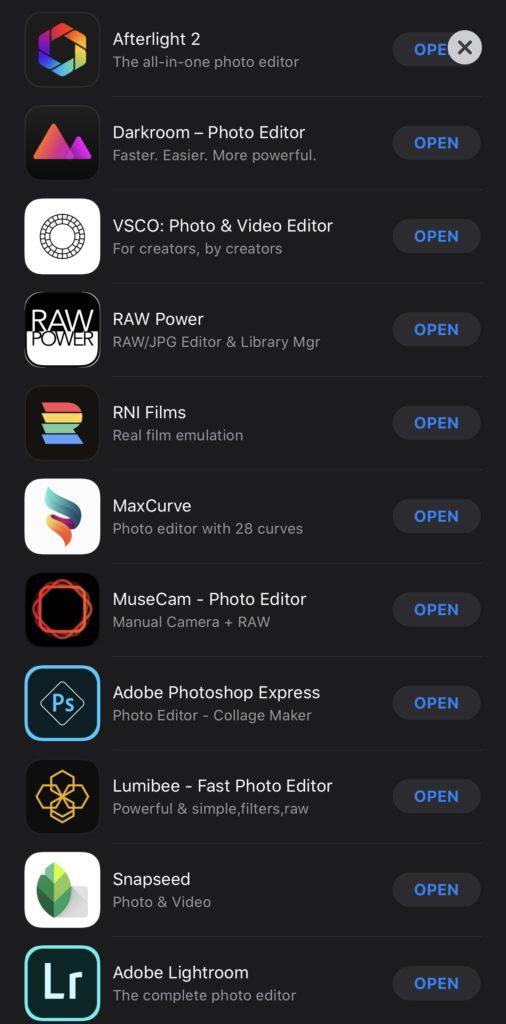
- Afterlight 2
- Darkroom – Photo Editor
- VSCO: Photo & Video Editor
- RAW Power
- RNI Films
- MaxCurve
- MuseCam – Photo Editor
- Adobe Photoshop Express
- Lumibee – Fast Photo Editor
- Snapseed
- Adobe Lightroom
Manage Photo Assets the Smart Way – [Take full Advantage of iPhone Photos App Features]
There is a lot of functionality that is build in to the default camera and photos app that came with your iPhone. The one that is easiest to take advantage of is the photos app storage and backup capabilities.
Yes, there are other photo storage services like Google Photos, DropBox, Amazon Photos, OneDrive, and others who do basically the same thing – store your pictures in the cloud.
The best part of using the standard photos app in your iPhone is your favorite photo editing App can easily reach inside of the Photos app to pull out a photo to edit and just as easily put it back once editing is done.
This enables lots of conveniences! First, you get the default iCloud backup that allows you to access you photos on any device, including on a PC or the web; second, you are able to use any camera or photo editing app you want; and third you’re storing your pre and post-production media with a company that will be around for a while – startups with flashy apps that are cool for a year and the developer stops supporting or updating is a bad place to keep your permanent photo library.
This setup allows you to do things like take a picture with Hilade – which saves automatically to your Photos App camera role, then open the photo in Lightroom to apply your favorite preset. You don’t have to spend any time in the Photos App if you don’t need to or want to.
It acts as a shared database between all the camera and photo editing apps that you are using or trying out. And using it is a great way to keep yourself from committing to a single App incase you want to switch things up down the road.
Achieve Next-Level Edits with Mobile Photo Presets
Taking RAW photos and using professional photo editing software on your iPhone is a phenomenal advancement in the world of photography! We’ve come a long way from the days of darkrooms, film development, and film canisters to name a few old-school things.
With all this powerful technology in the palm of your hand, you can do so much more than ever before! And it is a lot of fun to use these powerful tools to make beautiful things by taking photos and editing them.
But, sometimes you are wanting to take a pic, skip the advanced editing, and share something with the world as fast as possible!
For these situations, Photo Presets are the absolute best route to go! At Photonify.com, we have more Mobile Presets than you’ll find in any of the Apps mentioned above. We have thousands of presets that range across more than 100 different categories! These presets can be used on your desktop – for sure – but they also work on your iPhone! 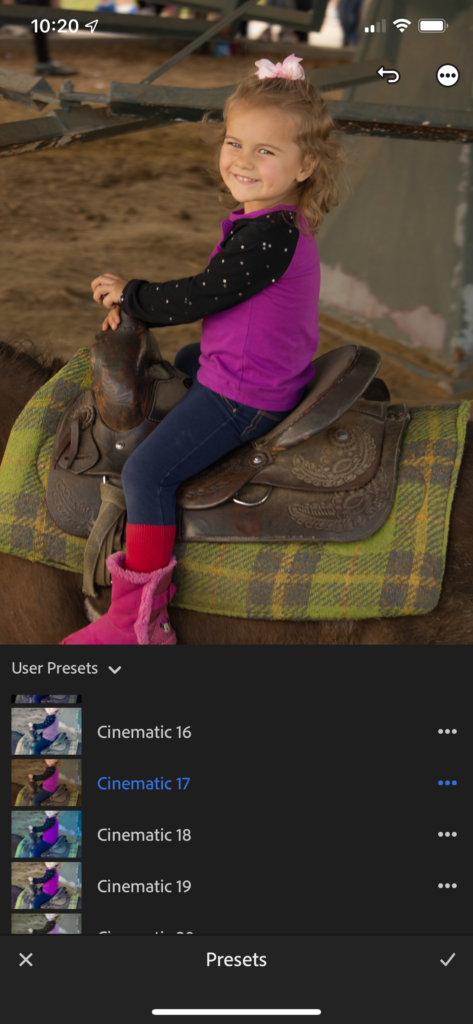
So, if you are wanting to achieve a certain look on a photo you took at the beach – it’s as easy as applying a Photonify Preset through Mobile Lightroom.
We walk you through the steps in a recent post on How to Install Mobile Lightroom Presets. All the information you need is there, including a video walk-through.
Extra Credit: Use a DLSR & Edit on iPhone For Maximum Mobility
For some extra credit here, I wanted to jump out of the software side of things and mention a little bit about my hardware setup – at least the parts that capture and store my photos – My DLSR with SD Card and my iPhone! Using them together is awesome!
When have my DSLR with me, it means i’m in full photograher mode. It also means I also have my favorite accessory with me as well. It’s a simple Lightning to SD Card reader – and it’s magical!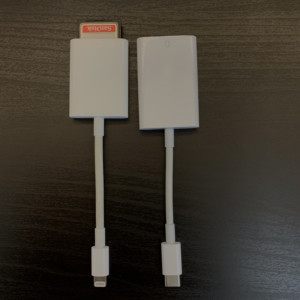
(Lightning to SD Card & USB-C to SD Card – for iPhone and iPad)
I can snap 10-20 pics with my Nikon, quickly pull out the SD Card and download the massive RAW photos to my iPhone or iPad and be done with edits and sharing before I get back to my car.
Most of the newer DSLR cameras allow you to use Wifi to transfer the images to your iPhone or iPad, but I found that camera makers aren’t necessarily good App makers, and Wifi will drain the battery of my camera and iPhone while taking longer to transfer the files over the air.
I save time and battery by using the Lightning SD Card reader with my iPhone, and I’m able to quickly proof my photos on a screen other than the viewfinder of my camera.
Pretty slick, if you ask me!