Before we jump into why we should or shouldn’t use Adobe Camera RAW, we first need to go over a few basics. After we have gone over the basics, we can move into the best way to get the most from your edits. We are going to learn:
- What is a RAW image file
- Differences between RAW, and JPEG
- How to shoot your images in raw
- What is Adobe Camera RAW
- The difference between Adobe Camera RAW and Lightroom
- How to edit your RAW images in Adobe Camera RAW
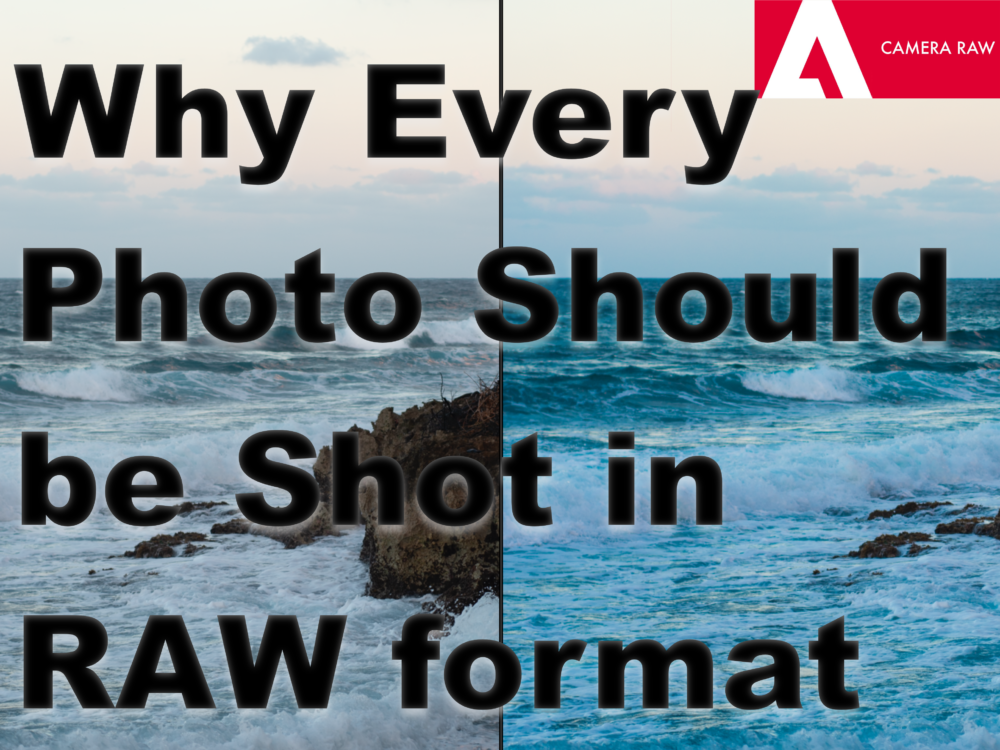
What is a RAW image file
A RAW image file is a picture before your camera processes the image into a JPEG file. It’s kept in its original format. It’s the image as your camera sees it, completely unprocessed. A lot of times when you are choosing this route, the image doesn’t have any adjustments done to it, and at times when you are shooting, you’ll find that the sky can be too bright, or the subject you’re trying to capture is too dark. However, because there are large amounts of data within a raw file, you are able to reduce the sky’s brightness as well as increase the clarity to make your subject “pop”.
Almost every digital camera or smartphone processes it’s images into a JPEG file using any of it’s automatically selected settings. Such as, white balance, color saturation, contrast and sharpness. If you are manually selecting your camera to take pictures in a raw format, it does create an extra step, which can be exactly what you’d want. From that extra step you can process and edit the image as you would like, using the modification that fit the images needs.
Differences between RAW, and JPEG
To understand the difference between these to formats, we need to understand when you’re going to be using each one and the good that comes from using them.
Starting with JPEG (Joint Photographic Experts Group) or JPG files. They are one of the most common used formats for storing and capturing images. Because of their size, they are extremely portable. You are able to share on your social media platform, email it, publish it to a website and print your images as soon as the image is captured, with very little modification.
These files have already been processed or edited by your camera, putting it into a final state that still gives you the option of continual adjustments. It has been optimized so that the white balance, saturation, contrast and sharpness leave the image looking great; with little to no extra editing.
There are quite a few benefits for shooting your images in a raw format. When it comes to processing, you’re in the drivers seat. You are able to tailor as you see fit. Raw files allow you to do more editing than with JPEG. You are able to capture and retain more data, thus allowing you to get a full range of color and tone within each image. If it weren’t for the increase in data, your image would degrade with each alteration you make.
Although you may think that shooting in raw is the way to go, you need to remember, RAW images may not immediately come out sharper, more detailed, or better saturated. You may find yourself spending a lot of time editing. From capturing to storing, raw can be larger and more time consuming. Typically when shooting in raw, your camera can take longer to store the file which makes burst shots or action scenes more difficult. If your goal is web delivery, social media posts, sharing with family and friends or printing, most raw files have a hard time without additional applications.
If you’re wanting the best of both worlds, you absolutely can have your camera shoot in “RAW+JPEG”. Not only will it give you an image that you can edit later (raw), but it will give you an already processed version (JPEG) that is ready to show off.
How to shoot in raw format
Shooting in RAW can be fairly simple. Depending on the type of camera or mobile device you’re using, you are able to change the settings all on your own – and you’ll be glad you did once you get to your image editor for your photo retouching!
If you are using most of the popular branded cameras, you simply go into your settings and change the “Quality” setting to RAW Capture – or just “RAW”. If the option to use RAW+JPEG is available, be aware that it will create two separate files rather than one. RAW capture will taking up more space, no matter if yo uuse RAW Capture alone or with JPEG + RAW Capture. Using both image formats may be what you are want if you are planning on making edits as well as sending your unedited photo right away over a mobile network.
If you are taking pictures on iOS and Android, you are still able to take advantage of RAW image formats. Some Android phones allow you to change the RAW Capture setting in the default camera app. And if you are using an iPhone, you can download several high-end iPhone photo apps that allow you to shoot and edit in RAW format.
A small tip if you are planning on using any type of mobile device to capture raw images, raw can take up a lot of space. It can take anywhere between 10 to 20 MB for each photo. Unless you are offloading your pictures to your iCloud or, if using Android, a micro-SD card. If you’re not using either, you’ll end up depleting your phone’s storage fairly quickly.
What is Adobe Camera Raw
Once you have your images in a raw format, you are going to need a program to make your photos come to life.
Adobe Camera Raw is a software tool that is part of Adobe Photoshop workflow and is available in the creative cloud apps (used by by Photoshop and Lightroom – including Lightroom CC) and was created for the purpose of processing your RAW images and DNG files – this software falls into a category of workflow tools known by some as a DNG Converter. DNG, which stands for digital negative, was designed by Adobe and is now an open patent that professional photographers can use. The DNG file format is among the most common image formats that are used in high resolution photo retouching and video editing software.
It’s designed to allow you to edit and enhance the files that you have captured with your camera or mobile device. It allows you to manually alter the white balance, saturation, contrast, sharpness, as well as apply any purchased presets to your photos. This is often called pre-processing, something most professional photographers do with every photo shoot.
When trying to open photo or video files, your computer may require they be converted into JPEG, TIFF or some other compatible format. It may have a hard time opening images in RAW images without 3rd party applications. Adobe Camera Raw enables your computer to open the photo or video files whenever you are trying to upload or make any edits – effectivly becoming a DNG converter for your RAW images.
The benefit of using Adobe Camera Raw is that your editing can be non-distructive. What this means is when making any edits to your images, you are not actually editing your photo. You are able to make as many changes and alterations as often as you’d like, without any worry about altering the original photo. The the RAW file format also includes meta data about your photo, including the camera models you shot with, and there are other
To install Adobe Camera Raw on a Windows computer you’ll need to:
- Quit out of all your Adobe Applications.
- Double-click the “.zip” file to unzip it – if Windows hasn’t already unzipped the file for you.
- Double-click the file which should now be a “.exe” file. That should initiate the installer.
- Follow the on screen instructions
- You’ll want to restart all of your Adobe applications.
If you are working from your Mac:
- Quit out of all your Adobe applications
- Open your “.zip” file to have it unzipped.
- Open the new “.pkg” file to initiate the installer
- Follow the instructions
- You’ll want to restart all of your Adobe applications
Link to Download:
If you are working off of the latest version of macOS you’ll want to use Camera Raw 11.3.1 installer CameraRaw_11_3_1_mac.zip .
For Camera Raw 11.3 on your Windows you can use CameraRaw_11_3_win.zip .
For Camera Raw 11.3 on your Mac you can use CameraRaw_11_3_mac.zip .
Both are compatible with macOS 10.12–10.14, Microsoft Windows 7 with Service Pack 1 or Windows 10 (version 1703 or later).
If you are using macOS 10.11–10.14, Microsoft Windows 7, Windows 8.1, or Windows 10, then here are the links for Adobe Camera Raw.
Windows- CameraRaw_10_5_win.zip
Adobe Camera Raw vs. Lightroom
If you are trying to decide if you are wanting to use Photoshop or Lightroom, you may be surprised in knowing that you are in fact using Adobe Camera Raw. Think of it as the heart of all Adobe applications that reads and runs off of raw files.
The main difference that you need to know between Adobe Camera Raw (ACR) and Lightroom is the way you are organizing your photos. Lightroom, for example is ideal for making sure your photos are organized in such a way that it will protect the original from any type of destructive edits.
When it comes to preference, simplicity and comfortability, you find yourself doing the majority of your edits within Lightroom. It’s simple enough that you aren’t needing any background in digital engineering to get the most from your edits. It has a raw file processor already included, so you can upload your images and start your edits. The option for folders can help you organize your images as well.
Within Photoshop, you’ll see yourself doing a lot more in-depth work, and has better control over any masks, adjustment layers, or blending modes. As complicated as it can be, Photoshop does allow you to change different areas (layers) or objects in your image. If layering your image isn’t what you’re looking for, then most work can be done in Lightroom.
While editing each image can be tedious, you have the option of using presets, that you either created yourself, or purchased. With both ACR and Lightroom the interface is nearly identical. Making your own custom presets should be identical too. If you adjusting the exposure to one image, it would have the same effect in both applications.
The storage of your presets will be entirely different. Adobe Camera Raw will store any preset as their standard XMP file. Lightroom has their presets stored as .LRTEMPLATE files. If you are trying to convert your presets from one application to the other, you may be spending more time than its worth, by coping each preset, setting by setting.
How to edit your RAW images in Adobe Camera RAW
When you open your Raw image within ACR, you may be a little lost, with all of the sliders, drop down menus, and tools. We are going to be working on how to best navigate ACR, so you’ll be a pro in no time.
For starters, you are going to want to ensure that you’re working with a 16 bit channel. If it says “8 bit” you will need to switch. Most versions have it located within a drop down menu or link that will give you a popup window.
Your first step is to adjust the white balance of your image. If your camera didn’t adjust the image automatically, then this is where you are able to fix those errors. That will be the first two sliders within the sidebar on the right hand side. Using the drop down menu, you can adjust the image’s temperature to warm up or cool down the look of your image. As you begin to change and adjust the setting, you’ll start to see that your image is changing to what works and doesn’t work with the current lighting.
When you are working with the exposure, you can use the histogram at the top right of your screen to help you understand the adjustments. Moving the slider to the right will cause the image to over expose, where moving it to the left will cause it to under expose. Using the recovery slider will aid in bringing back any details lost when you are increasing the exposure. If any shadows are needed filled, you can use the fill light slider.
At any time, if you feel that you need to start over, or you want to test a different type of preset, all you are needing to do is, return the sliders back to their original positions.
Once the exposure is where you are wanting it, you’ll want to start bringing out the texture and detail of your image. You are going to want to use the contrast sliders right below your exposure sliders. At this point, we are going to be either increasing or decreasing the contrast of the shadows and highlights. Start with the black slider, this will make any shadow on the image darker, and blacks, blacker. From there adjust the highlights to bring up the brightness, and the lights, lighter. Finish with the clarity slider. This is going to be working with all of the mid-tones, making the details of the image “pop”.
As you are finishing up the contrast, you are going to start adjusting how vibrant and saturated your image is going to be. Right under the clarity slider you are going to work with your
vibrance. This is going to help any colors that aren’t as prominent, stand out just a little more. If you are wanting it to be a little more dull, then you’re going to move the slider further to the left. Once the image is as vibrant as you’re wanting, you can move to the saturation. Here you are going to want to be very mindful as the image can come out overly processed. Remember, a little can go a long way. Moving the slider to the right will deepen the main colors. Almost like you can reach out and touch it.
At this point, you are going to want to start sharpening and reducing the noise of the objects within the image. For this, you are going to use the sharpening tab. The best way to see how much you are changing, I recommend zooming in 100%. Depending on how sharp you want your image to turn out, you’ll want to move the slider for a more processed look, to the right. For a less processed look, you’ll move it further to the left.
Now you can double check your image; fine tuning what you have done, to see if there are any additional edits that you are needing. If you are looking to add black and white, vignette, borders, trying to darken certain colors, as well as adding any other effects, you can do that now.
Once you have completed all the editing, you’ll want to save the file as a JPEG. You are now able to share, post, upload, or print your masterpiece as you see fit.
Conclusion
We went over the basics on what a Raw Image is, and how you are in the drivers seat when it comes to how the image turns out. Where as with a JPEG, your camera or smart phone processes the image as it sees fit. Hopefully you see that both are very useful and go hand in hand.
When choosing between Lightroom or Photoshop to edit your image, the soul of the application is Adobe Camera Raw. If you’re looking for some quick editing, Lightroom is where you can get your raw image looking great, quickly. Photoshop does great at layers, masks, and blending modes. As you continue to practice, you will find yourself getting better and better. When it comes to editing your images, there is so much that can be done, so remember that a little goes a long way.