Adobe Photoshop Lightroom is one of the most popular imaging editing software programs in use today. Simplified workflow and global batch editing are important features for every photographer. The availability of presets for Lightroom is another vital feature. Lightroom preset actions are easy to use and organize. Finding, installing, and using Lightroom presets is simple, and the results can greatly improve your workflow.
How to Download, Install, and Use Adobe Lightroom Presets
- Purchase Presets for Download
- Free Presets Exist, Too!
- Simple Installation of Lightroom presets
- Batch Edit with Presets
- Edit Individual Images with Presets
- What Settings Can be Preset?
- Create Your Own Presets
Why Should You Use Lightroom Presets?
Presets allow for certain Lightroom actions to be applied in one simple click. If you are doing batch editing, adding presets to Lightroom or making Lightroom presets of your own will speed up your workflow even more. One of the great advantages of using Lightroom in the first place is the powerful organizational capabilities it provides. When you add presets to Lightroom, you make routine edits even easier to apply.
For example, if you are a wedding photographer, you have probably settled on Adobe Lightroom as your go-to software for photo editing and organizing your images. Lightroom wedding presets can be applied to hundreds of your image files all at once. Perhaps you have developed a personal style of exposure, clarity, or color preferences– having a preset of those actions keeps you from having to start from scratch each time.
Having the ability to adjust many images at once is a great first step in your editing process. Once the basic, regular edits are applied, then you can fine-tune individual image files with an extra touch of your photo editing talents.
The numerous and fantastic editing features of Adobe Lightroom are why presets are so helpful. With so many edits to keep track of, manually applying them to each image, or even to each batch, can become a chore. Too much manual editing hampers creativity and sometimes even quality. This is why presets are so important. Instead of trying to remember which box to check or what slider to move and by how much– the preset does all of that for you.
How to Find and Download Presets
It’s easy to find the best Lightroom presets for your own needs. What type of photos do you usually edit in Lightroom? A web search of the terms related to your work or style will bring up all sorts of presets for free or for purchase.
The best wedding Lightroom presets will cover actions that wedding photographers find useful. The best lightroom portrait presets will have actions that bring out the best in your portrait photography. Same goes for black & white Lightroom presets, street photography presets, or the multitude of HDR presets as well.
While browsing for available presets, take notice of what actions they are adjusting. A preset package worth purchasing should have some examples of what the presets actually do to an image. Before-and-after examples would be even more helpful.
Since Lightroom is one of the most commonly used image editing programs in the digital photography world, there are a lot of people making and marketing presets. Some Lightroom users even give away their presets for free. Once you found or purchased the presets you want, simply download them to a folder on your computer.

How to Install Lightroom Presets
Now that you have your new Lightroom presets downloaded, how do you get them into the program?
With any older version of Lightroom, it is only a few steps from start to finish. Generally, you open up Lightroom, then go to Edit in the Windows version or the Lightroom dialogue in the Mac version. Look for Preferences, and Presets. Click on the box titled “Show Lightroom Presets Folder,“ double-click on Lightroom, then double-click on “Develop Presets.” Copy the folder of your presets into the “Develop Presets” folder. After those steps, close and restart Lightroom. Presto! Your presets will be available in editing.
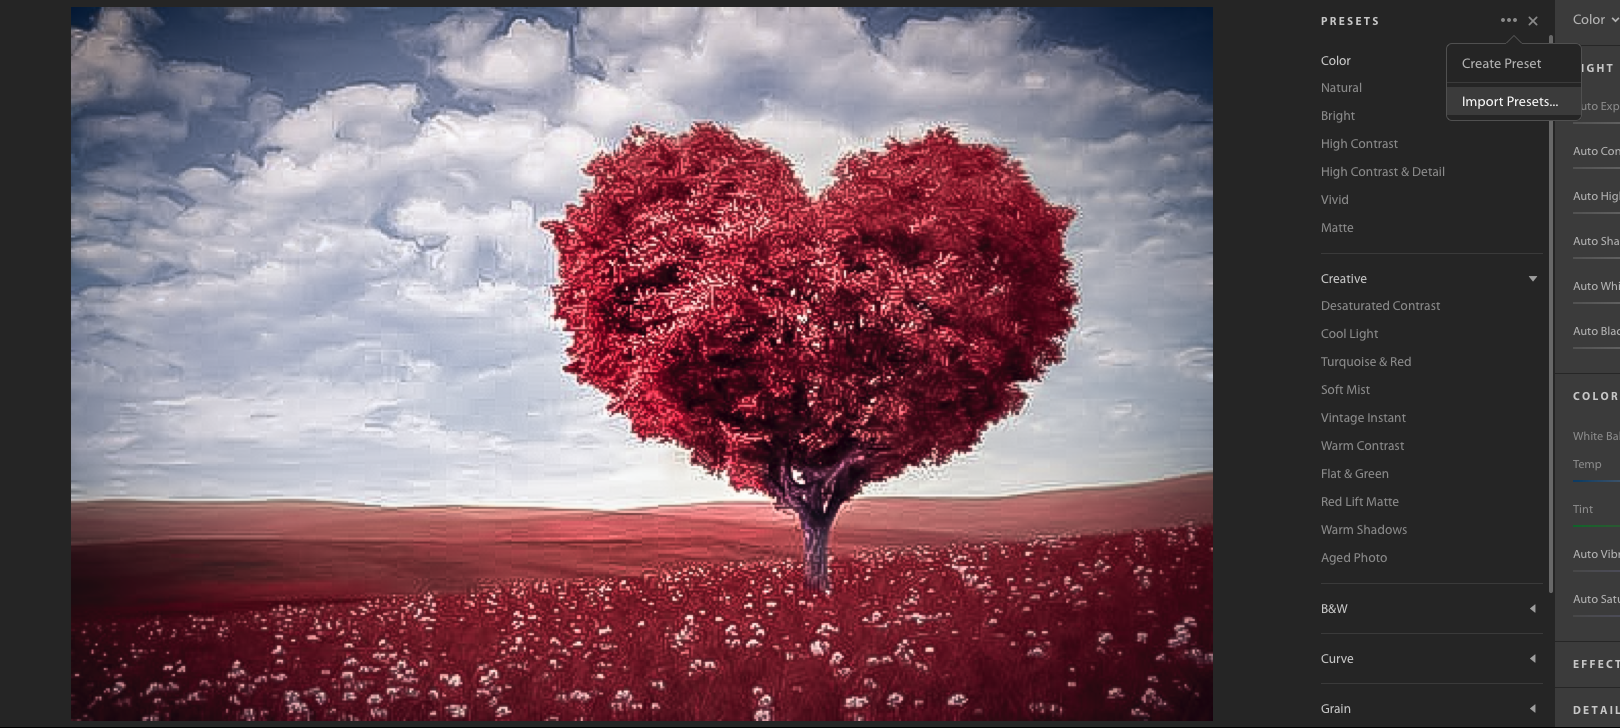
With the newest CC version of Lightroom, on any platform, look for the plus sign in the presets tab when in the Develop module of Edit. Then choose “Import Presets.”
If you have yet to see what advantages the CC versions of Adobe bring to photographers, take some time and check it out. A big part of what makes the CC versions of Adobe programs so good is that new advancements and updates are added to your program as soon as they become available. Instead of needing to get a new version of the program, just update from the Adobe Creative Cloud. Another benefit of the Lightroom CC version is that the camera RAW files can be read as soon as Adobe adds them.
How to Use Lightroom Presets
Now comes the fun! Using the presets is as simple as opening an image in Lightroom, and then clicking on the preset in the Develop module. You will find the presets in the menu of controls on the editing panel. Open up the panel for presets, and then click on the preset of your choice.
An easy way to preview the effect a preset will have on your image is to hover the mouse cursor over the preset and look at the changes in the small preview window. You can also apply the preset as a batch edit to a group of images, just as you would any single action.
Batch Edit with Presets
The major strengths of Lightroom are its file management and batch editing features. Because of the way Lightroom nondestructively applies edits to an image file– basically making a set of instructions for image settings instead of actually changing the image– batch edits with presets are easy and very fast.
After importing the image files from your camera media into a folder on your computer, go to batch editing and choose a preset from the panel of tools. All of those images included in the folder will have the settings applied to them.
You always have the option to untick a control when applying a preset to a batch edit. For instance, let’s say you know your images will benefit from the color temperature adjustment in the preset, but you don’t want the vignette applied across the board. While in batch editing mode, tick or untick the tool boxes accordingly for full control over your preset actions.
Be careful when saving the changes for the preset. If you edit preloaded presets, it’s better to save them as a new preset rather than overwrite the original settings. If you are merely tweaking a single batch, you may not need to save the preset change at all.
Editing Individual Images with Presets
Perhaps you have adjusted a folder of images with batch editing, but there are a few images you want to edit differently. For example, an entire folder of batched wedding images may look good– but let’s say you get an idea for a couple of portraits and wish to develop them as a high key photograph instead.
Browse to your individual image file and open it in Lightroom. Find the high key preset you made or downloaded earlier and click on it to change the picture into a high key portrait. The settings from the new preset will override any changes applied by the previous preset. You may need to undo the first preset altogether before applying the new preset if there are some unwanted settings that will affect the final image.
Lightroom lets you stack presets. Any setting from the first preset that conflicts with the second preset will be overridden by the last preset applied. Save your image settings with a new name.
You can also adjust or tweak any setting in the preset. If the preset has shadow control at 1, but you want to make it 0 or 2 for that session, just make the change. Then save that edit with a different name in order to preserve the original preset. One of the great advantages of using Lightroom for these types of edits is how fast the entire process moves along due to nondestructive editing.
What Lightroom Settings Can be Preset?
Fortunately, almost all of Lightroom’s settings can be part of a preset. Let’s take a look at some of the settings that are generally included in the best Lightroom presets:
White Balance
White balance provides color temperature and tint control. There are three ways to adjust this when editing. The first method is a drop-down menu with options that are similar to your camera controls. If the photograph was taken under tungsten bulb lighting, choosing tungsten will automatically compensate for the characteristics of that light source.
The second method is to adjust the white balance of an image with the slider control. One slider changes color temperature, the other changes tint. The third method is to use the eyedropper tool and Lightroom will try to match your selection. White balance is a very important setting and commonly used in most Lightroom presets.
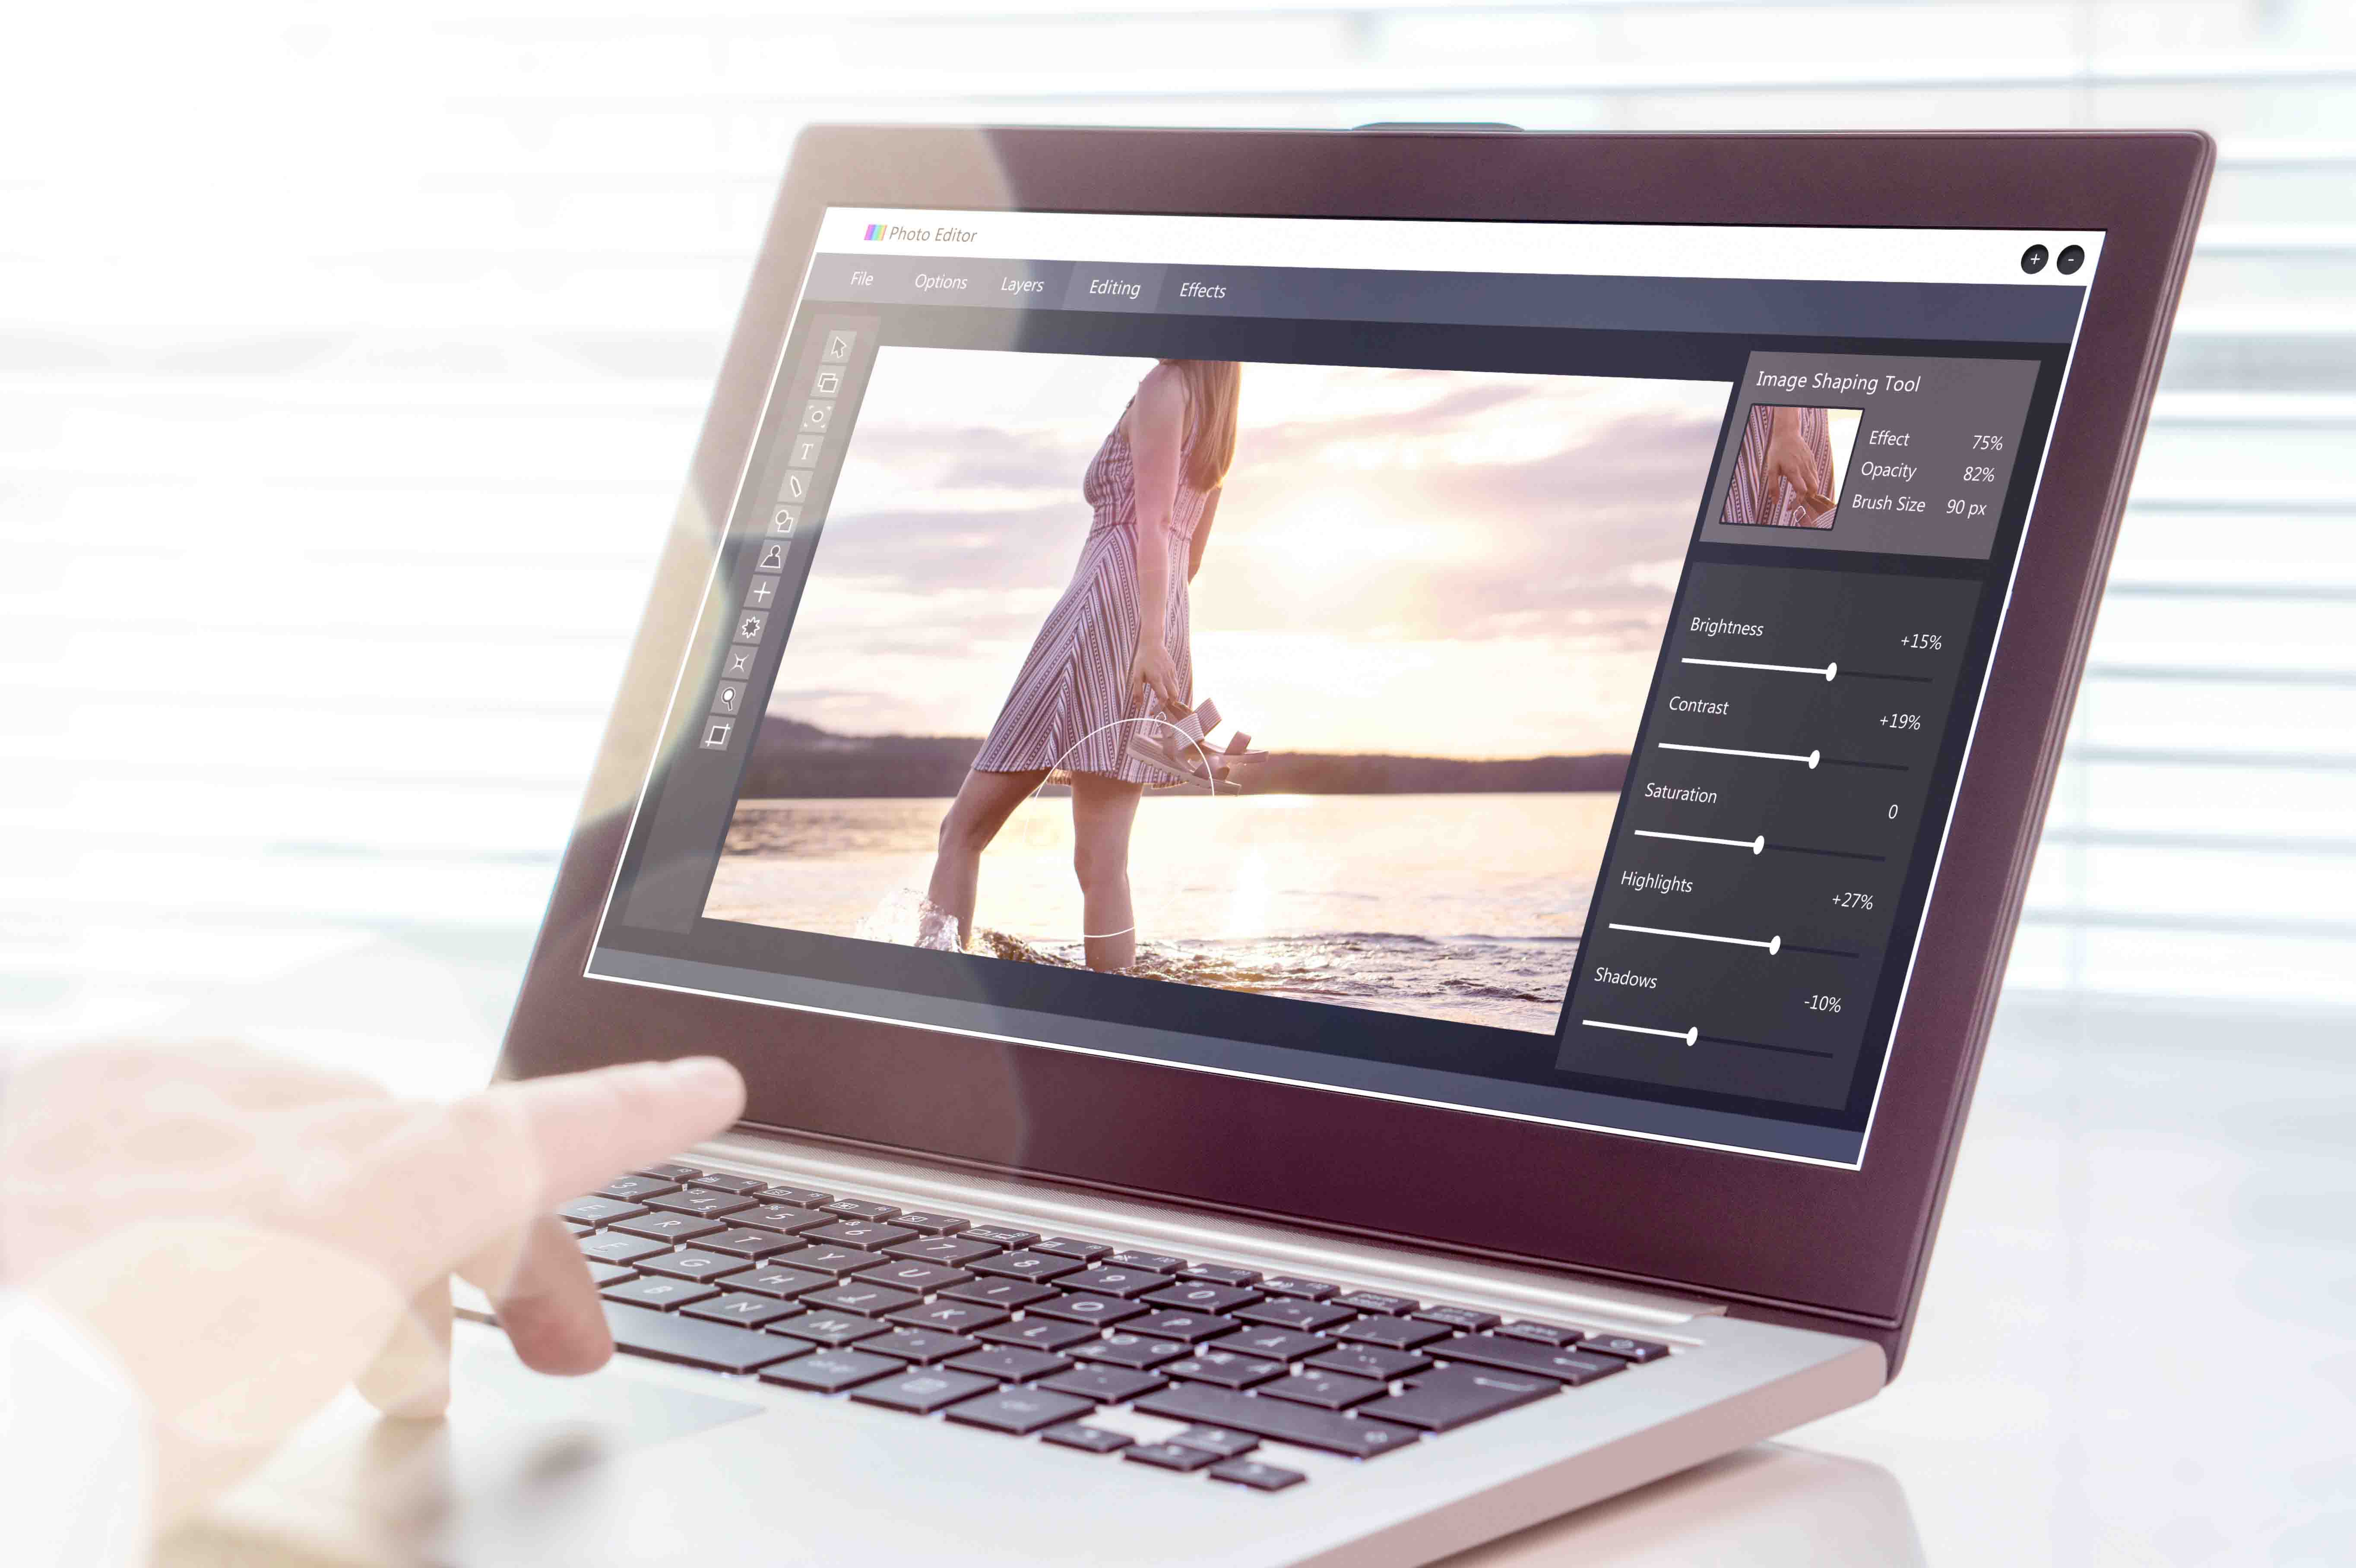
Basic Tone
The Basic Tone menu allows you to adjust exposure, contrast, highlights, shadows, white clipping, and black clipping. Some photographers find that presetting exposure isn’t a good choice to apply to all your images, unless you had the camera ISO set wrong or if you have a specific goal in mind.
Contrast, Highlights, and Shadows are often found as adjustments in many presets. The earlier example of high key effect falls under this control option, and so would other Lightroom presets, such as a low key effect, or presets for adjusting the contrast of a scene.
Tone Curve
Tone curve basically changes the vibrancy of the image by adjusting the appearance of light, contrast, and color. It’s difficult to get just right without a lot of experimentation, so Lightroom presets with this adjustment can be valuable, depending on your stylistic needs.
Clarity & Sharpening
These are two different controls, but they tend to complement each other. Clarity is more of a contrast tool, while sharpening can raise or lower image sharpness. Soft focus presets will use these settings.
Treatment
Treatment is primarily a profile setting. There are two main options of either Color or Black and White, with numerous profiles under each option. Lightroom presets for different profiles are standard in all versions of Lightroom, and they can vary quite a bit.
Color
The Color menu lets you change Vibrance and Saturation settings. With saturation controls, you can select one color to be monochromatic without affecting the other colors. This is another very popular setting used in creative Lightroom presets, either as a special effect or for mere enhancement of skin tones. This is a powerful setting that has many more options than you might expect, and a lot of variation is possible.
Split Toning
Split Toning is a very useful styling tool. It’s helpful for portraits and similar types of subjects. Lightroom portrait presets, Lightroom film presets, and Lightroom interior presets are quite popular and useful. This styling tool can aid you in maintaining a specific look for your brand of photography. Portrait photographers, real estate photographers, or anyone specializing in a type or genre of photography can find many Lightroom presets using Split Toning to enhance their images.
Graduated Filters & Radial Filters
When searching for Lightroom presets for free, these filter settings are a popular choice. They are easy to set and adjust, allowing you to change only the parts of an image that need editing. These filters are most commonly used for outdoor photos with a lot of sky, or for beachscapes and other nature scenes.
Noise Reduction
The Noise Reduction tool is very helpful in cleaning up artifacts from images taken at higher ISO levels. It also helps if your camera has general noise issues in low-light settings. If you have several different cameras, you might wish to create a special preset for each one. Some basic adjustments for fine tuning the noise are available in Color and Luminance settings.
Lens Correction
Adobe Lightroom will let you change any information regarding Lens Profile Corrections, Chromatic Aberration, Transform, Lens Vignetting, or Transform filters for your own lenses. The Lens Correction tool is one of the basic features of Lightroom. First, make any necessary adjustments for your lens, then save it as a personal Lightroom preset.
You will likely want a different preset for each lens you use. If you have a super wide-angle lens with a bit too much distortion, or your telephoto lens has noticeable color fringing, this is the tool for making corrections.
Effects
With the Effects tool, you can choose whether you want to apply Grain, Vignettes, or De-Hazing. This is one of the more popular free presets available in Lightroom.
Auto Tone
With the Auto Tone tool, Lightroom can automatically adjust the tone of your selected images. It’s the automatic default in the Adobe Photoshop Lightroom settings, so there isn’t really a pressing need to find a preset for this.
Calibration
One of the more misunderstood tools for Lightroom, this tool lets you calibrate your color settings to match your camera’s RAW images. Cameras have different color profiles depending on the manufacturer, and this setting provides a useful way to optimize the colors in your images.
Process Version
The Process Version tool controls how Lightroom processes your files based on your changes. Some users have tweaked settings to create subversions of process versions and these can be found as Lightroom presets. Or, create your own fine-tuning process. Because newer versions of Lightroom use more advanced processes, it’s important to have the option for backward compatibility with older versions of Lightroom.
Create Your Own Presets
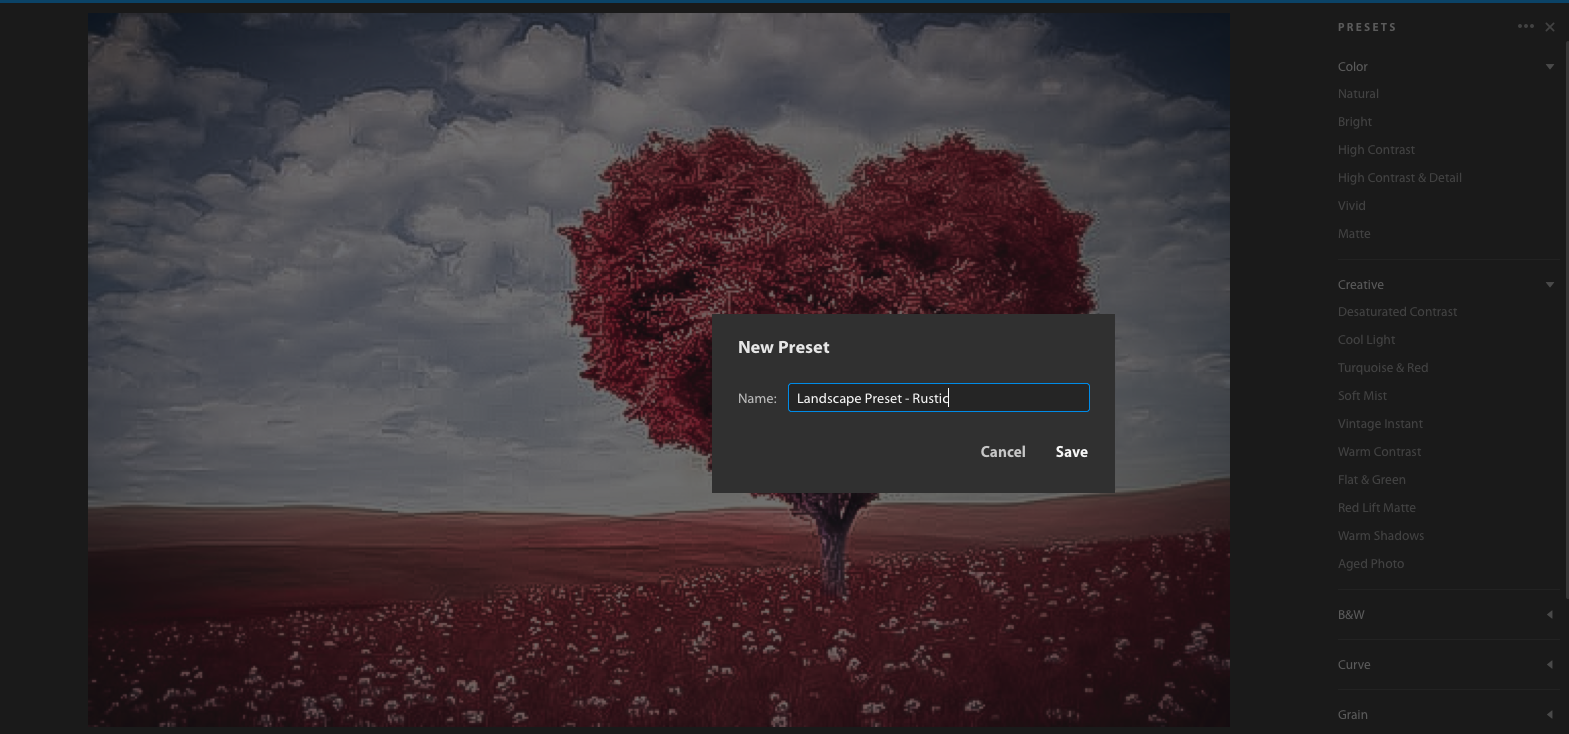
In addition to downloading presets, you can also make your own! A preset you purchased or downloaded might have gotten you into the ballpark for what you wanted to accomplish, but it’s your own finishing touch that makes your images stand out the most. When you need to change the settings of an existing preset, be sure to save that new group of settings as a different Lightroom preset. Go to the preset panel and click on the plus sign to choose the new preset option. Rename your new preset and save.
You can do this with any number of Lightroom presets, as many times as you wish, saving each one with a different name. It’s a good idea to label your new presets with a good description of what they do. It’s easy to save as many presets as you want. The way Adobe Photoshop Lightroom handles actions, these new presets won’t take up a whole lot of hard drive space, either.
Another way to create your own presets is by first making the necessary adjustments for your final picture and then saving those settings as a new preset. Some images inspire us in ways that others don’t. When we take those images to the next level, it makes sense to save those actions and settings for future use. After all, this new preset can also be adjusted as needed for any new image files. Perhaps you will make a series of presets using this same theme.
Making Full Use of Lightroom’s Features
For many photographers, Adobe Photoshop Lightroom is the best thing to happen to digital image editing since, well… since Adobe Photoshop!
Lightroom is one of the few image manipulation programs on the market that will satisfy most needs a photographer could have for image editing. Adobe Photoshop is also a powerful tool for major modifications and deep edits. At some point, most professional photographers will likely need the power of Photoshop in addition to Lightroom.
Adobe makes it convenient to have instant access to both programs by means of the Adobe Creative Cloud Subscription Program. For a low monthly cost, you have two of the best image editing programs right at your fingertips.
One of the best things about Adobe Photoshop Lightroom is the amazing workflow it allows. Nondestructive editing is the key to Lightroom becoming the go-to program for a large percentage of photographers. The software makes it easy to access, organize, and use these valuable preset actions.
No matter what kind of photography you enjoy, there are a variety of Lightroom presets to help cover the basic editing chores. Some of the presets are very detailed, yet creating a specific style is as simple as a couple of mouse clicks.
There are many presets marketed towards wedding photographers. Other photographers that can benefit from presets are newborn photographers and other portrait artists. A real estate photographer has many options for Lightroom presets, too. Even street photographers have Lightroom presets for their imaging needs.
Adobe Photoshop Lightroom is an amazing program. Whether you shoot for fun or profit, making use of the many fantastic presets of settings and actions will improve your photography and make your brand stand out.
If you haven’t tried out Lightroom yet, you owe it to yourself to do so. Adobe’s subscription program makes it simple to get the two best programs for photographers. Lightroom presets put complex edits at your fingertips. Try it out, you won’t be disappointed. Happy editing!