4Understanding camera aperture is essential to becoming a skilled photographer. At first, aperture principles and terms can seem confusing. But they’ll become second nature in time. You can follow these steps to learn the basics about camera aperture:
4 Steps to Understanding Camera Aperture
- Understand the Basics of Aperture
- Know How Aperture is Measured
- Find out the Relationship Between Aperture and Depth of Field
- Learn About Selecting Aperture Settings
If you’re new to photography, you may have heard others talk about f stops and wondered what that means. F stops are the settings for aperture in your camera. Once you understand how to select the f stop that represents the aperture you want, you’ve made a big step forward in your photography journey.
It’s exciting to take the leap from a smartphone camera to a mirrorless camera or DSLR camera. But it can feel a bit overwhelming, too. When you’re first learning about photography, you’ll find yourself encountering so many new concepts and likely have a lot of questions. You’ll want to spend time understanding shutter speed and ISO—which both work in tandem with the aperture of a camera.
It’s a good idea to spend time learning about each key concept one by one. You can read an overview of aperture and work through a shutter speed tutorial. Then you can watch a video to learn what is ISO in photography. Eventually, you can learn how to put them all together to control exposure.
Educational resources are helpful but don’t forget to put what you learn into practice. Taking photos in different locations and light situations are the best ways to expand your knowledge of camera aperture.
1. Understand the Basics of Aperture
Simply put, aperture is a hole in your camera that light passes through. When you adjust camera aperture, you control how little or how much light moves through the lens and hits the image sensor.
You can think of how your eyes work to understand aperture. If you’re in the dark, your pupils dilate to let in more light. But if you’re out in the bright sun, your pupils contract to let in less light. Camera aperture works the same way. When it’s smaller, it lets in less light. And a larger aperture lets in more light.
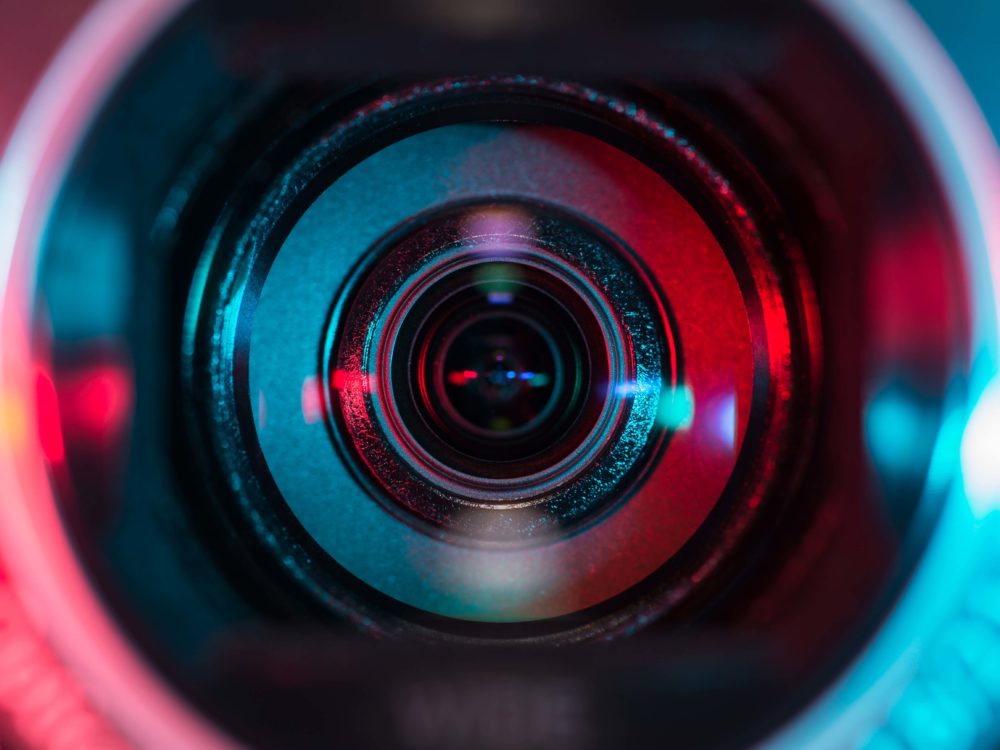
It’s also helpful to understand aperture blades and how they work. You can actually see the aperture blades if you look into your camera lens. To view them, you’ll need to shine a light into the lens at the right angle. These aperture blades are the moving parts that open and close to adjust the amount of light entering your camera.
2. Know How Aperture is Measured
On every camera, aperture is measured in units called “f stops.” It’s important to know that lower f stop numbers equal wider apertures. And higher f stop numbers mean a smaller aperture. This means f/2 aperture signals a wider aperture than an f stop of f/22. Many people find this confusing at first.
You may find it helpful to think of f stops like fractions. Using the prior example, 1/2 is much bigger than 1/22. Using that approach will help you visualize why an f stop of f/2 yields a much bigger opening than an f stop of f/22.
To help understand camera aperture further, you should learn about aperture scales. Take a look at the camera aperture chart below. The top number f/14 is the largest aperture setting with f/32 as the smallest. Each f stop in the series is a “full stop.”
In the scale below, each step down lets half as much light into the sensor as the previous number. This means f/2.0 lets in half as much light as f/1.4. However, if you go in reverse, the opposite is true: So, f/22.0 lets in twice as much light as f/32.0.
- f/1.4 (lets in a lot of light)
- f/2.0
- f/2.8
- f/4.0
- f/5.6
- f/8.0
- f/11.0
- f/16.0
- f/22.0
- f/32.0 (lets in very little light)
Every lens has a distinct aperture range—expressed in f stops—that describes how wide or narrow you can set aperture when using it. This is important to know when you purchase additional lenses, such as wide-angle or zoom lenses. In most cases, camera manufacturers identify the maximum aperture in the name of the lens. That is because many photographers care about the largest aperture they can achieve with their lenses—but they tend to have less concern about the minimum aperture.
Why do photographers care so much about maximum aperture? Larger apertures give them more flexibility to shoot photos in low-light conditions. Consider this example: Imagine you are frequently shooting at dimly-lit indoor events—and the maximum aperture setting of your camera is f/2.8. If you purchase a lens with an f/2.0 maximum aperture, you can let in twice as much light. You can also use a faster shutter speed. This will let you take photos that are much clearer and sharper, with less risk of unwanted blur. And if you opt for an aperture size of f/1.4, you can use an even higher shutter speed and achieve better results.

3. Find out the Relationship Between Aperture and Depth of Field
Camera aperture affects more than just how much light hits your sensor. It also ties directly to depth of field—a term describing how much of your image is in sharp focus.
In short, wider apertures produce images with less depth of field. In photography, this is called “shallow depth of field.” As you can imagine, the reverse is also true. Narrower apertures create greater depth, also known as “deep depth of field.”
You’ll often see shallow depth of field in portrait photography. In those instances, the main subject is in sharp focus with the background blurred out. A deep depth of field is preferable in landscape photography since it captures more of details the scene in sharp focus.
What does this mean for you? If you are taking a portrait during a photo shoot and want a shallow depth, use a wider aperture—and lower f stop. When you want deep depth of field use a higher f stop and narrower aperture.
You may also need to adjust shutter speed and/or ISO. Together with aperture, these settings are foundational elements of the exposure triangle in photography. This can be complicated to master, but once you do you can start to create professional-caliber images.
Also, it’s important to know that camera aperture is not the only factor that affects depth of field. The distance between your camera and the subject also plays a role. You can test this out by taking pictures of the same subject at different distances without changing your camera aperture. When you move your camera closer to your subject, you’ll achieve a shallower depth of field.

4. Learn About Selecting Aperture Settings
Once you understand the fundamentals of camera aperture, you can start to learn how to use aperture settings. Think about the objective for your images before you make any adjustments. Specifically, you need to understand:
- The amount of light you need to let in through the lens
- The desired depth of field
For example, imagine you are taking a landscape photo and want significant depth of field. You’ll need to select a high f stop number for this goal, but you’ll be using a narrow aperture and low shutter speed. The narrow aperture will reduce the light that is coming into the camera.
In these cases, you’ll need to determine if the aperture setting will allow enough light in for your photo. You can look at the light meter for your camera that appears in your viewfinder. Note that your light meter includes a scale of -3 to -3, with 0 in the center.
After adjusting settings, the meter will point to 0 if you have the correct exposure. You can try changing ISO, a setting that darkens or brightens your photo. Also, remember that if your exposure is less-than-ideal, you can fix it with apps and software for photographers.
As you begin to understand aperture, you can think through other shooting scenarios. If you’re working in low-light conditions, you need a wide aperture and low f stop number. The same is true when you want a shallow depth of field with lots of background blur.
So far, you’ve learned about when to choose a low or high f stop number. When do you use mid-range camera aperture settings? Those are good choices whenever you are shooting handheld instead of using a tripod or other means to stabilize your camera. You will find they work well when shooting street photography or other busy scenes. In these situations, mid-range f-stop selections let you achieve enough depth and detail while still being able to use fast shutter speeds.
Using Aperture Priority Mode
You may have noticed an option for aperture priority mode on your camera. What is this setting and when should you use it? Simply put, aperture priority mode lets you select your desired camera aperture settings but allows the camera to adjust shutter speed.
Why would you use aperture priority? This can be a great choice when you are in a situation where the light is changing quickly. For example, if you’re at an outdoor event with variable lit and want to capture lots of casual and candid shots, you may want to use aperture priority mode. Also, if you need to shift from a portrait with a shallow depth of field to a group shot with a larger depth of field, you can do that easily.
You can also practice taking photos in aperture priority mode to understand how adjusting aperture affects images without needing to change shutter speed. Your camera will make all the adjustments required to balance aperture and shutter speed to help you take quality photos.
It’s important to know that your camera has a shutter speed priority option, too. As you might expect, this lets you handle shutter speed adjustment manually with auto-selected aperture settings. You’ll find it’s another helpful tool to understand the relationship between aperture and shutter speed.
Understand Camera Aperture to Improve Your Photography
Often, beginning photographers ask, “What is the aperture on a camera?” Camera aperture is one of those concepts that seems complicated at first but makes perfect sense fairly quickly. At first, all you need to remember that aperture is a setting that controls how much light enters through your camera lens.
You’ll also need to need to understand f stops, which are numbers that represent each camera aperture setting. Spend some time examining an f stop chart to familiarize yourself with these camera aperture settings and how they affect light. It’s important to understand the relationship between aperture and depth of field.
Once you have gained knowledge of those core concepts, you can practice working with aperture settings on your camera. You may find it informative to take a series of images and adjust the camera aperture for each one. Keep your camera ISO and shutter speed the same for each shot to clarify how aperture affects photos.
As you’re learning, don’t worry about choosing the perfect aperture, ISO, and shutter speed settings for every photo. You can take a photo with great composition and boost its appeal using Lightroom presets. Even professionals with years of experience use Lightroom to enhance or touch up photos.
Every photography concept you master is an important stepping stone to your goals. Learning about camera aperture is an excellent place to start. Read up on the fundamentals, grab your camera, and put your new know-how into action.