If you want to try something new with your photography, consider taking up macro photography. Macro photography is the art of taking close-up pictures of small items and making them appear larger-than-life. Here are some macro photography tips to apply to help you get started.
6 Tips for Getting Started with Macro Photography
- Consider Subjects for Your Macro Photography
- Use a Tripod and Manual Focus
- Understand Lens Options
- Know How to Choose the Right Shutter Speed and Aperture
- Choose the Correct Lighting
- Apply Proper Composition Techniques
Without question, close-up photography is a fascinating pursuit that will make you look at the world in a new way. You can start by taking macro photos in your own home or by visiting a nearby park, woods, lake, or beach. There are truly endless macro photography ideas to explore.
Fortunately, taking close-up photos is an accessible type of photography for beginners. In fact, you can even pursue iPhone macro photography or use a simple digital camera. All you need is a macro photography app or an add-on lens. You can find apps and lenses that work with Android devices, too. This can let you explore the small world of insect macro photography, as well as plants, minerals, and much more.
Also, you can explore the basics of shooting macro with a point-and-shoot camera. In fact, today’s cameras often include a macro mode that makes digital macro photography widely available. You can use inexpensive close-up filters that increase the focusing distance of your lens and let you get closer to your subjects.
These entry-level options can be a great starting point, but a mirrorless or DSLR camera will deliver better results. After you gain some experience, you may want to do some research to decide on the best camera for macro photography that meets your needs. At first, you may not need a dedicated macro lens, though you may want to invest in one when your skills improve.
In truth, the macro photography equipment you need to get started is minimal. If you know how your camera works, you can work within those constraints and make some initial forays for macro photography. Working through a few tutorials or taking a focused macro photography course might be beneficial, too.
1. Consider Subjects for Your Macro Photography
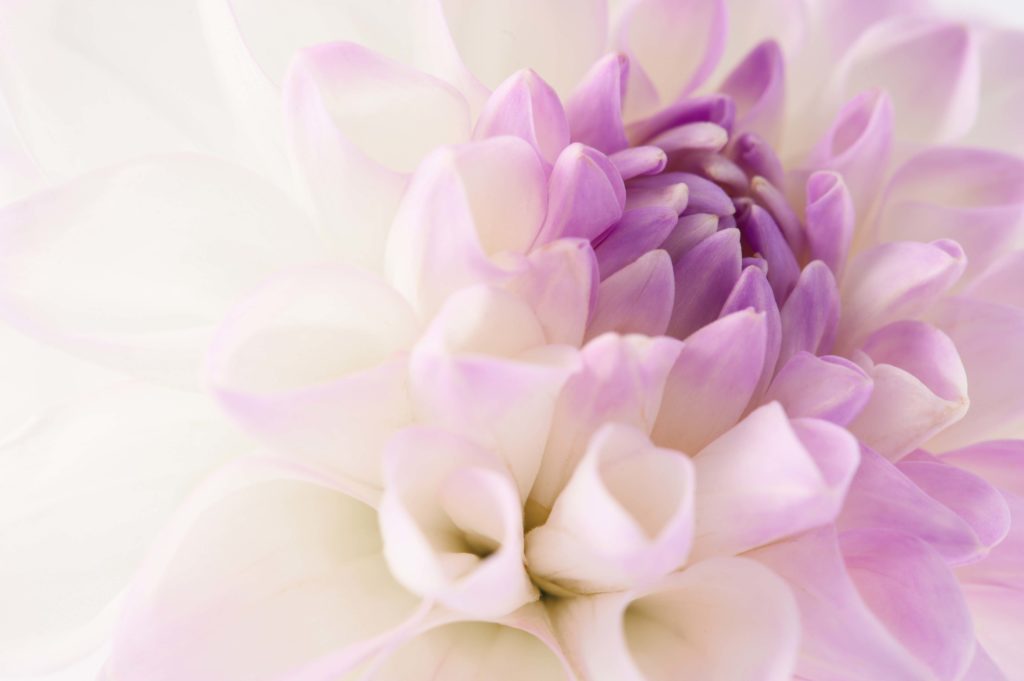
When people think of macro photography, close-up shots of the natural world come to mind. Many people have seen an image of small insects or extreme close-up photography that reveals the texture and details on a leaf or flower.
These images with close-up views of natural objects will always be popular. You can experiment with macro flower photography in spring or snowflake macro photography in winter. But don’t think macro nature photography is the only option. Even everyday objects, like a pen or a coffee cup, can look extraordinary in close-up photography. You may see textures and patterns you never knew existed.
Take a look around your home for inspiration. What about experimenting with macro images of electronic equipment? Why not try out macro food photography? If you need more ideas, look for macro photography examples online. You may feel inspired by a macro photographer who focuses on abstract macro photography. Or, you may find urban macro photography fascinating.
Brainstorm all the potential directions you could pursue. Once you open your eyes to the possibilities, you’ll find subjects for great macro photography are everywhere!
2. Use a Tripod and Manual Focus
When shooting macro photography, you want to get as close to your subject as possible. Most often, you’ll need to select manual focus instead of autofocus. With manual focus, you can usually focus a bit more closely on your subject.
If you try shooting handheld with manual focus, it’s easy to introduce camera shake into your final images. You may want to change angles or shot directions to explore various details of the tiny world in your photos, and you don’t want any movements to ruin your photos.
For this reason, experienced photographers often cite a tripod as the most crucial tool in their macro photography kit. What are the qualities of the best tripod for macro photography? You’ll want a tripod that offers you stability and dampens vibration. Also, look for a tripod that lets you adjust leg angles independently to give you maximum flexibility. Ability to make height adjustments and portability are other vital considerations.
3. Understand Lens Options
While a macro lens can be a great asset, you can capture beautiful macro photography with many types of lenses. It’s worthwhile to experiment with what you have before spending extra money on a macro lens.
You do need to be familiar with the concept of focal length to get the best results. For all lenses, the focal length is the distance between the lens and the image sensor on your camera when the subject is in focus. Usually, focal length is measured in millimeters or centimeters. Focal length is significant because it determines the proper working distance between you and your subject.
Typically, standard lenses that come with many modern entry-level DSLR or mirrorless cameras have a focal length of 14 mm to 42 mm or 18 mm to 55 mm. You can start with mirrorless or DSLR macro photography or try a prime lens with a 50 mm focal length. Once you feel like your lens is limiting your macro photography abilities, it’s time to move on to a macro lens—which truly is the best lens for macro photography. Typically, prices for a true macro lens can range from $300 to $1,500.
Macro lenses come in a range of focal lengths—including 50 mm, 100 mm, and 160 mm. As you can see, the longer focal length offered by macro lenses let you be further away from a subject and still capture it in clear focus. This can be especially valuable when capturing pictures of insects or other living creatures that may be skittish if you get too close. Longer focal lengths can be essential if you want to pursue extreme macro photography.
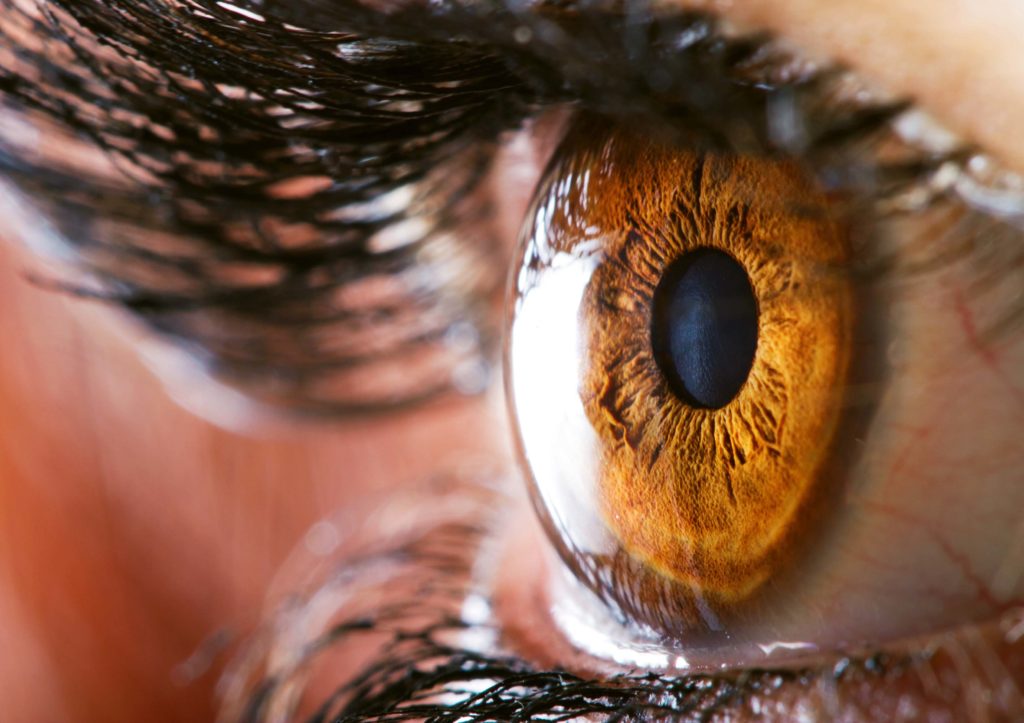
Another critical point to know about macro lenses is that they can focus at 1:1 magnification. What does this mean? At that magnification, the lens can produce an image on your camera sensor that is the actual size of the subject.
With a little research, you can find many choices for a dedicated Canon or Nikon macro lens. If you don’t want a true close-up lens, you can also find lenses that you can use for macro shots and other purposes for more flexibility.
4. Know How to Choose the Right Shutter Speed and Aperture
To achieve the looks you want in your macro photography, you will need to control both aperture and shutter speed. You’ll want to know the ideal settings for each in varied shooting conditions.
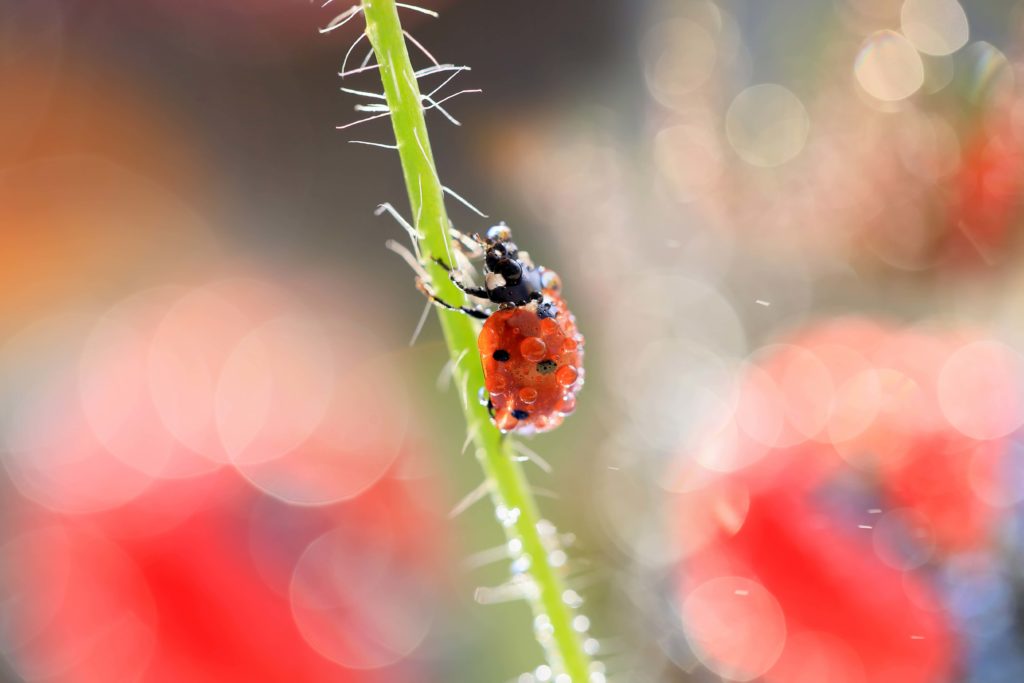
If you are shooting a close-up of a moving subject in a busy background, opt for a faster shutter speed and wider aperture setting. This empowers you to freeze motion while creating a shallow depth of field and blurred-out background. However, if you want to capture some elements of the background and a moving subject, keep the shutter speed fast but choose a smaller aperture. You can also create motion blur with a slow shutter speed and corresponding aperture setting.
If you do shoot handheld, you’ll want to use a fast shutter speed to minimize any camera shake. And you may need to adjust both aperture and shutter speed to account for natural or artificial light in your shooting environment. This will help you take better macro photos.
5. Choose the Correct Lighting
With macro photography, you are often shooting with a narrow focal plane and fast shutter speed. Unless you have abundant light, you’ll likely want to use a flash. The good news is that an expensive flash unit isn’t mandatory. A low-cost flash unit or even your camera’s built-in flash can produce reasonable results.
When using a flash, you may want to use a diffuser. With a diffuser, you can increase the size of the light coming from your flash and make it softer. This will help you capture the natural colors of your subject and help reduce any harsh shadows.
To achieve the best lighting effects, you also need to understand the exposure triangle in photography. You should know how to adjust ISO, shutter speed, and aperture manually to create the correct exposure in every macro photograph.
6. Apply Proper Composition Techniques
What makes good macro photography stand out? Experienced macro photographers know how to apply proper composition techniques to the close-up photos.
At first, you may find composing shots to be a bit difficult—especially if you’re shooting an insect, practicing your butterfly macro photography, or trying to capture images of another moving subject.
You won’t have any control over living subjects or be able to give them any direction. Instead, you’ll want to look at your subject from different angles. With patience, the right moment is likely to present itself. Rely on good portrait composition practices—such as using a shallow depth of field in these scenarios.
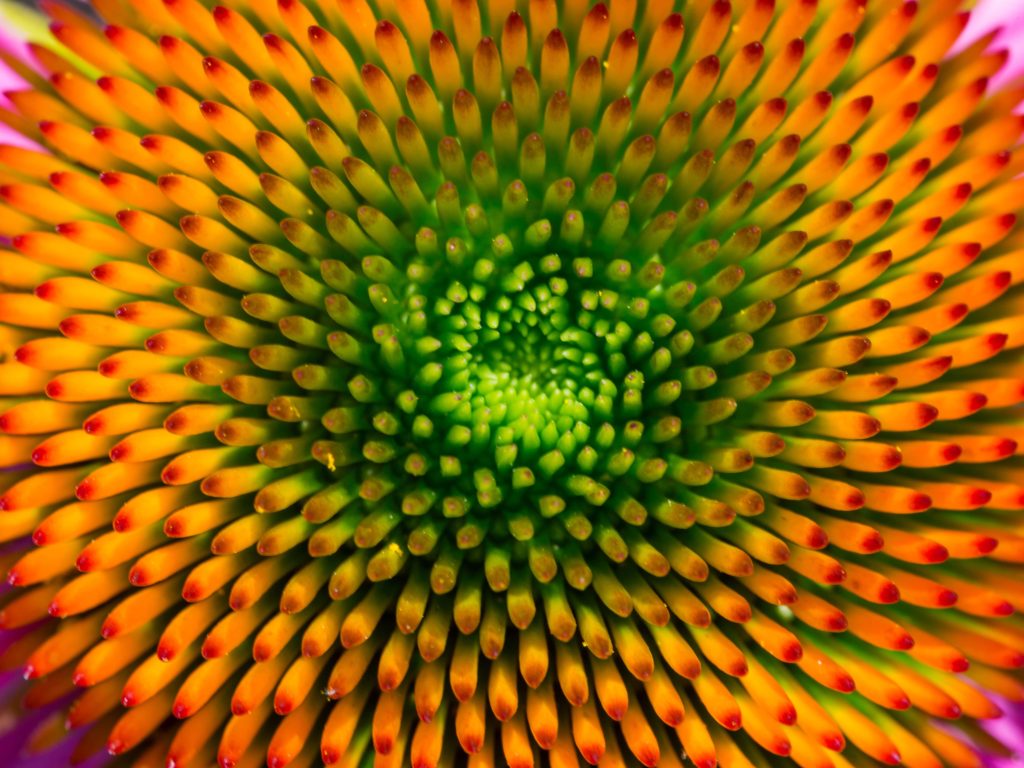
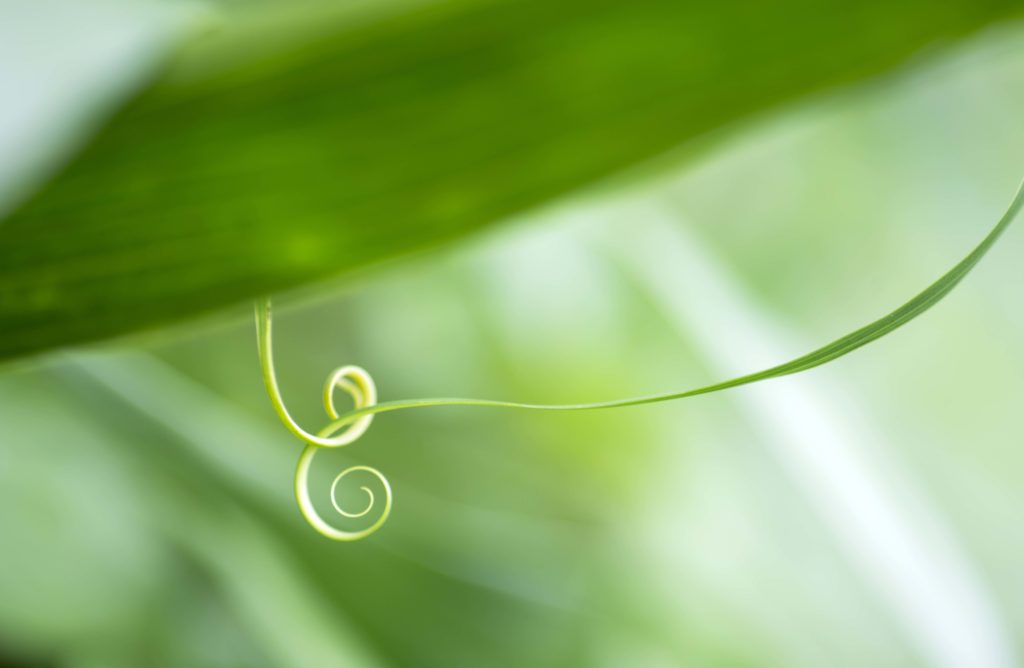
You can think of small scenes and close-ups of plants or objects as a mini-landscape. Look for intriguing patterns, colors, and details that add strong visual interest.
Apply the rule of thirds and golden ratio when positioning items in your composition. All the composition skills you gain in your other pursuits are still relevant when you learn how to do macro photography. Always remember that if your composition is solid, you can always enhance your images during post-production with Lightroom presets.
Explore New Worlds with Macro Photography
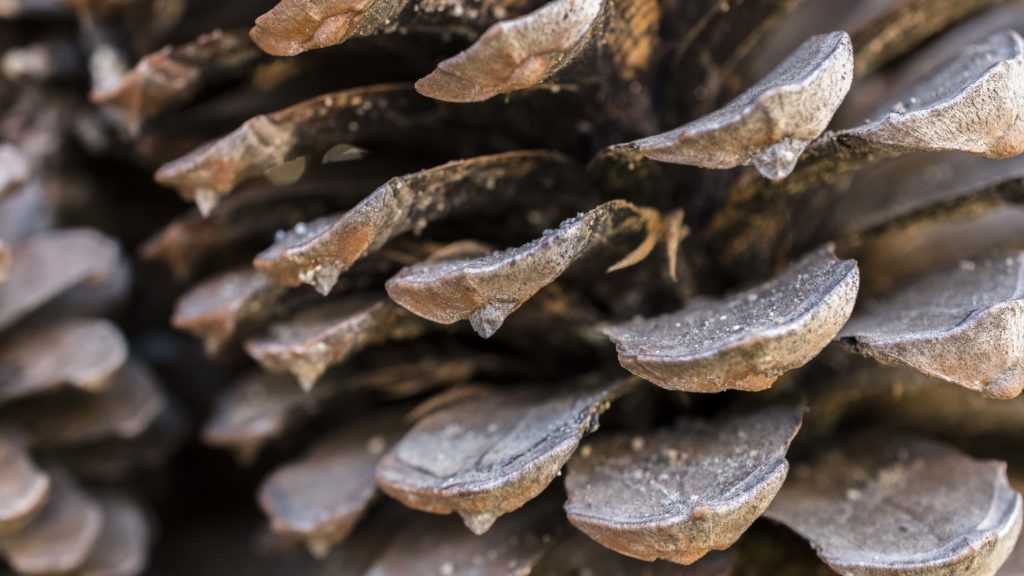
New photographers often ask, “What is macro photography?” In essence, macro photography focuses on capturing details of tiny objects that are often not visible to the naked eye. It’s a truly fascinating area of focus. Chances are, once you explore macro photography, you’ll be hooked!
When you’re taking your first steps into macro photography, you’ll be happy to know you don’t need a specialized camera. In fact, the macro photography gear needed at first is quite minimal. You should definitely consider a tripod to avoid shaking the camera. In time, buying the best macro lens you can afford might be beneficial, but you don’t need it right away.
There are many ways to learn about this unique photography niche. Look around online. It’s easy to find a macro photography blog or gallery. You can discover good examples of everything from artistic macro photography to macro flowers and insect pictures. Uses these sources as inspiration for your photography project ideas.
You can take macro photography classes or read through a macro photography tutorial. There’s only so much that photography courses can teach you, however. You’ll learn the most through experimentation and pursuing your own macro photography ideas.
As you would expect, you’ll have to learn the nuances of depth of field and lighting. You’ll often need a basic flash and diffuser. And you need to apply your composition skills to make the most of your forays into close-up photography.
Where will your macro picture ideas and inspiration lead you? You could test out macro water photography and capture close-ups of bubbles on the surface of a stream. Or, you could try macro eye photography and take detailed shots of the eyes of humans or animals. In time, you could find yourself selling macro stock photography images or running your own small business focused on extreme close-up photography.
Understanding macro photography can open up so many adventures in your photography life. You don’t even need to stray far from home to enjoy them. A few pieces of equipment and an abundance of creative ideas are all you need to explore the unseen small worlds that exist all around you!
