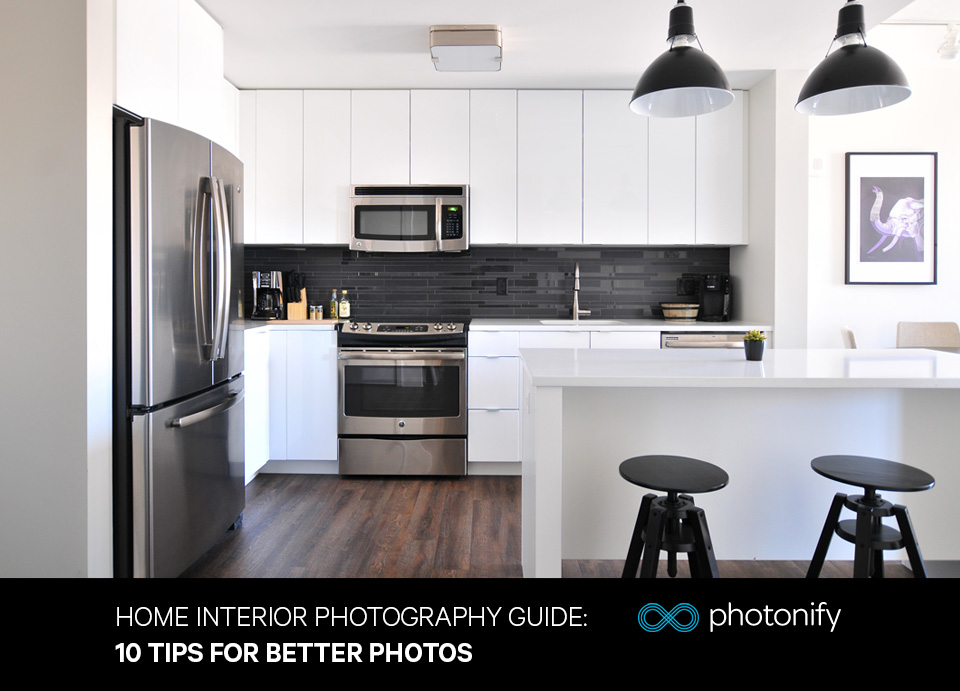
Interior photography is the art of capturing the beauty of interior spaces and homes and bringing out the best in them. Some reasons for wanting to capture home interiors might be if you are selling your house – Realtors, AirBnB Hosts and Home owners can improve the changes of selling or renting out a property with high quality images. You might want to share images of your home or DIY projects on social media sites like Pinterest, Instagram, Facebook or your own blog.
Taking a picture of a room sounds easy but making the picture look high quality, professional and appealing to the viewer can prove to be a real challenge. A shot of an interior has to fulfill the aesthetic requirements of the viewer, which requires plenty of light and proper positioning of props and furniture.
To help you achieve those goals, here are ten tips on how to improve your interior photography and get your final shots looking the very best they can be.
Related Interior Lightroom Presets:
Crisp Clear Images
There is nothing worse in photography in general than blurry shots caused by a shaky camera. However, there are more factors that make a shot blurry and low quality other than your shaking hands. For example, if you’re lacking good lighting in the shot, you might increase ISO to compensate for the light. To take a good shot with high ISO, the camera must be perfectly still. To achieve that, use a tripod and set a three to ten seconds timer to trigger the shot. This way, you wont be shaking the camera as you wont be touching it at all. The tripod might slow you down in the process of photographing the interior but it will surely improve the quality of your shots and make you focus on each one.

Choose the Right Camera
Cameras with live view and tilt screen are a good choice for interior photography. Nowadays, most of DSLR cameras and even some bridge cameras possess the live view option, which helps you see the shot better and envision how the result would look like.
A swivel screen is another good feature when taking interior shots because in this type of photography, changing angles and perspective is crucial for the quality of the images. Obviously, you cannot use the live view finder for all angles and perspectives, as some may be too low and others may be too high. That’s when the tilt screen comes in handy, as you can adjust it to be able to see the shot from any position.
[easyazon_image align=”center” height=”400″ identifier=”B00BW6LWO4″ locale=”US” src=”https://photonify.com/wp-content/uploads/2017/10/41PJfw2UjuL.jpg” tag=”photonify-20″ width=”500″]
Lens Choice
The lens you’re using is important for the quality of your shots. For interior photography, use the wide lens to get more space in the shot and capture a wider picture. This wider perspective is more appealing to the eye of the viewer and will give your photos that “wow” effect. Besides using the wide lens, another thing you can do is stand in the corner to get the widest perspective possible.
[easyazon_image align=”center” height=”400″ identifier=”B00K899B9Y” locale=”US” src=”https://photonify.com/wp-content/uploads/2017/10/41gPVF6SvLL.jpg” tag=”photonify-20″ width=”500″]
Use a Level
When taking interior shots, it is important to keep the camera straight and take straight shots for the sake of the aesthetics. To be able to do this, you will have to use a leveler. Most modern mid to high end cameras possess an electronic leveler but if yours doesn’t, you can use the old fashioned bubble one. Either way, make sure that the walls are straight and the shot is not tilted.
External Fill Flash
It is clear that the room should be well lighted when taking interior shots. However, you can play around with lighting to achieve amazing results. Use an external fill flash and bounce it on the ceiling or the wall behind the shot. This will fill in shadows and lighten up the space without using a direct flash. Don’t combine this method with the direct flash because that will result in too much brightness. Experiment with the angles of the light to get the best shot of the space in front of you.
Plan Your Shots
Before taking the shots, know what you want to do with them later on. If you’re aiming to have them published in a magazine, try going vertical with the shots. Most interior photos on the web are horizontal, which is why they don’t make it into the magazine world. If you’re trying to get published in a magazine, go vertical because that is the main requirement for print magazines.

Post-Processing in Lightroom
Lightroom is the best post-editing program you can find for interior photography. In order to get the best out of it, make sure to shoot your pictures in RAW mode. This will allow you to correct the image later on without compromising the quality. Once you’re in Lightroom, adjust the shadows an highlights accordingly and play around with contrast and white balance to get the results you want. Use lens correction feature to fix any disorders in the picture.
We have put together a collection of Lightroom Preset specially for Home Interior Photography, so take a look at those if you’d like to try out some different techniques in Lightroom.
Organize the space
Obviously, to get a good interior shot, the space you are photographing must be well structured, organized and, most importantly, clean. Before you start the shooting, clean up the space, make sure there is no clutter and use props such as cushions and blankets to improve the aesthetics. Make sure the space is well designed and ready for a good shot.

Aperture Rules
When taking photos of the interior, the depth of field plays an important role. Using different aperture settings will give you different results in the shot. To know which one you must use, you have to know what can be achieved with smaller f-stops and bigger f-stops. A smaller f-stop will blur unwanted details in the background and focus on the front while a bigger f-stop will focus the whole shot.

Get Creative
Last but not least, be creative when taking the shots. Mix things up, change the position of the props, angles, perspective and lighting. Create different combinations and observe the results to determine which you like best.Try taking photos from outside the room looking in – Take many shots, as you will have time to delete the ones you don’t like in the post-editing process.
These ten tips will help you take better interior photos and, if you are aiming for being published, you might get chosen for the next photography print magazine edition. Remember to use the right aperture settings, ensure the lighting is good enough for the shot and play around with angles!


