Investing in a quality camera is only the first step toward exceptional photography. You also need to learn how to change camera settings manually and understand one of the basics of photography—the exposure triangle. You can understand exposure triangle fundamentals by gaining insight into three important settings:
3 Settings That Make Up the Exposure Triangle
- ISO
- F-Stop or Aperture
- Shutter Speed
It can seem intimidating to shoot in manual mode. When you first explore beginner photography, you’ll encounter unfamiliar terminology and concepts. While it’s easy to rely on automatic settings on your camera, you can sacrifice creative control over the look of your photos. You’ll find it’s very worthwhile to learn how to make manual adjustments and understand how the exposure triangle in photography works if you truly want to advance your photography skill.
Why You Should Shoot in Manual Mode
Today’s digital cameras empower people to take better photos than ever before. They make it easy to achieve proper exposure—so it’s tempting to avoid learning how to shoot in manual mode. While a camera may be powerful, it is ultimately an inanimate piece of technology—not a human being. It can’t make decisions or explore creative directions like you can.
Think of it this way: When you view photos taken by amateurs on social media, those images likely have the correct exposure by default. They can appear flat or lack the dynamic intensity of professional photographs. That’s because they’re far different from the images taken by someone who has mastered the photography exposure triangle.
If you’re feeling uncertain about exploring exposure triangle concepts, just take the leap and start experimenting. You’ll likely make mistakes along the way–and that’s okay. You can always use today’s best photo editing apps and software to make adjustments and clean up pixels during post-production. But commit yourself to learn about exposure triangle concepts. Before you know it, exposure triangle principles will make sense. And your visual image photography will improve due to all your hard work.
How the Exposure Triangle Works
Understanding the exposure triangle starts by gaining knowledge of three important camera settings. In essence, the exposure triangle is the relationship between ISO, aperture or f-stop, and shutter speed. You can think of these three elements as the three points of your exposure triangle. Then, you can start to understand how these three settings work together to affect the triangle of exposure in your photos.
ISO is a term for your camera’s sensitivity to light. Aperture also affects light, but it specifically relates to the intensity of light that reaches your camera’s sensor. And shutter speed is a time value that describes the length of the exposure. Together, these settings affect how light or dark your image will be—and whether they are in sharp focus or have blurry elements.

3 Settings that Make Up the Exposure Triangle
How can you manipulate ISO, aperture and shutter speed to attain the photo exposure effects that you want every time you press the shutter button? You can find out more about each setting first and that will help clarify how they work together. With time and practice, adjusting your camera settings and understanding exposure will become second nature and help you increase the quality of your photos.
1. ISO
A lot of people wonder: What is ISO in photography? First, it’s helpful to know that the acronym ISO stands for “International Standards Organization.” That is the organization that sets standards for camera sensor sensitivity ratings. Because ISO ratings are standard across all digital cameras, you can shoot at the same ISO on different cameras and trust that exposure value will be the same.
You can increase or decrease ISO to adapt to different light settings. When your ISO is low, your camera lets light in slowly. This lets you capture crisp details and a more dynamic range of colors. Often, you’ll use a low ISO when you have lots of light available since this lets you take a clear image in sharp focus.
A higher ISO lets your sensor absorb light more quickly—and produces less detail and contrast. Typically, high ISO images have a grainy or noisy look. However, a high ISO is best for low light situations. If you’re taking photos after dark or indoors and don’t want to use a flash, a high ISO is a good choice. Whenever you feel frustrated by dim lighting conditions, remember to increase your ISO.
There are other situations where a high ISO might work well. If you are capturing action shots, you’ll need to use a fast shutter speed and high ISO. Also, if you are aiming for a deep depth of field for a landscape photo, you’ll also need a small aperture and should set your ISO higher.
Many photographers recommend setting ISO first before shooting photos. If you’re staying in the same environment with the same lighting conditions, you may not need to change ISO once you set it.
If you aren’t sure about how much lighting is available in your shooting environment, you can refer to your camera’s light meter. When shooting in manual mode, the light meter monitors light coming through the lens. It typically appears on a camera’s viewfinder as a scale from -3 to 3. When your light meter points to “0,” that indicates proper exposure. If your image is underexposed or overexposed, you may need to adjust ISO and other camera settings.
2. Aperture or F-Stop
The aperture—also known as f-stop—is a term that describes the opening of your lens. A low number setting means that not much light will get through, while a higher one indicates lots of light can get through.
One of the best ways to understand aperture is to think about how your own eyes work. When you’re outdoors on a bright, sunny day, your eyes are exposed to lots of light. This can cause your pupils to contract. But when you’re in the dark your pupils will be wide open to let in as much light as possible. The aperture of your camera works the same way. It shrinks when exposed to abundant light and opens wider during low-light conditions.
On your camera, your aperture is expressed through a number, called an “f-stop” or “f-number.” You may see these numbers within your viewfinder or LCD screen. Often, you’ll see f-stop numbers written with the “f” appearing before the number. They may look like f/1.4/, f/2, f/8 or simply f1.4, f2 or f8.
At first, these numbers can cause some confusion. The reason? Smaller f-stop numbers represent larger aperture openings, and larger numbers correspond to smaller openings. It may help to think of f-stop numbers as fractions. For example, you know that the fraction 1/10 is smaller than the fraction 1/4. So, the aperture f/10 is smaller than the aperture f/4.
Now, you are ready to understand how aperture affects camera exposure. If you’re shooting in a bright environment, you likely want a smaller aperture opening—with a higher f-stop number—to let in less light. The reverse is true in dark conditions such as shooting at night. You’ll want a larger aperture opening to let in more light, which equates to a smaller f-stop number.
Aperture also affects depth of field, a term describing how much of your photo is in sharp focus from the foreground through the background. You’ll note that some images have a background that is fully out of focus. This is called a shallow depth of field. When both the foreground and background are sharp and clear, this is called a deep depth of field.
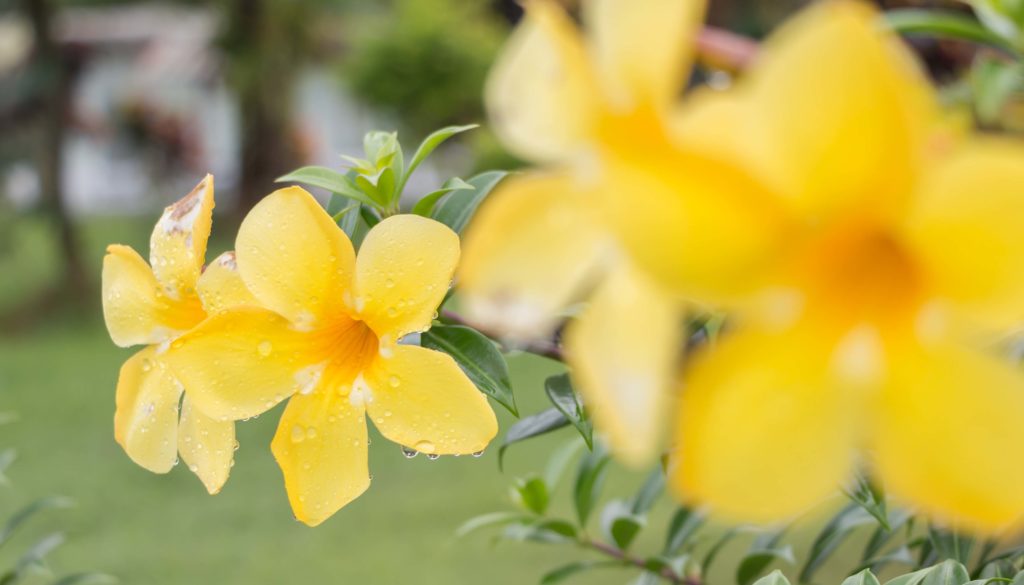
Use a large aperture setting with a smaller f-stop number (such as f/1.8) to achieve a shallow depth and more blur. You can also create lovely bokeh effects with a larger aperture setting. Bigger f-stop numbers (such as f/22) give you a smaller aperture opening and produce a deep depth of field and a sharp clear image. To help remember this, know that a large aperture setting produces a large amount of blur
3. Shutter Speed
The last exposure triangle element you need to understand is shutter speed. Simply put, shutter speed describes how fast the shutter on your camera opens and closes. With a slower shutter speed, the shutter is open longer, so you let in more light. Less light hits the sensor with a fast shutter speed.
It’s essential to understand the connection between camera aperture and shutter speed. When you have a large, open aperture, you need a fast shutter speed. Since the aperture is wide open, it is already letting in lots of light, so your shutter can open and close quickly. And the reverse is also true: A small aperture lets in less light—so you need to have a slower shutter speed to allow more exposure time for light to reach your sensor.
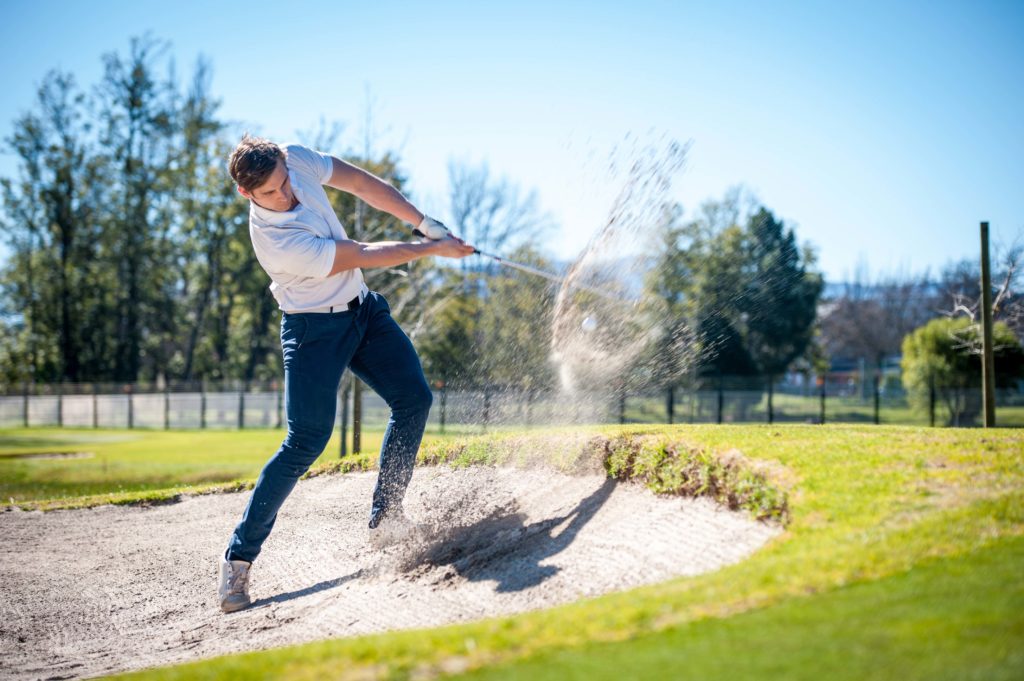
If you’re taking action shots, you need a fast shutter speed to help freeze the action. A slower speed produces more blur. If you want to blur motion, start with a shutter speed of 1/30 and increase or decrease based on the speed of your subject and the desired amount of blur.
To help understand the relationship between aperture and shutter speed, you can put your camera in shutter priority mode. This lets you experiment with different shutter speed settings, but lets your camera adjust the aperture automatically. As you test different shutter speeds, take note of what aperture settings your camera uses. You can use similar settings in the future as you gain more exposure triangle know-how and want to choose your own settings.
If you want to learn more, you can reference a shutter speed chart online. These helpful guides help you understand how to adjust shutter speed to match the focal length of your lens.
Exposure Triangle Cheat Sheet
Now you’re ready to put your learning into practice. You can use this quick guide to understand a few common exposure settings for various photography scenarios.
Action Shots
In these situations, you are often trying to freeze motion to create a crisp, still photo. Use a higher ISO setting and faster shutter speed.
Portraits
When shooting portraits, you often will choose a shallow depth of field. This keeps the subject in clear focus while blurring out the background. Use a higher aperture setting, faster shutter speed, and lower ISO. Keep this in mind when you are planning and styling your first photo shoots.
Landscapes, Urban, and Street Photography
When you want to capture a large space in sharp focus, you need a deep depth of field. This requires a lower aperture setting, slower shutter speed, and lower ISO.
Low-Light Situations
In low light, you need a high ISO, wide aperture, and slow shutter speed. This lets you capture as much detail as possible, although you may produce a grainy image.
Vintage-Look Photography
Some photographers deliberately use a high ISO to create a grainy, moody look for vintage-style photographs. The aperture and shutter speeds can vary based on shooting conditions and other desired effects.
Understanding the Exposure Triangle Can Elevate Your Photography
If you have invested in a quality camera, you’ll want to move past photography basics and understand how to shoot in manual mode. You’ll need to gain familiarity with the three core elements of the exposure triangle: ISO, aperture, and shutter speed. All three settings work together to control image brightness and clarity.
The exposure triangle for beginners can seem like an overwhelming and highly-technical concept. However, exposure triangle fundamentals will grow more clear as you practice them. One of the best ways to understand the exposure triangle is by taking pictures of the same subject—but making small adjustments to your camera settings with each shot. For example, you can keep your ISO the same and reduce the aperture and shutter speed by one stop in each photo. Look at each picture side by side and note what happens to your subject and the background.
You can always look at an exposure triangle chart or exposure triangle online. Refer to the exposure triangle cheat sheet or an exposure triangle diagram to help guide you. However, while tools like these are helpful reminders, they can’t beat the hands-on experience you gain by experimenting with exposure triangle concepts with your camera.
If exposure triangle photography seems difficult at first, don’t despair. Many experienced photographers confess that they had a hard time grasping exposure triangle principles at first. And there are amazing Lightroom presets available that can help you optimize the exposure and other elements to perfect every photo.
In time, manually adjusting camera settings will become second nature. You’ll develop intuitive knowledge about how to apply exposure triangle principles and begin taking exceptional photographs. Just take that first step of shifting from auto to manual mode and start exploring!